


Kong是一个基于Apache License 2.0的开源项目,是一个云原生的快速可扩的分布式微服务抽象层,应用场景为微服务的API网关,类似于spring cloud的zuul,可以实现动态负载均衡、断路器、健康监测、OAuth2.0、监控、认证、限流等。以下为安装过程,因为使用PostgreSQL作为数据库,所以需要先安装PostgreSQL。存在版本对应问题,此处均使用最新版本。
一、安装PostgreSQL,开启远程访问,使用Navicat连接
# Install the repository RPM:sudo yum install -y https://download.postgresql.org/pub/repos/yum/reporpms/EL-7-x86_64/pgdg-redhat-repo-latest.noarch.rpm# Install PostgreSQL:sudo yum install -y postgresql13-server # path: usr/pgsql-13# Optionally initialize the database and enable automatic start:sudo usr/pgsql-13/bin/postgresql-13-setup initdb # path: var/lib/pgsql/13sudo systemctl enable postgresql-13sudo systemctl start postgresql-13
查看监听端口:
netstat -ntl
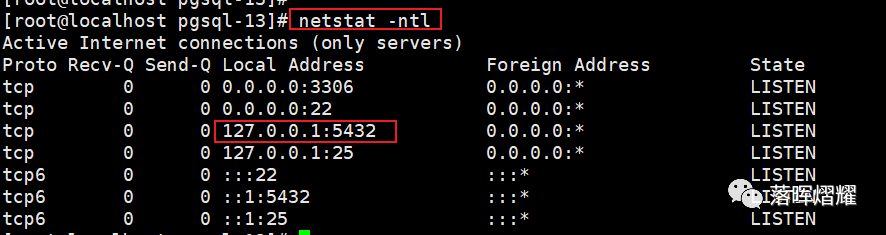
可以看到监听端口为5432,绑定本地ip:127.0.0.1。此时无法远程访问,需要修改以下两个配置文件:

vi postgresql.conf,取消注释,并改成指定的ip地址,个人测试可以改为 ‘*’。查找命令:/listen :

vi pg_hba.conf,修改为trust:

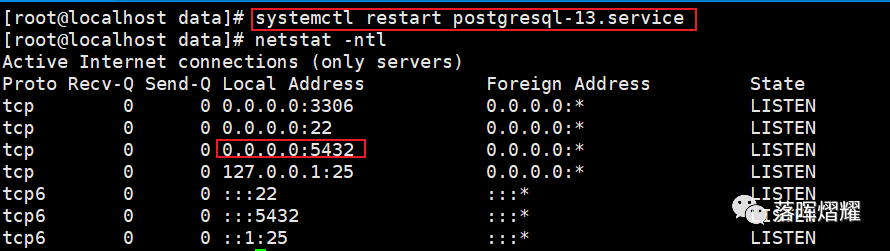
重启,查看端口,可以看到绑定ip变成 0.0.0.0。
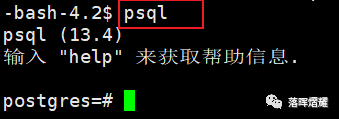
使用postgres用户登录(PostgreSQL安装后会自动创建postgres用户,没有密码)
su - postgres

登录PostgreSQL数据库
创建用户(kong)和数据库(kong_db)并授权
create user kong with password 'kong123'; // 创建用户create database kong_db owner kong; // 创建数据库grant all privileges on database kong_db to kong; // 授权
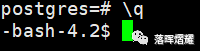
退出psql,输入 \q 再按回车键即可
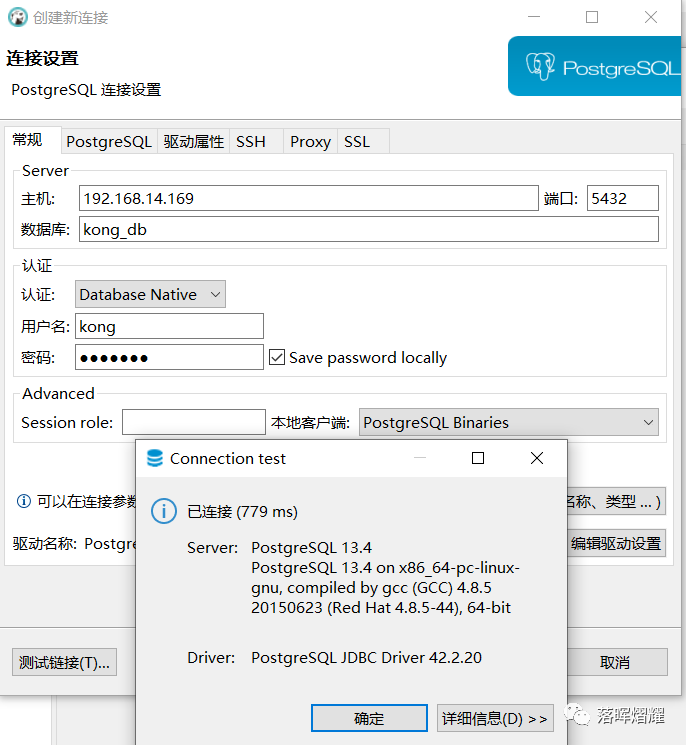
使用Navicat远程连接
二、安装kong
执行以下命令进行安装
curl -Lo kong-2.5.0.amd64.rpm $( rpm --eval "https://download.konghq.com/gateway-2.x-centos-%{centos_ver}/Packages/k/kong-2.5.0.el%{centos_ver}.amd64.rpm")$ sudo yum install kong-2.5.0.amd64.rpm
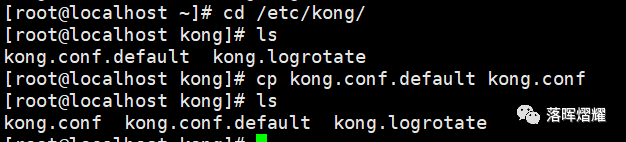
安装完成后,相关目录如下

其中kong提供的配置文件在 /etc/kong 目录下,复制该文件以便修改:
cp kong.conf.default kong.conf

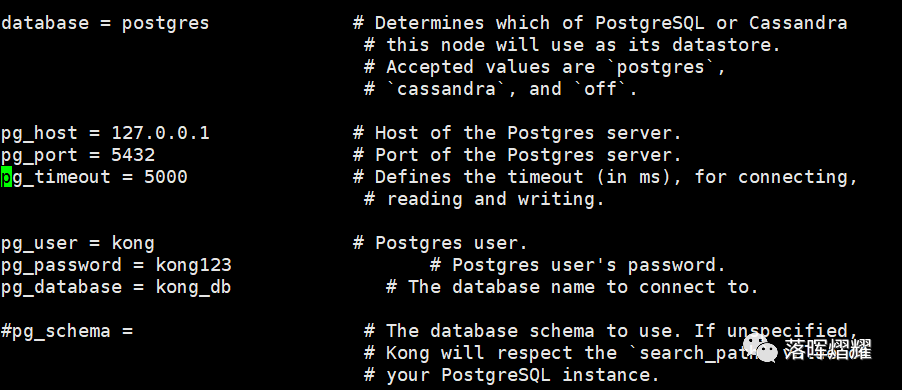
8000端口为访问端口;kong提供restful API 管理service、route等,端口为8001,默认只能本机访问,修改如下


取消注释,设置数据库连接的类型、用户、密码等
初始化kong
kong migrations bootstrap -c /etc/kong/kong.conf
启动kong
kong start -c ./kong.conf

查看监听端口

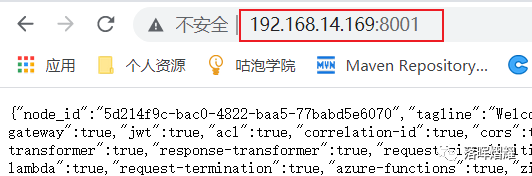
浏览器访问
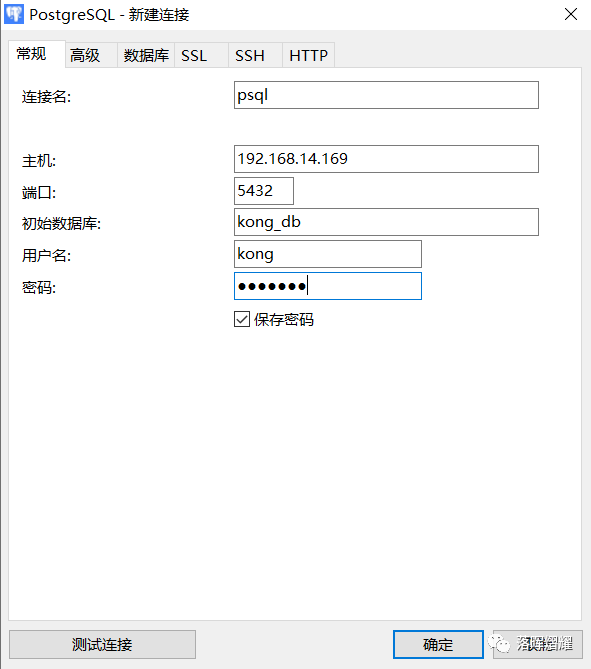
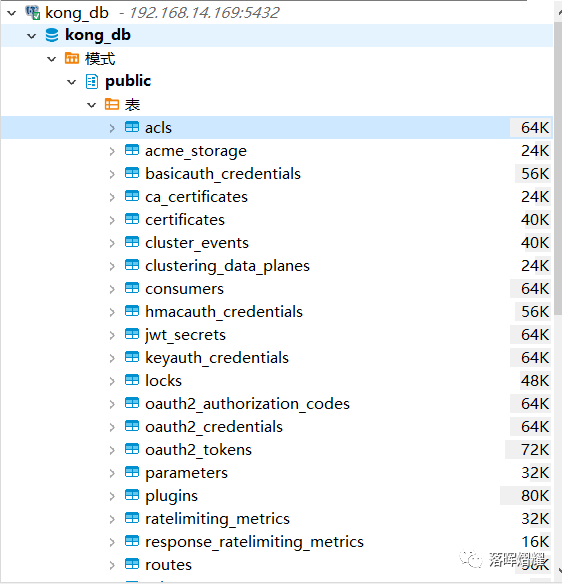
使用Navicat无法查看kong创建的数据表,改用dbeaver连接工具。
文章转载自落晖熠耀,如果涉嫌侵权,请发送邮件至:contact@modb.pro进行举报,并提供相关证据,一经查实,墨天轮将立刻删除相关内容。
