


MySQL Shell是MySQL的高级客户端和代码编辑器。除了类似mysql-client的SQL功能外,还提供了JS和Python脚本功能以及一些API。X DevAPI提供处理关系数据和文档数据的功能,AdminAPI 能对 InnoDB Cluster进行管理。当前版本是MySQL Shell8.0。
1、安装MySQL Shell
#下载
wget https://cdn.mysql.com//Downloads/MySQL-Shell/mysql-shell-8.0.26-1.el7.x86_64.rpm
#安装
rpm -ivh mysql-shell-8.0.26-1.el7.x86_64.rpm
#验证
mysqlsh --version


2、MySQL Shell使用
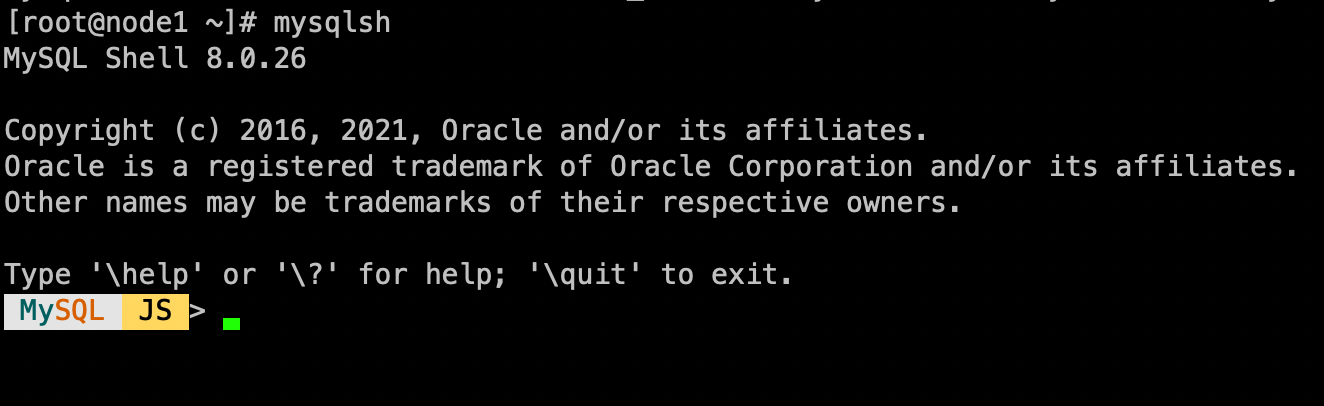
通过命令mysqlsh进入MySQL Shell
MySQL Shell提供了以下以转义字符\开头的命令
| Command | Alias/Shortcut | Description |
|---|---|---|
\help |
\h or \? |
Print help about MySQL Shell, or search the online help. |
\quit |
\q or \exit |
Exit MySQL Shell. |
\ |
In SQL mode, begin multiple-line mode. Code is cached and executed when an empty line is entered. | |
\status |
\s |
Show the current MySQL Shell status. |
\js |
Switch execution mode to JavaScript. | |
\py |
Switch execution mode to Python. | |
\sql |
Switch execution mode to SQL. | |
\connect |
\c |
Connect to a MySQL instance. |
\reconnect |
Reconnect to the same MySQL instance. | |
\disconnect |
Disconnect the global session. | |
\use |
\u |
Specify the schema to use. |
\source |
\. or source (no backslash) |
Execute a script file using the active language. |
\warnings |
\W |
Show any warnings generated by a statement. |
\nowarnings |
\w |
Do not show any warnings generated by a statement. |
\history |
View and edit command line history. | |
\rehash |
Manually update the autocomplete name cache. | |
\option |
Query and change MySQL Shell configuration options. | |
\show |
Run the specified report using the provided options and arguments. | |
\watch |
Run the specified report using the provided options and arguments, and refresh the results at regular intervals. | |
\edit |
\e |
Open a command in the default system editor then present it in MySQL Shell. |
\pager |
\P |
Configure the pager which MySQL Shell uses to display text. |
\nopager |
Disable any pager which MySQL Shell was configured to use. | |
\system |
\! |
Run the specified operating system command and display the results in MySQL Shell. |

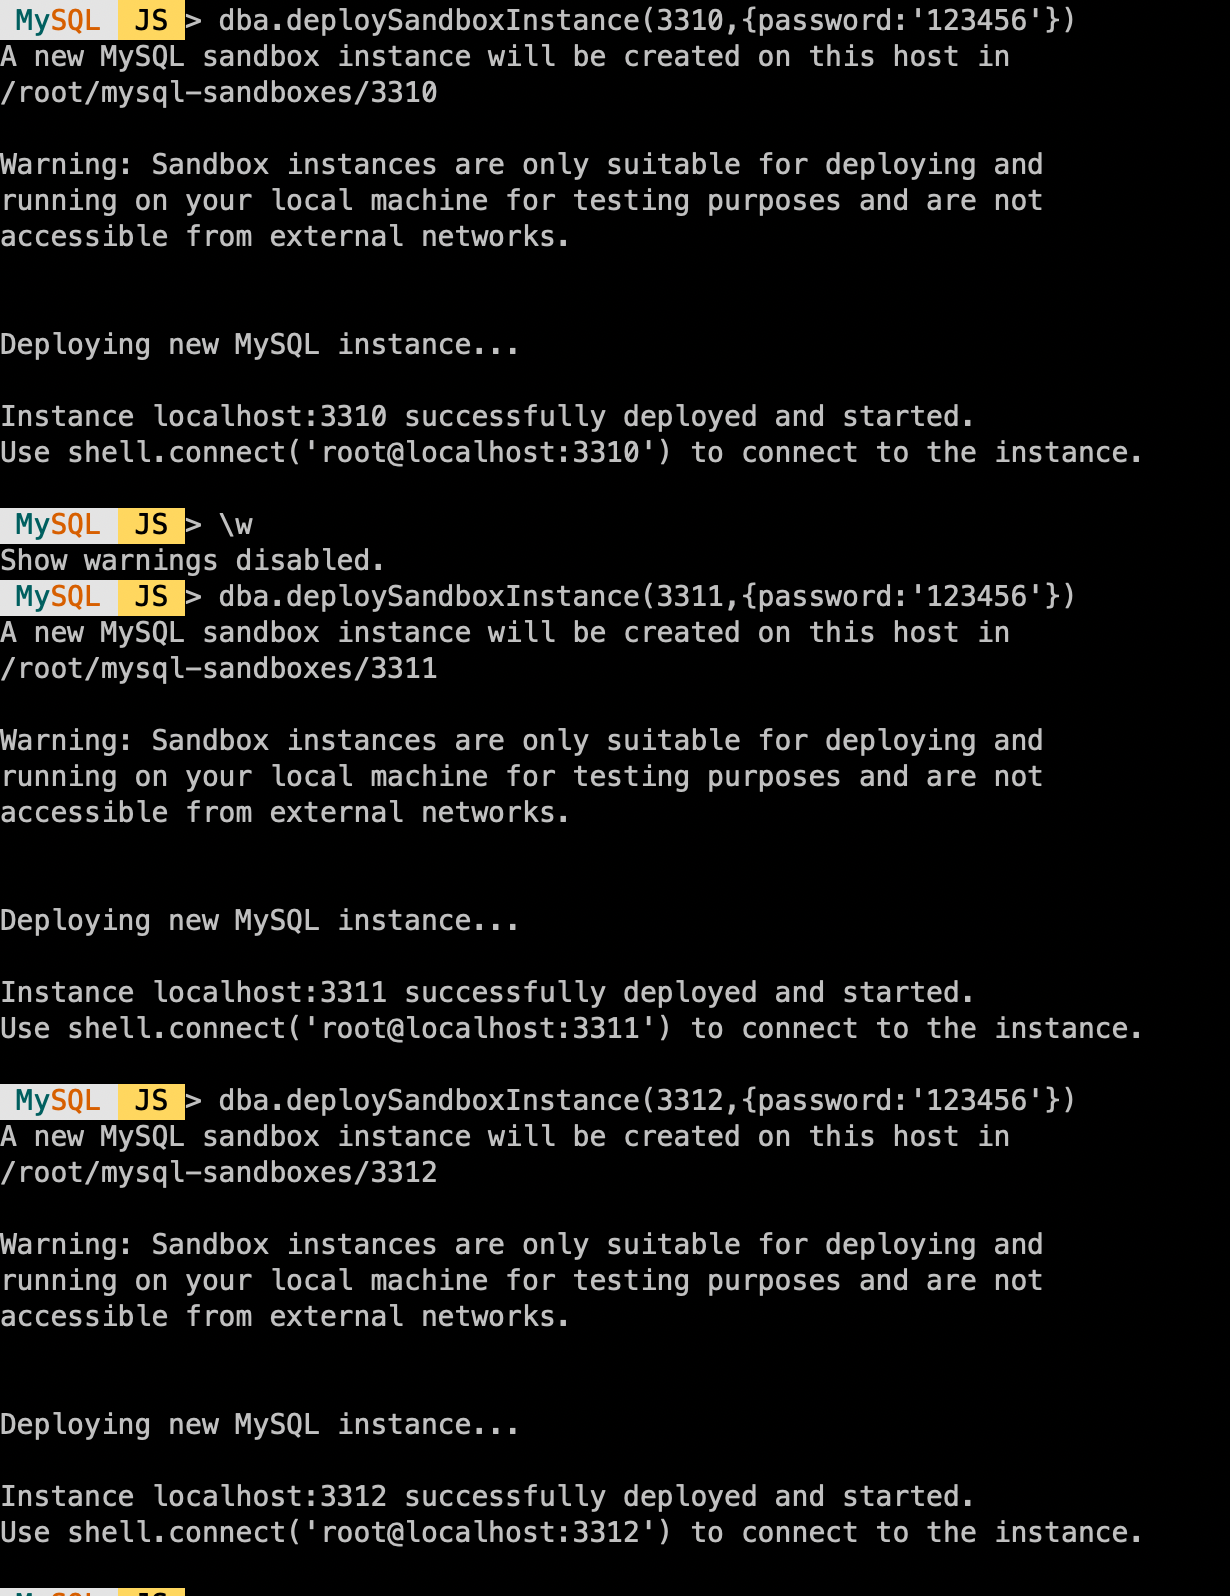
3、创建沙箱实例
测试环境资源有限,使用MySQL Shell AdminAPI创建沙箱实例做测试。先介绍下AdminAPI创建沙箱实例的命令。
#创建指定端口的sandbox instance
dba.deploySandboxInstance(${port})
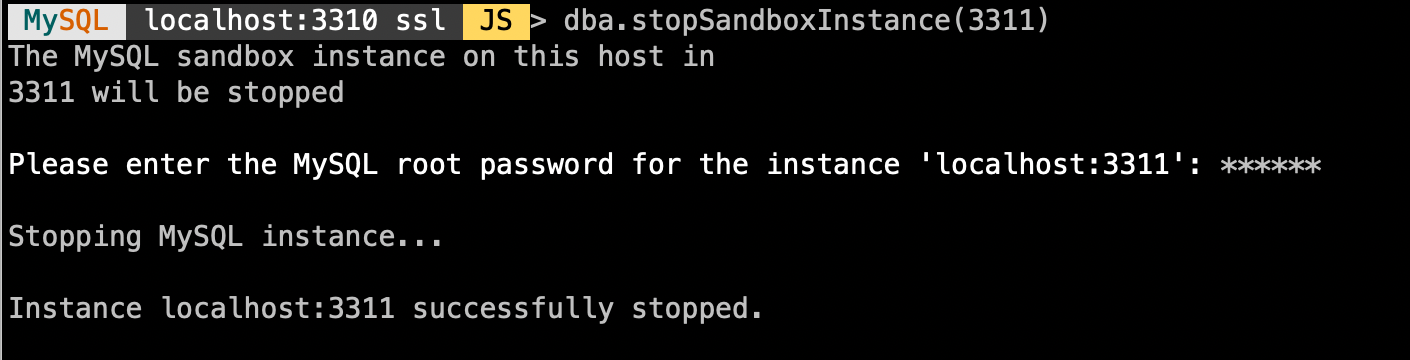
#关闭沙箱实例
dba.stopSandboxInstance(${port})
#启动沙箱实例
dba.startSandboxInstance(${port})
#kill沙箱实例
dba.killSandboxInstance(${port})
#删除沙箱实例
dba.deleteSandboxInstance(${port})
#沙箱实例默认路径为$HOME/mysql-sandboxes/port,可以使用以下命令修改
shell.options.sandboxDir='/home/user/sandbox1'
#创建沙箱实例时可以指定root密码和参数
dba.deploySandboxInstance(3310,{password:'123456',mysqldOptions:["report_host=1.2.3.4","lower_case_table_names=1"]})
- 创建三个实例用于搭建MGR
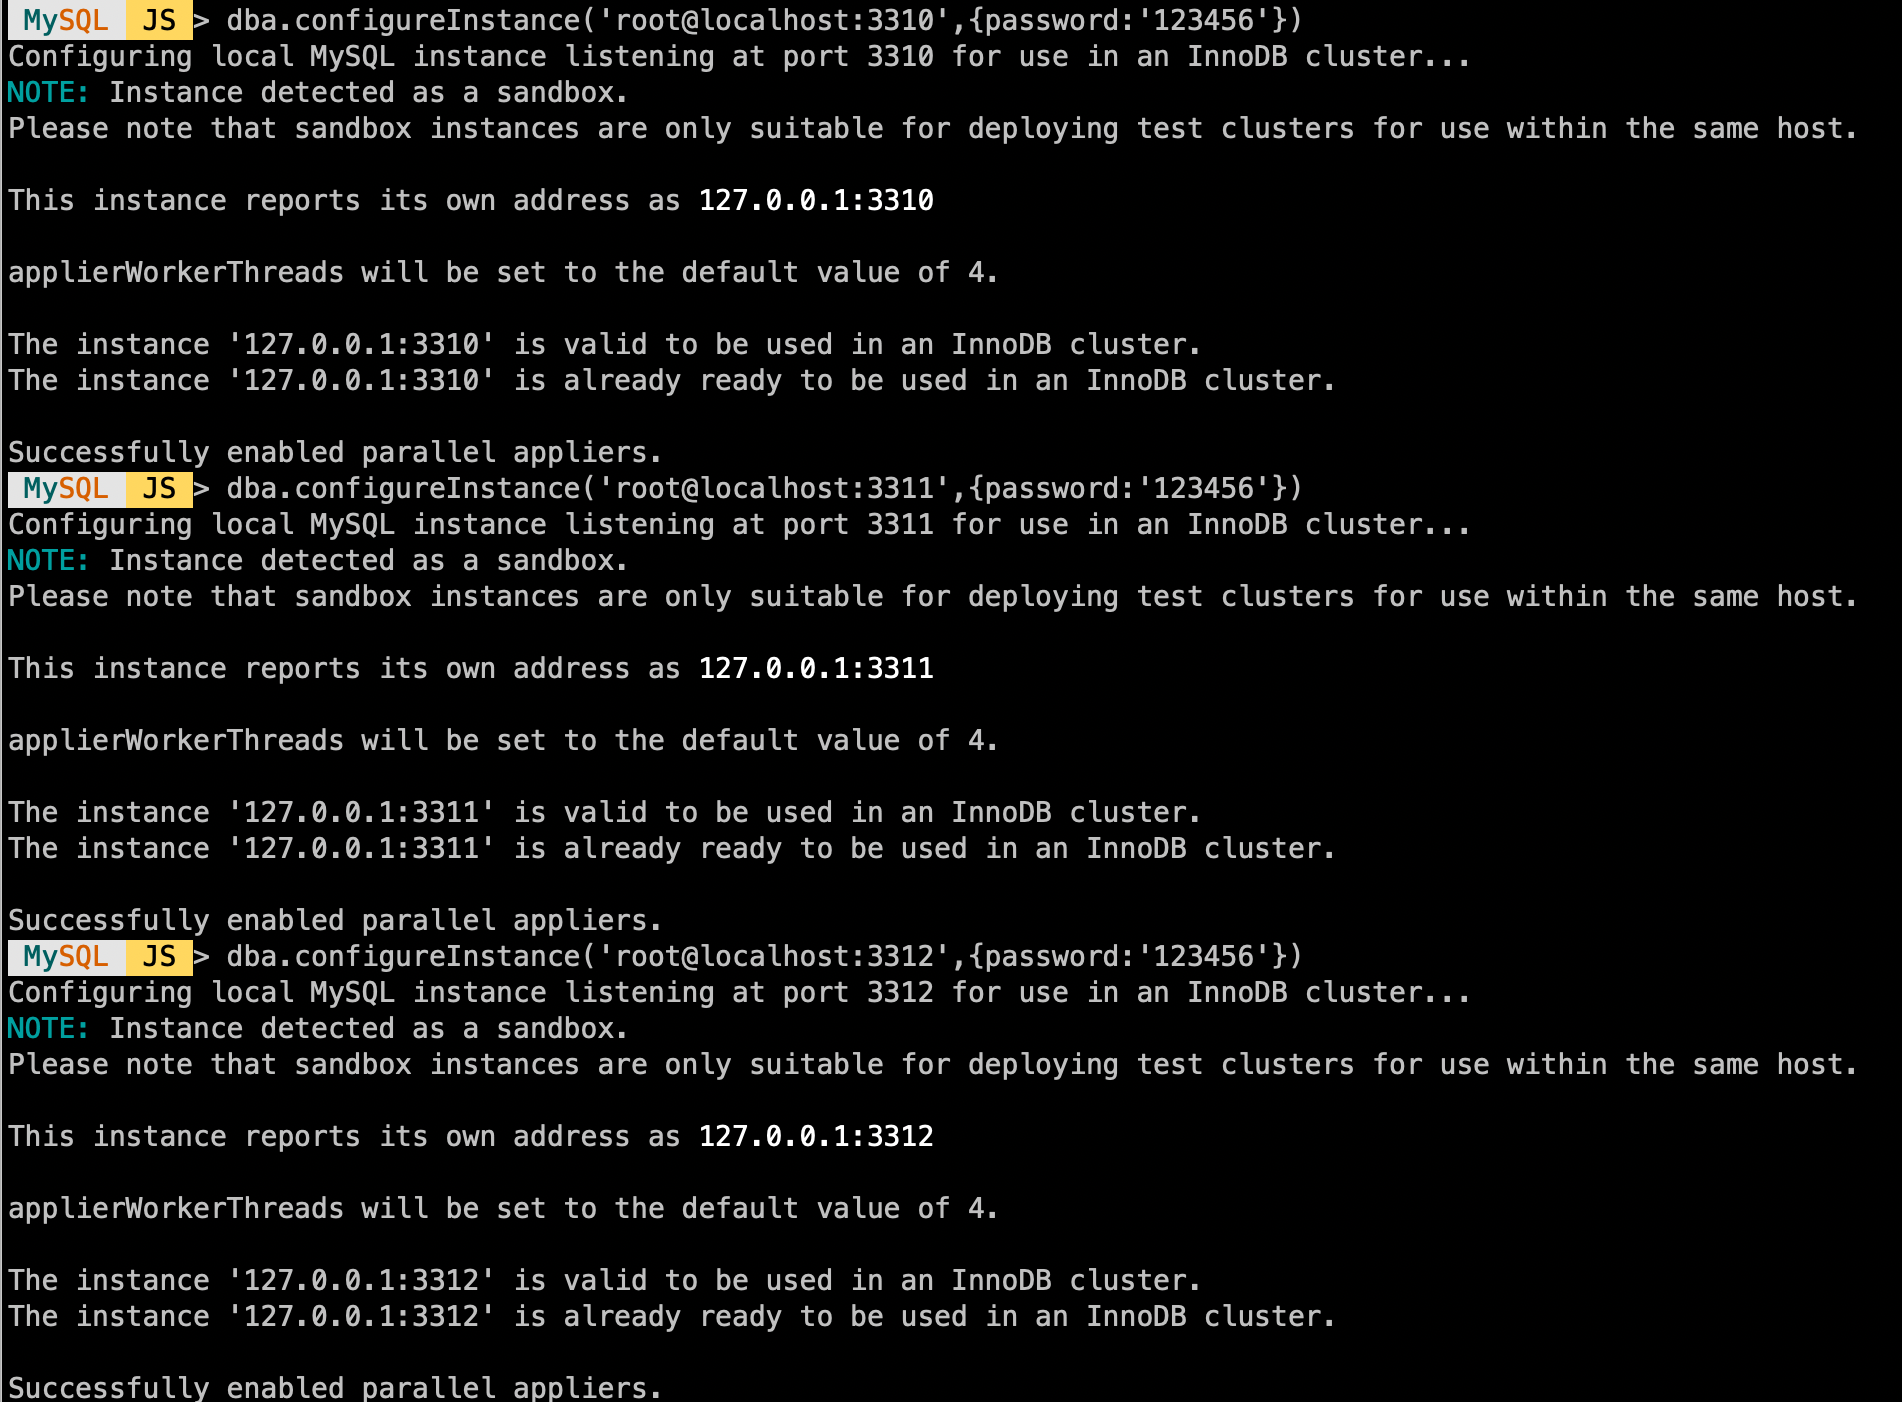
4、搭建MGR
- 检测实例是否符合InnoDB Cluster要求
#dba.configureInstance([instance][, options])
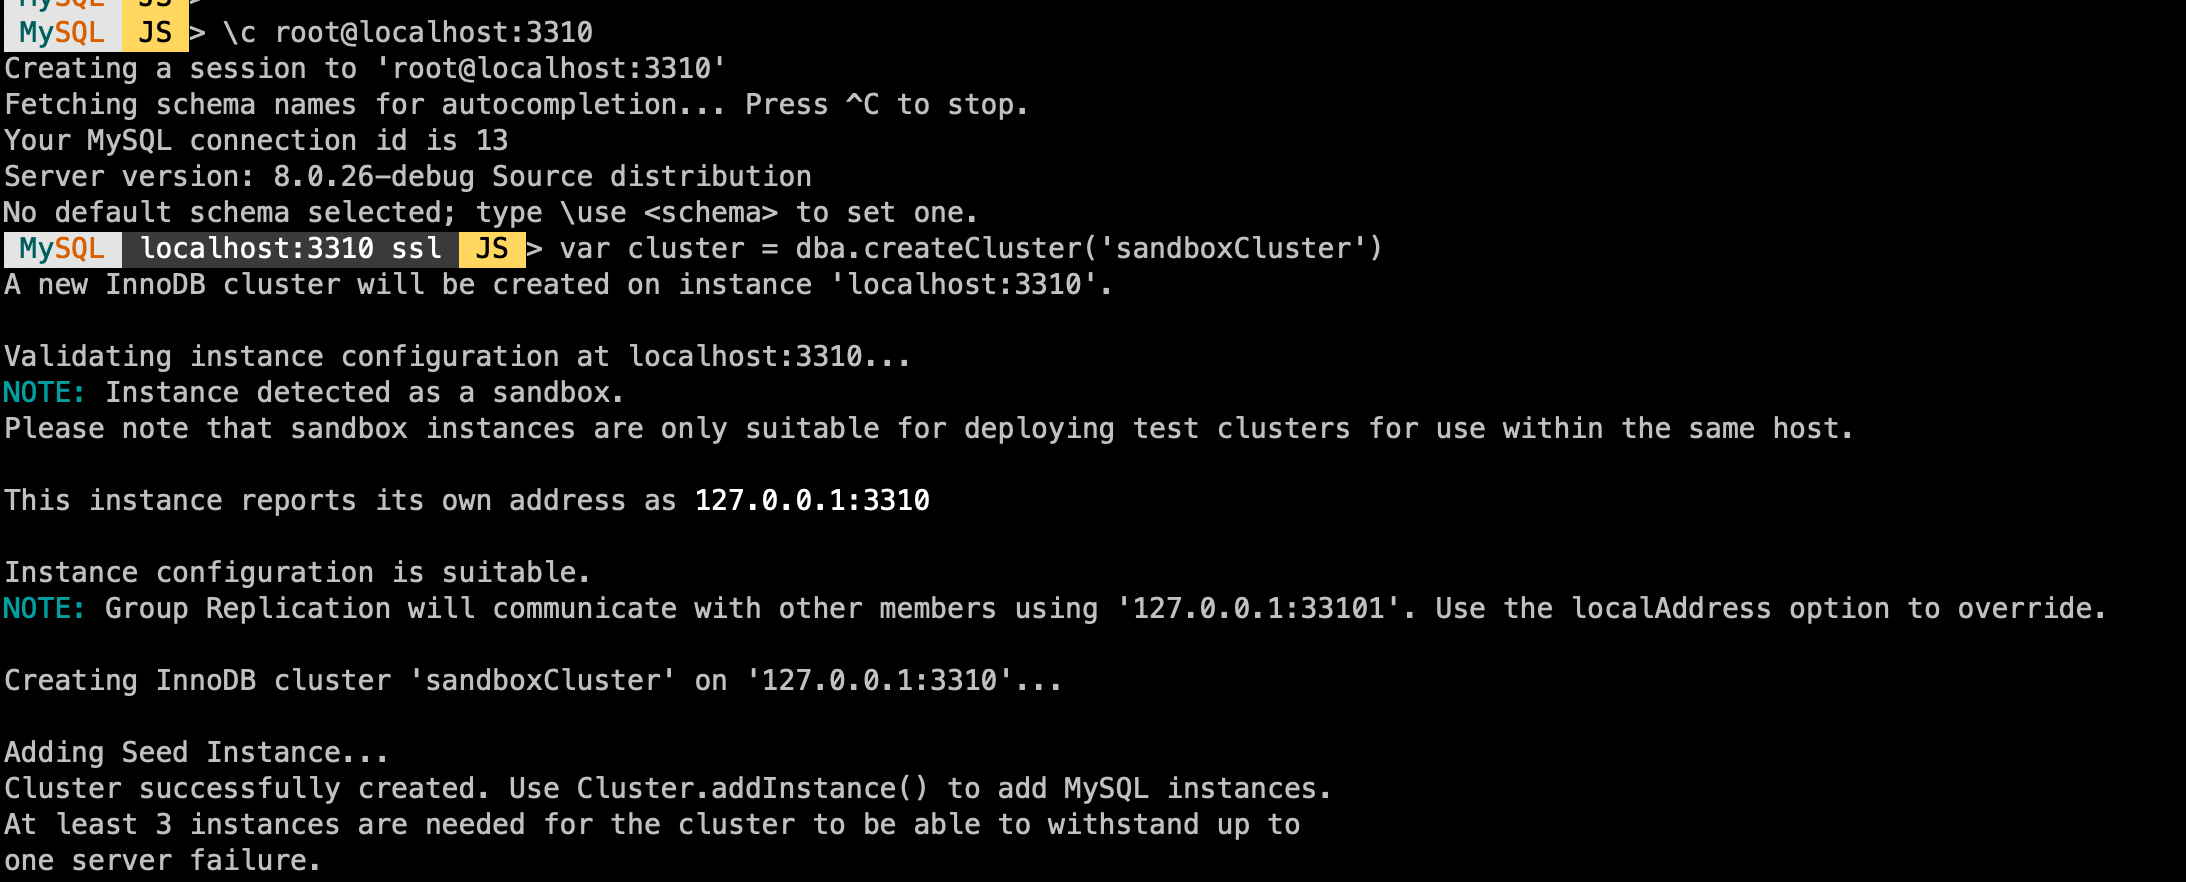
- 创建实例
1、连接到一个实例
\c root@localhost:3310
2、创建实例
var cluster = dba.createCluster('sandboxCluster')
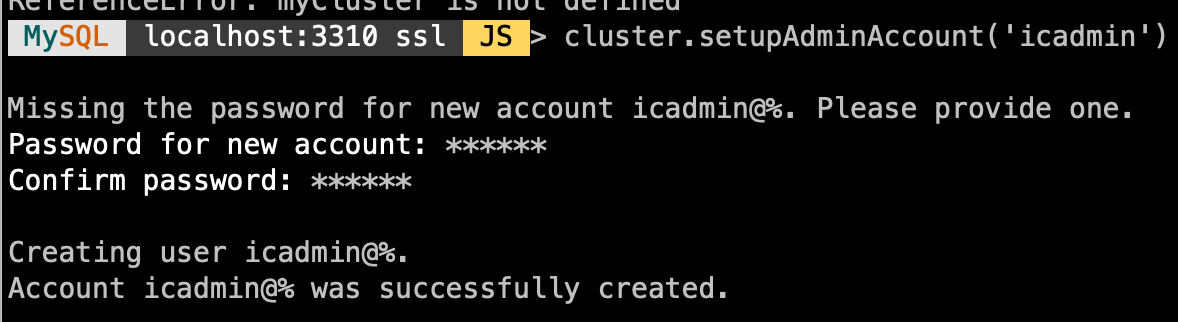
3、创建一个管理用户
cluster.setupAdminAccount('icadmin')
- 集群中增加节点
cluster.addInstance('instance')

这里要选择Clone或者Incremental recovery方式添加节点,如果使用GTID且没有purge过binlog 可以选择Incremental recovery,建议选择Clone(默认)
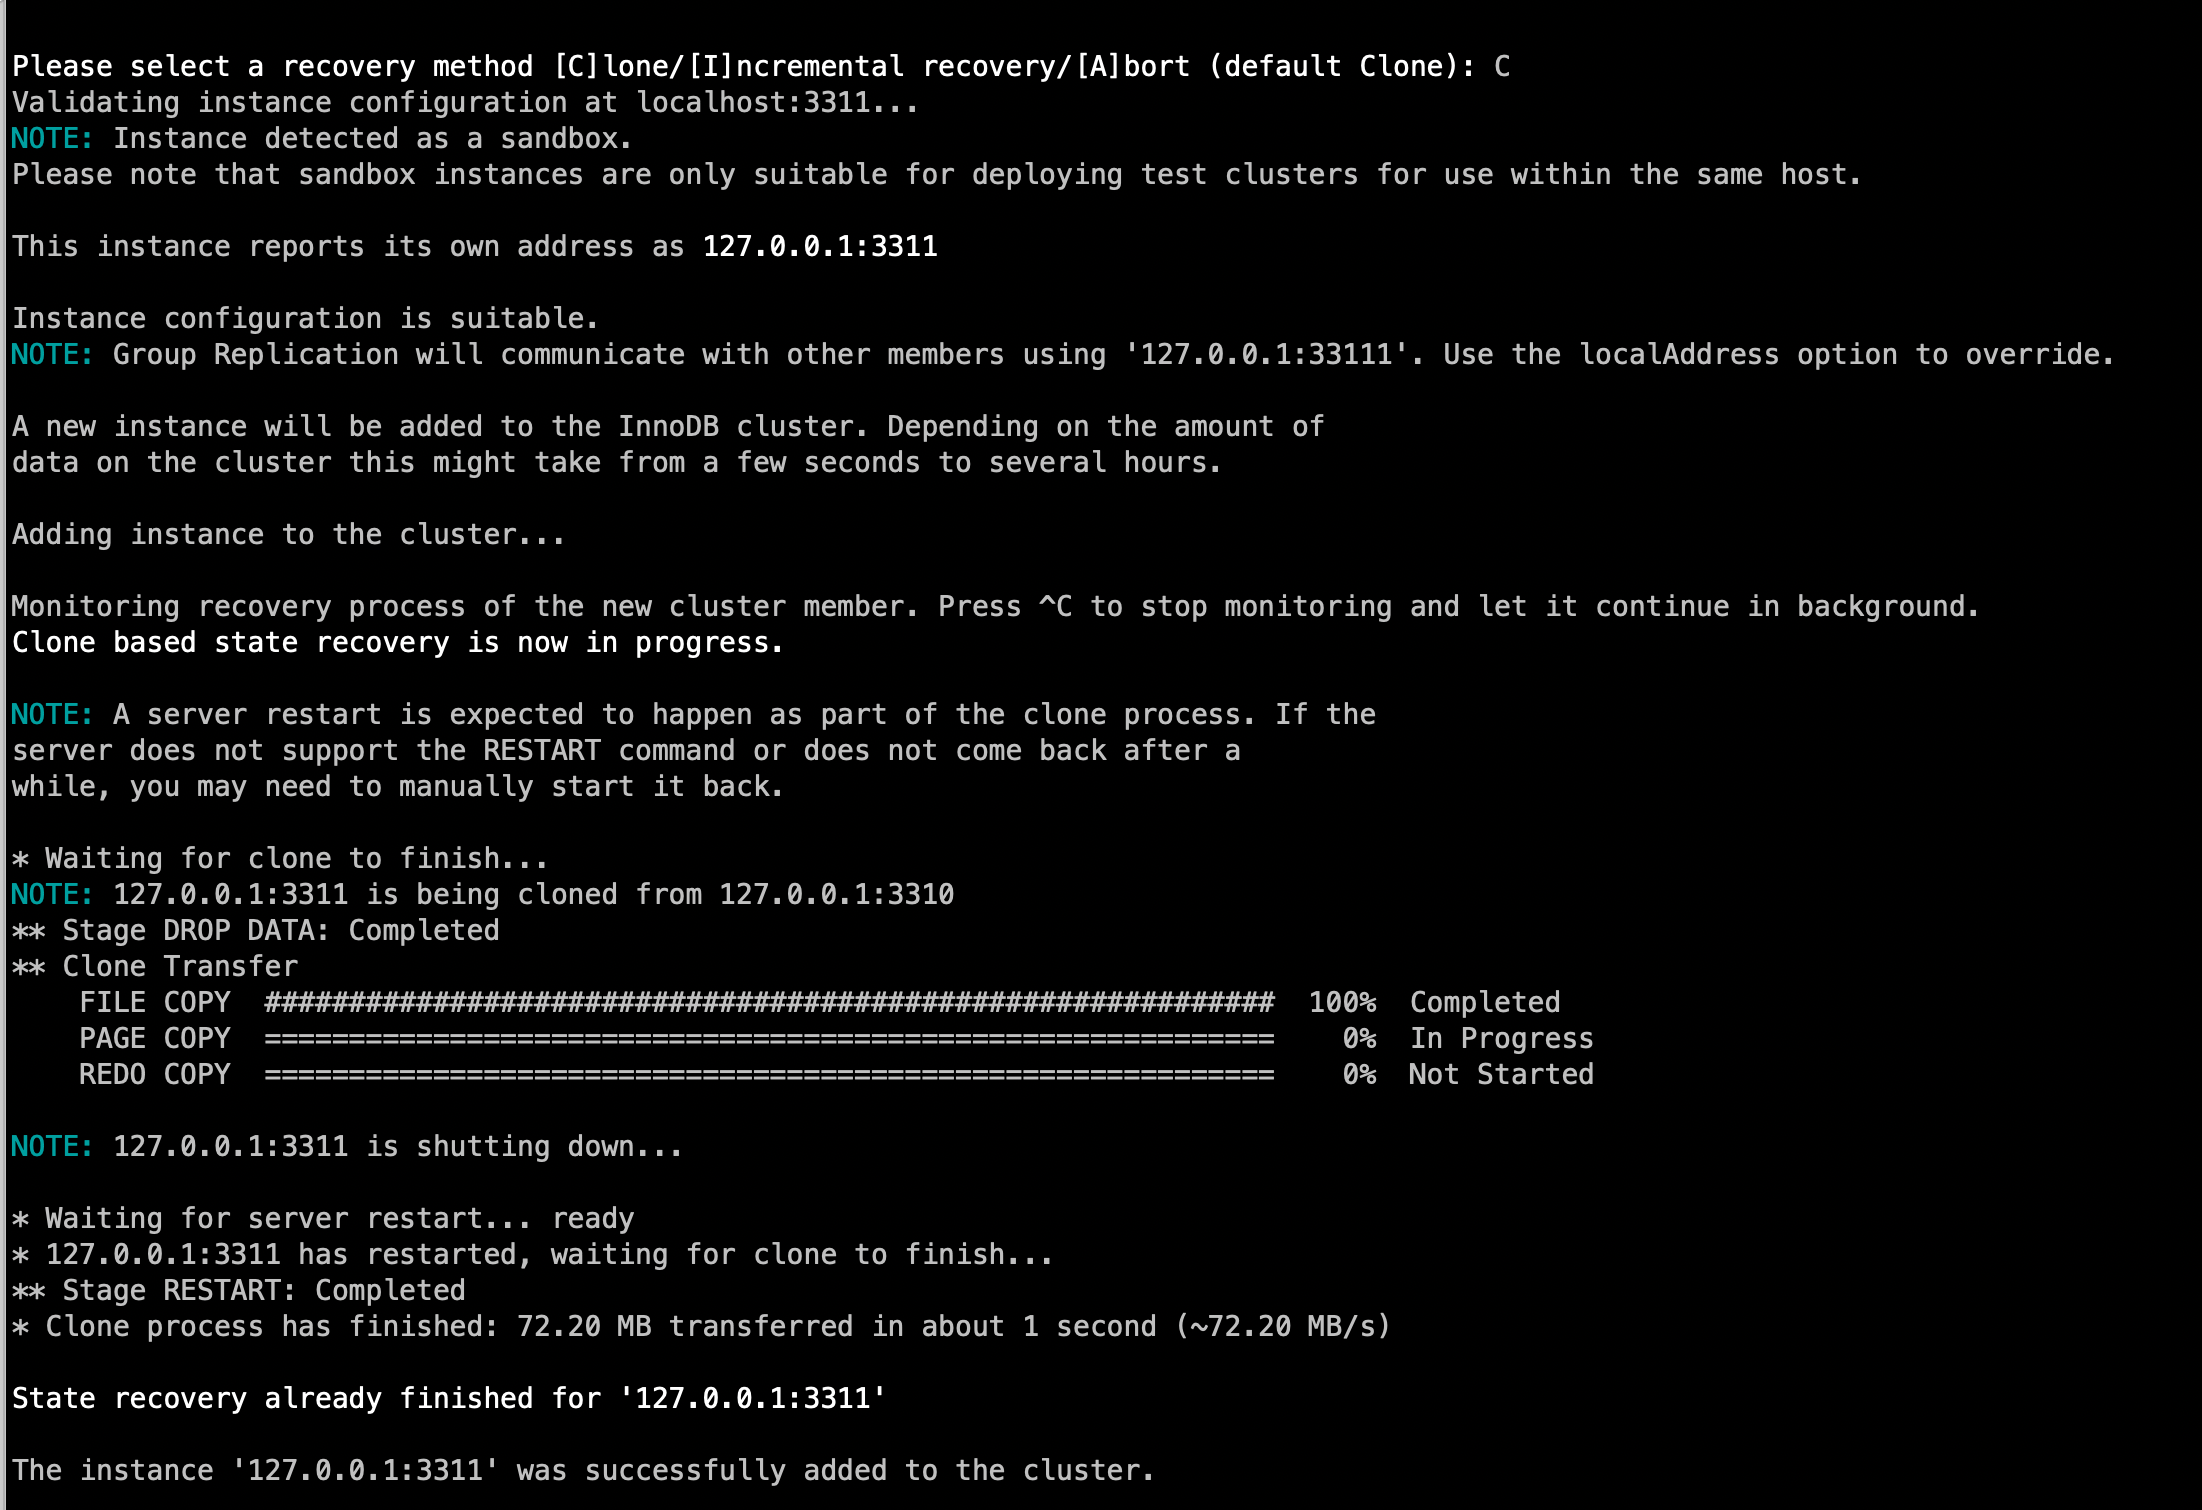
用同样的步骤将两个节点都加入集群;
这样MGR搭建就完成了,接下来简单介绍下MySQL Shell对集群进行管理。
5、管理MGR集群
- 查看集群状态
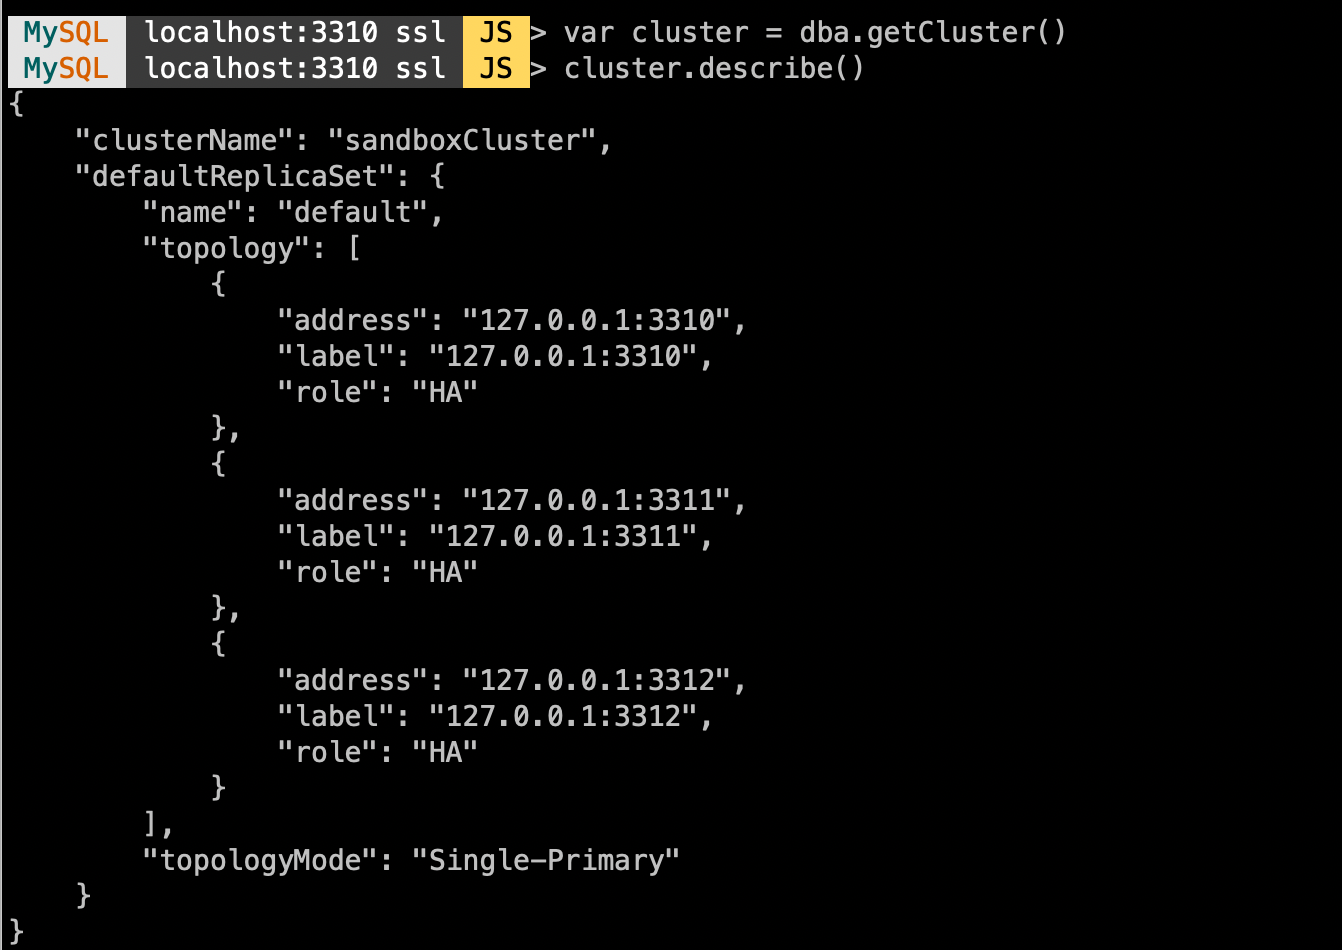
var cluster = dba.getCluster()
#查看集群结构
cluster.describe()
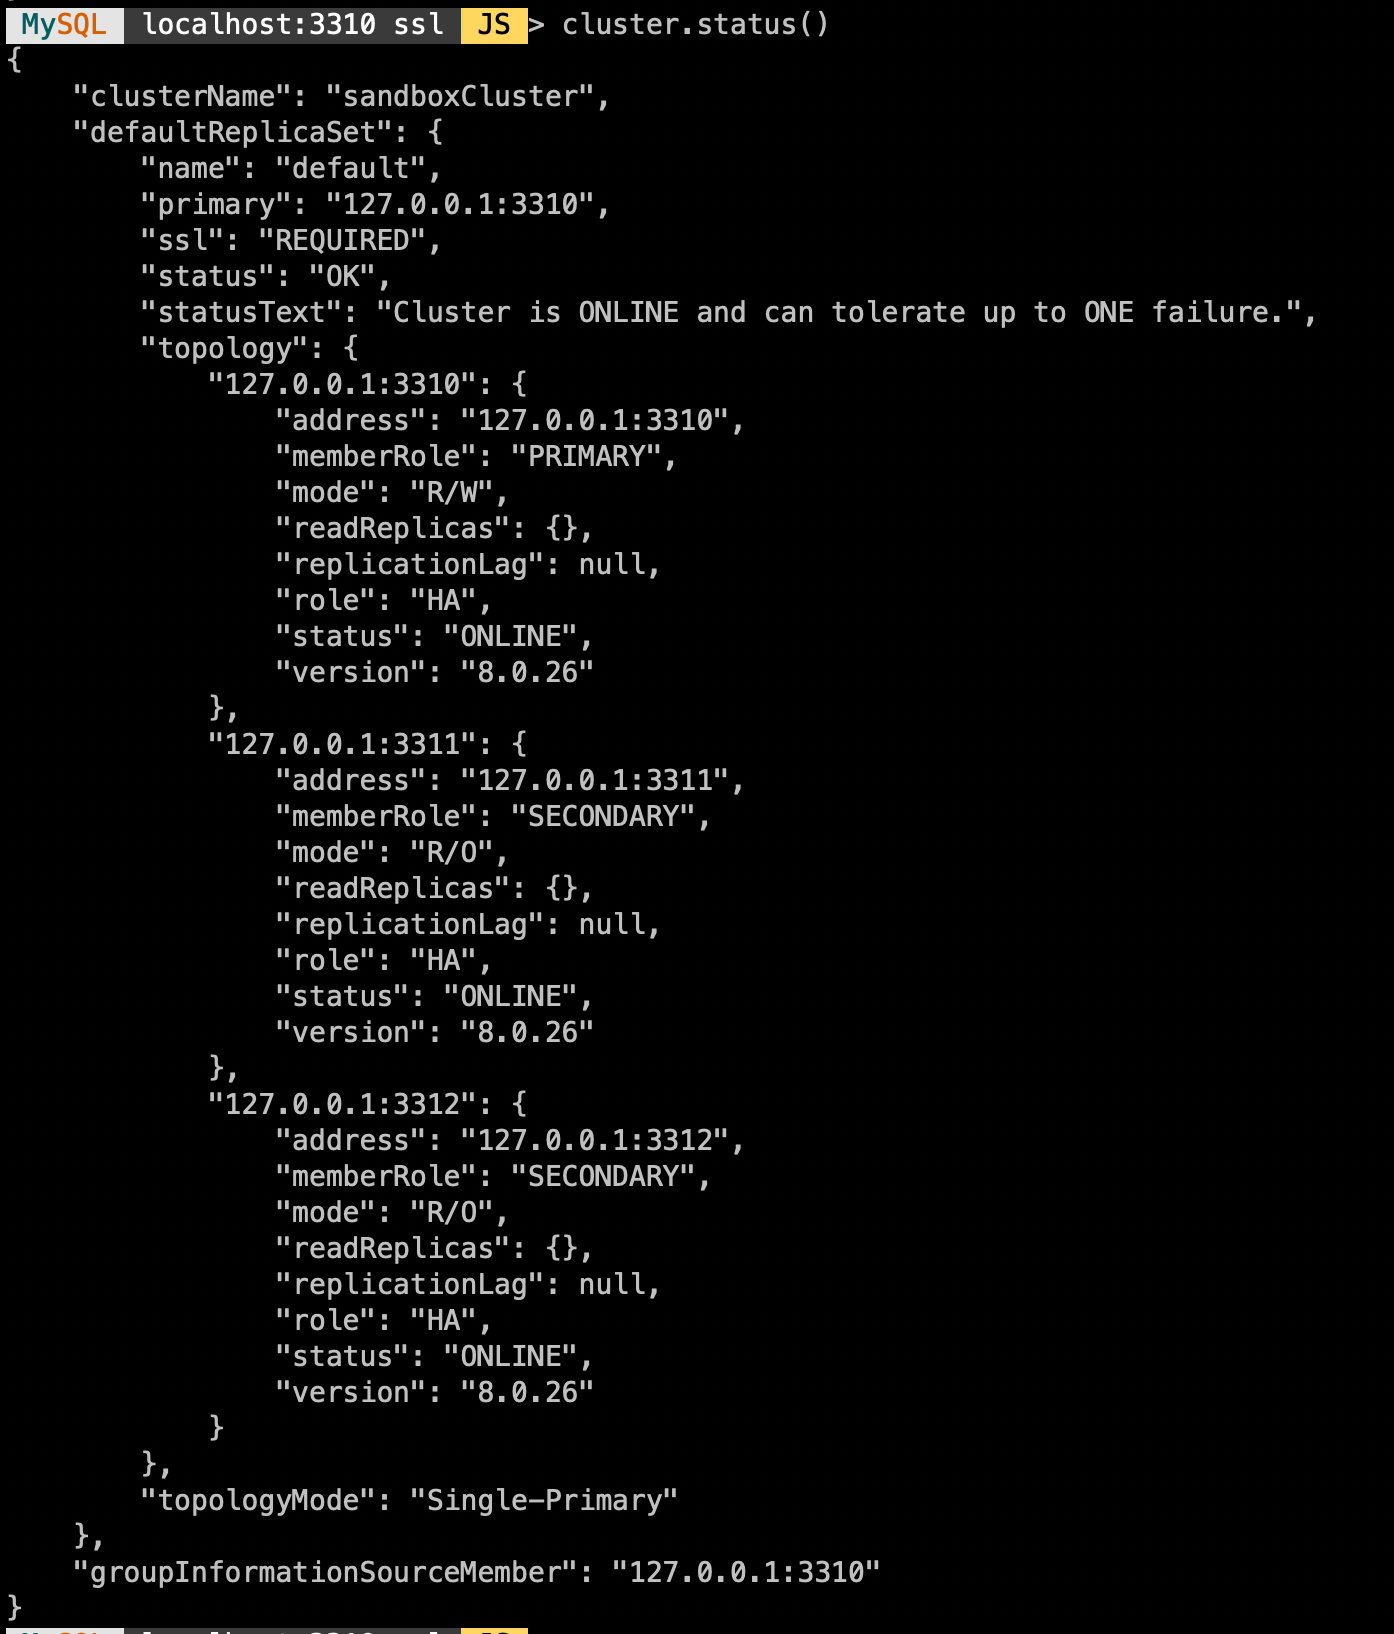
#查看集群状态
cluster.status()
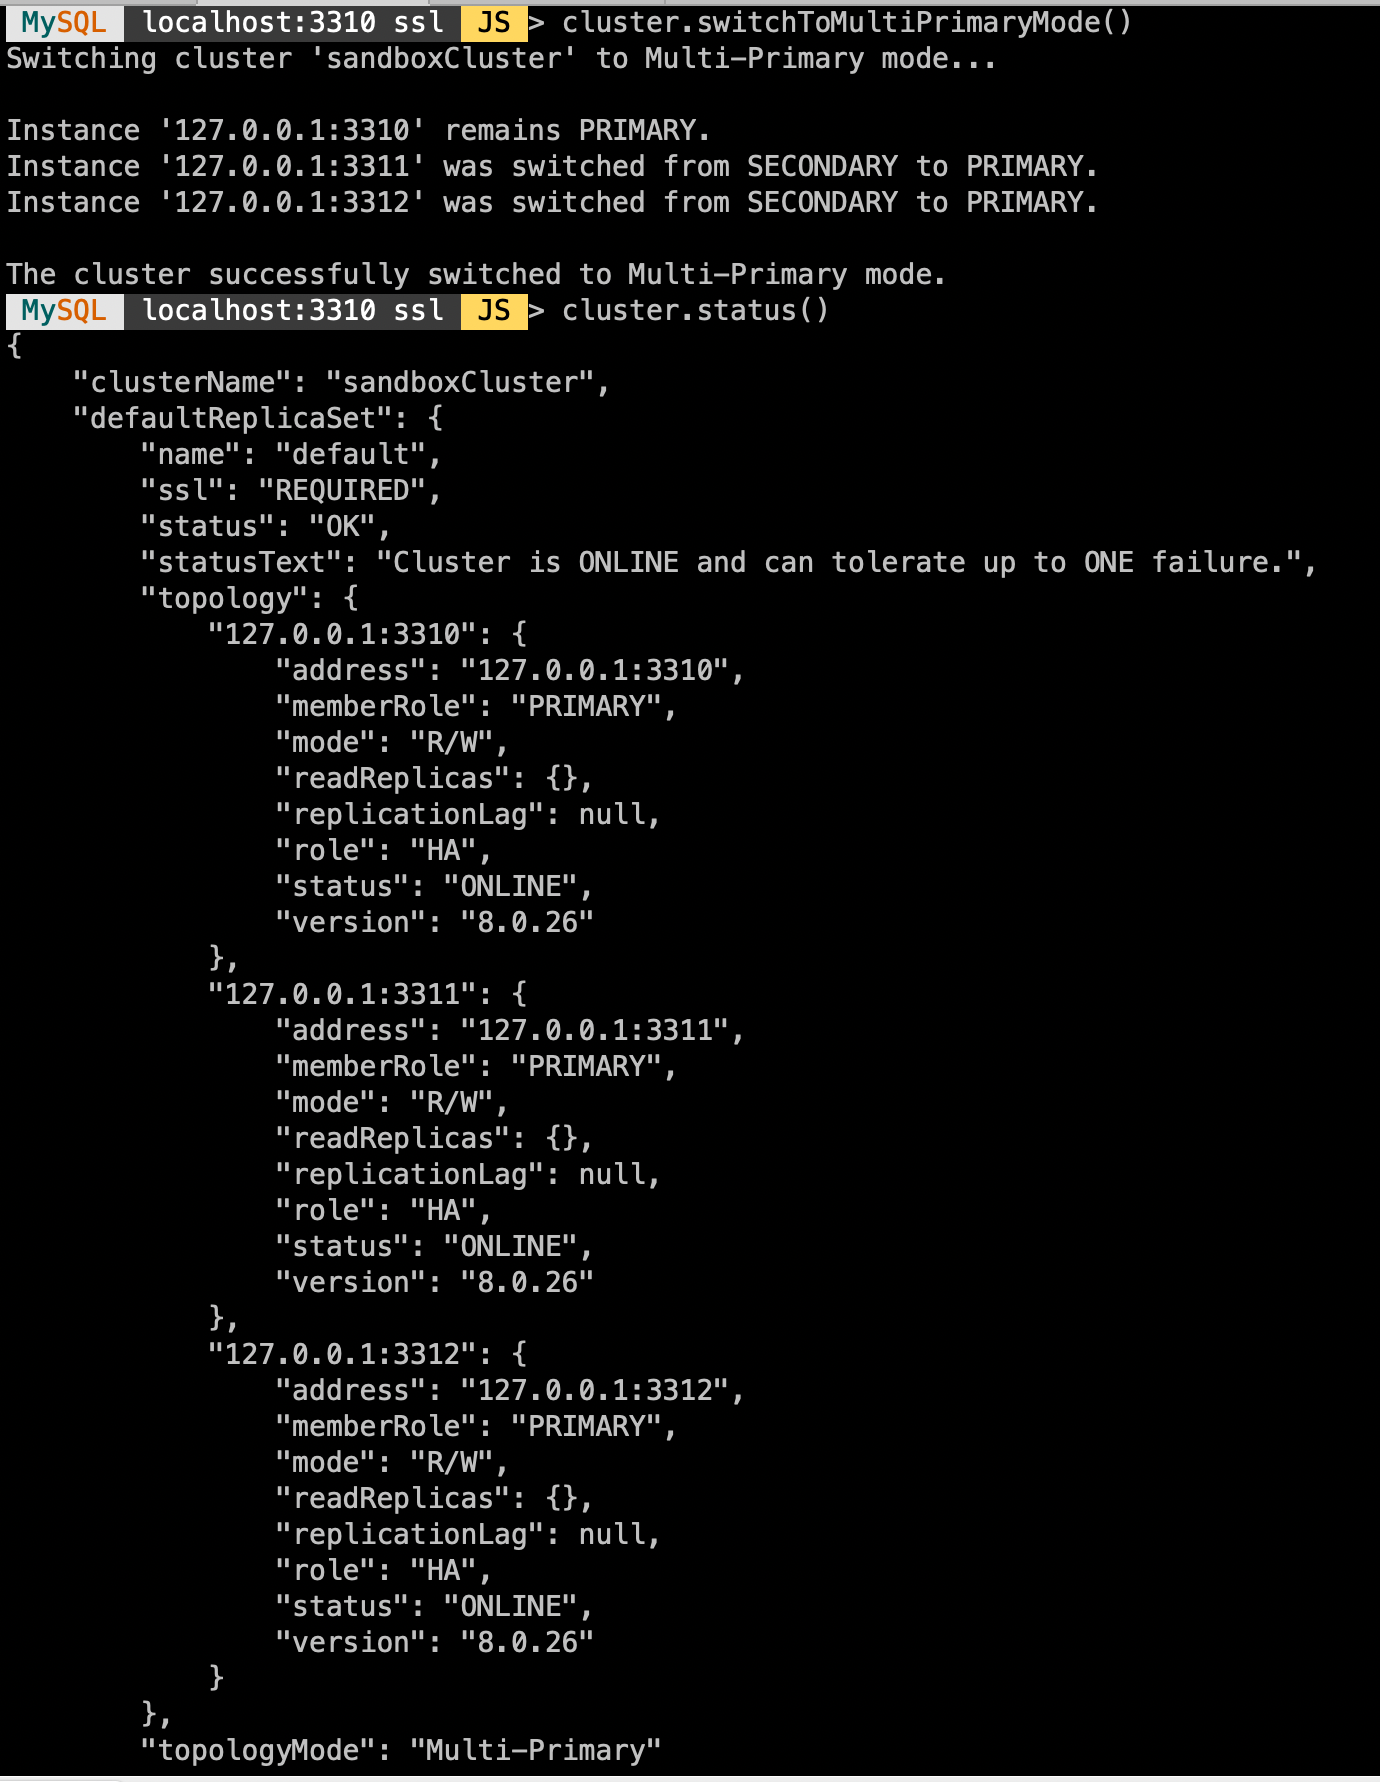
- 切换单/多主模式
#切换多主模式
cluster.switchToMultiPrimaryMode()
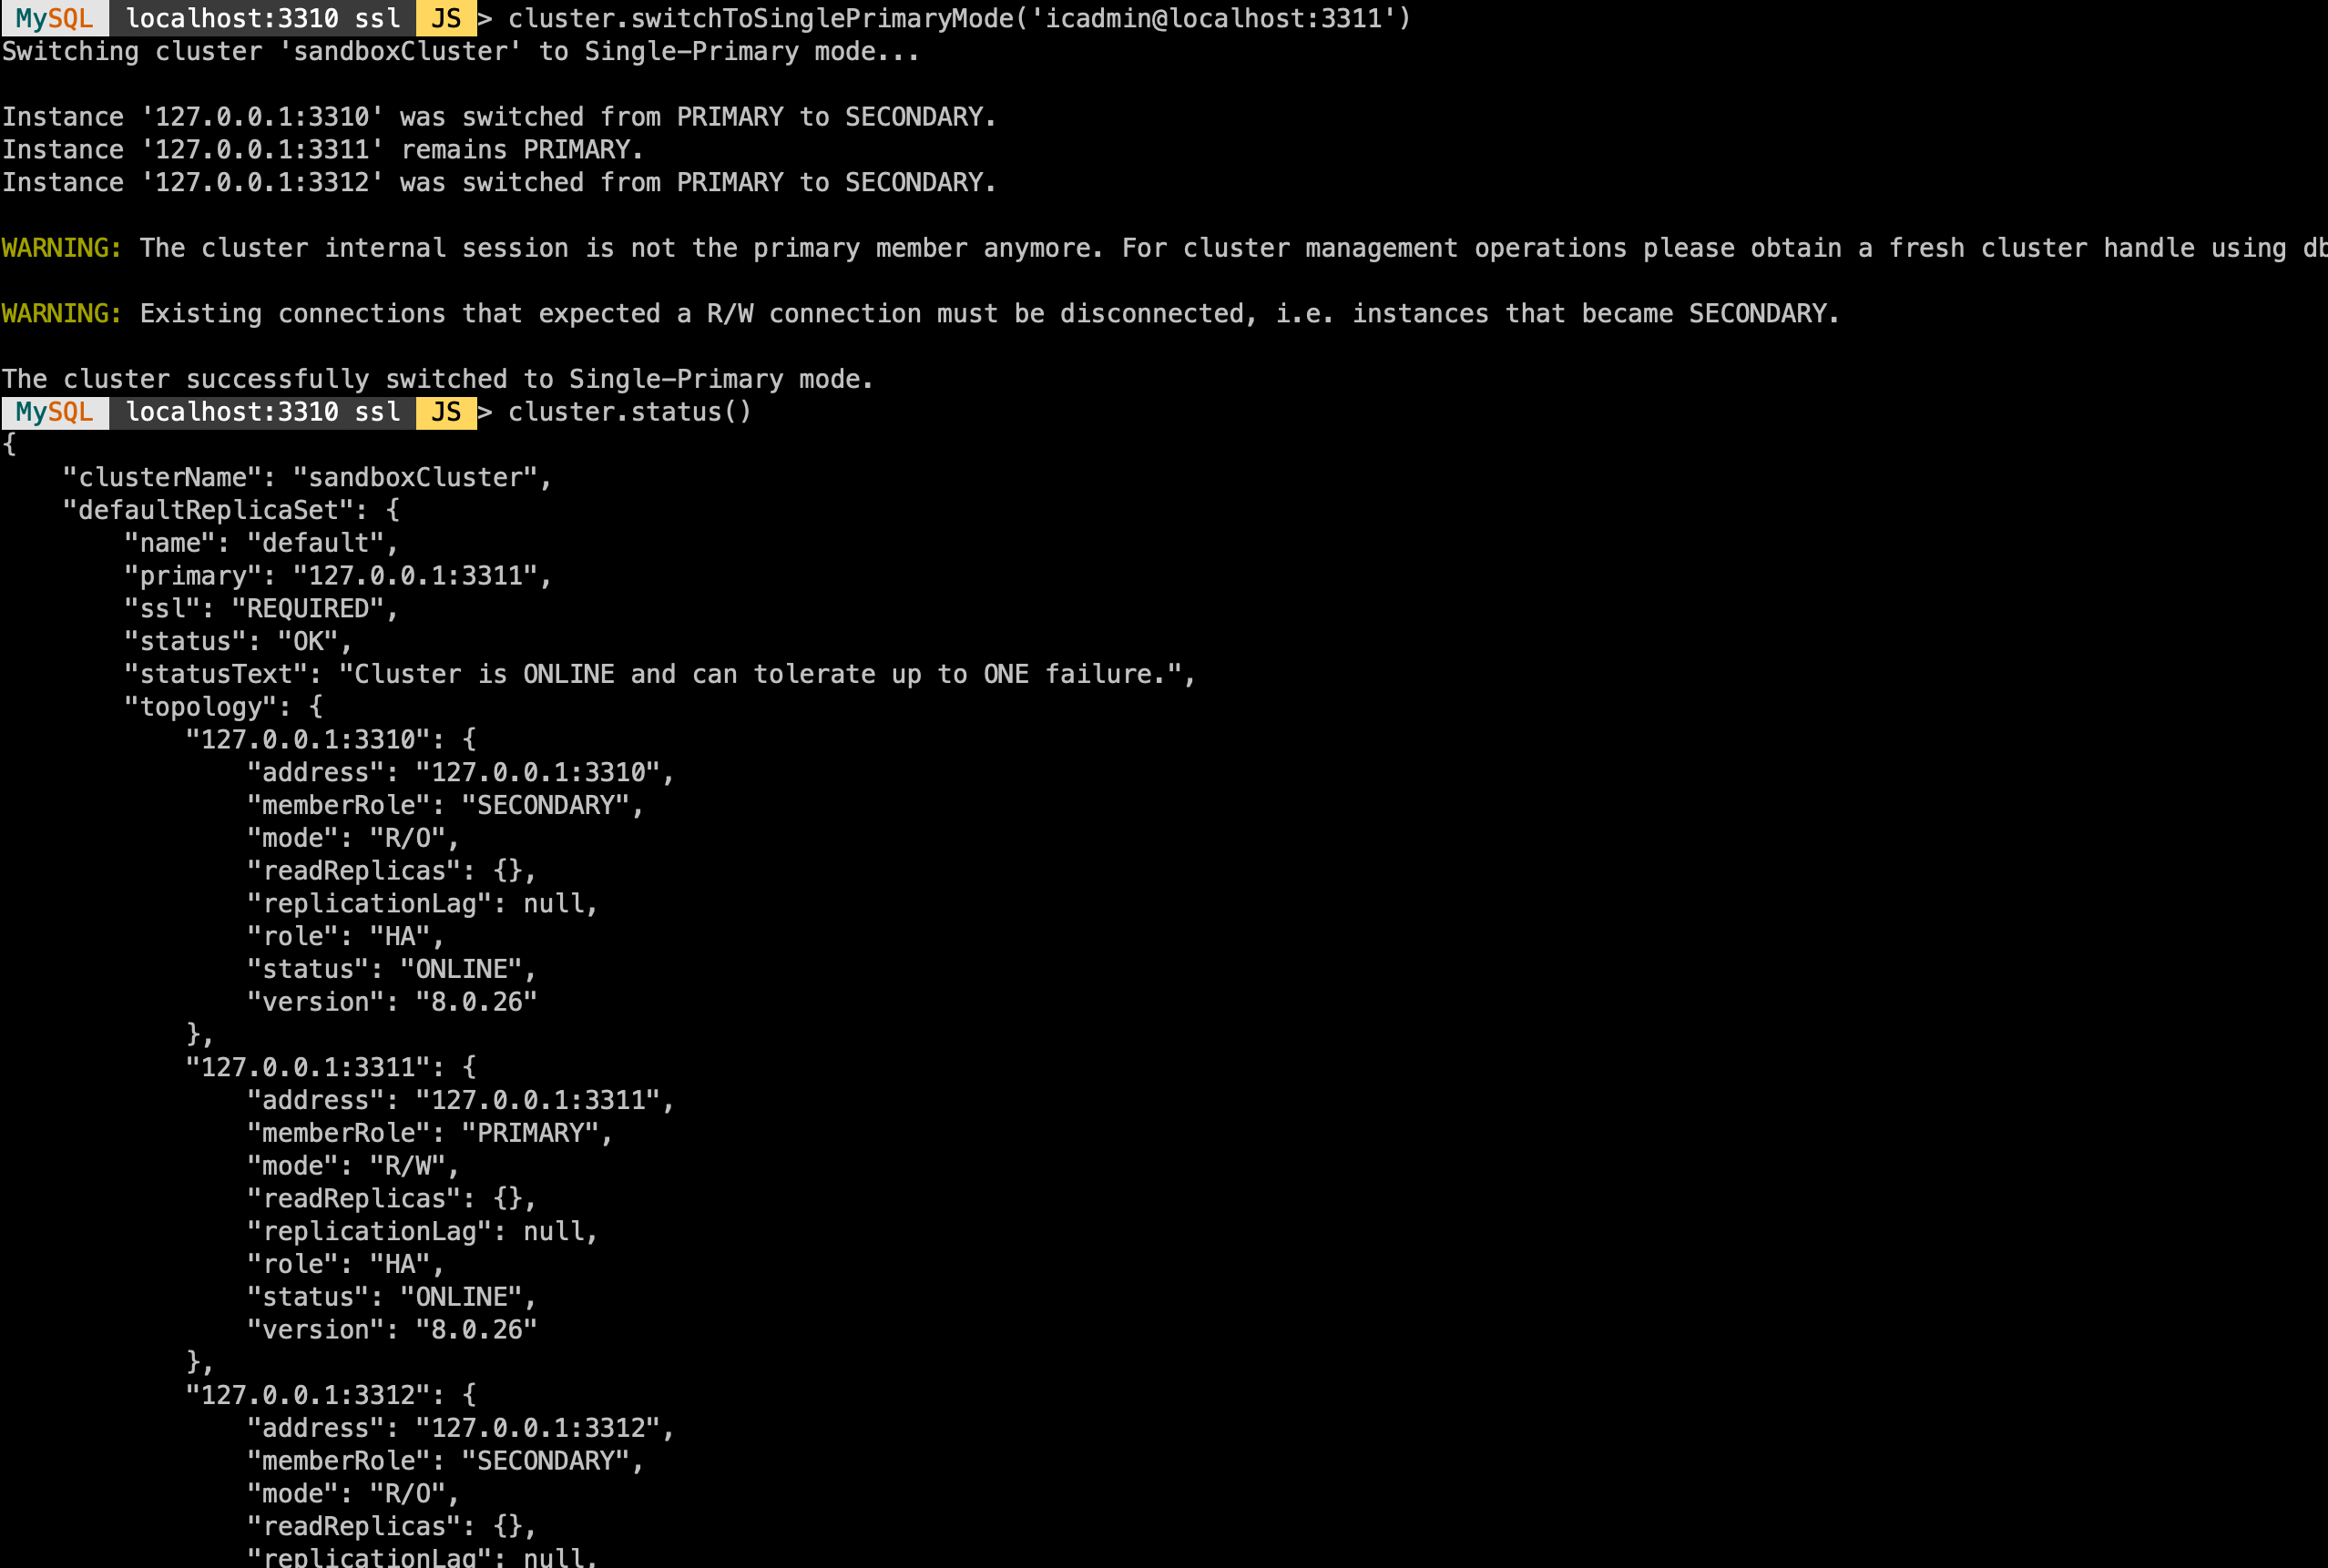
#切换单主模式
cluster.switchToSinglePrimaryMode([instance])
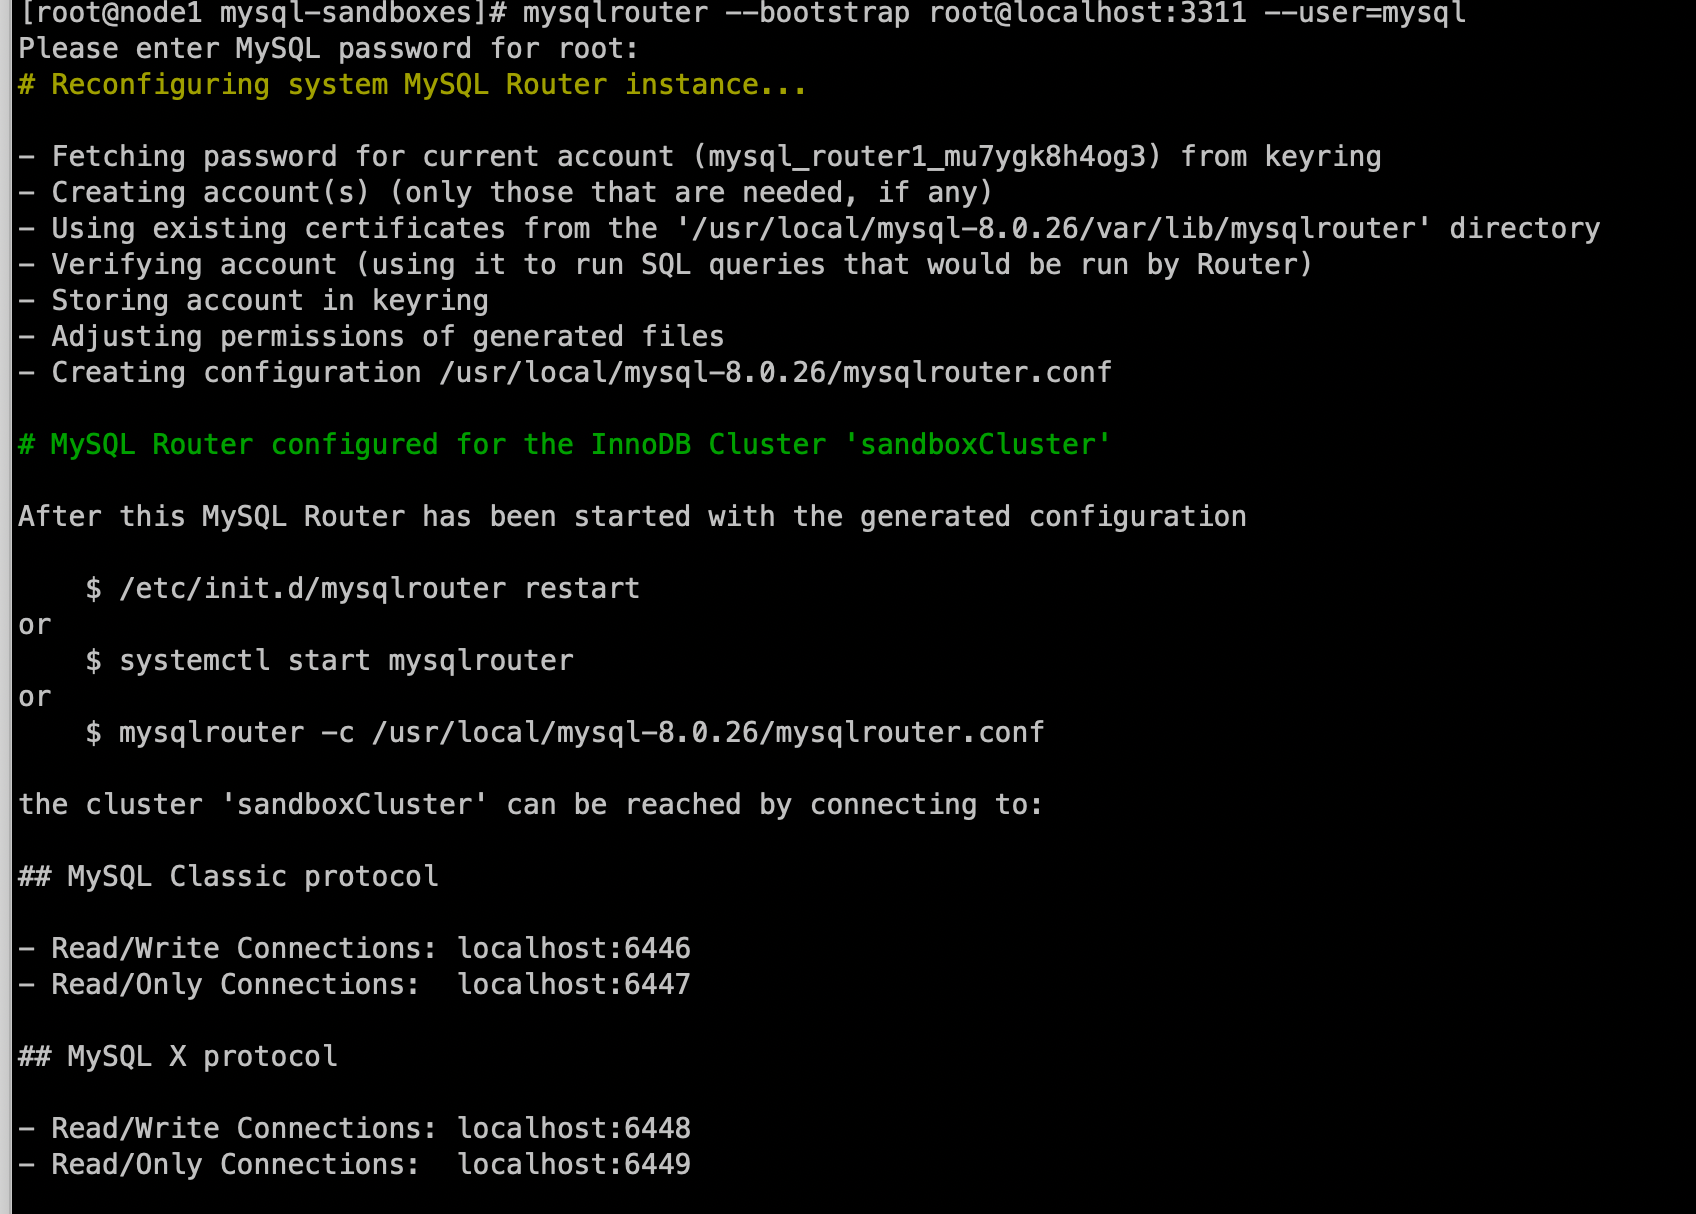
- 配置MySQL Router
#启动
mysqlrouter --bootstrap root@localhost:3311 --user=mysql
mysqlrouter -c /usr/local/mysql-8.0.26/mysqlrouter.conf
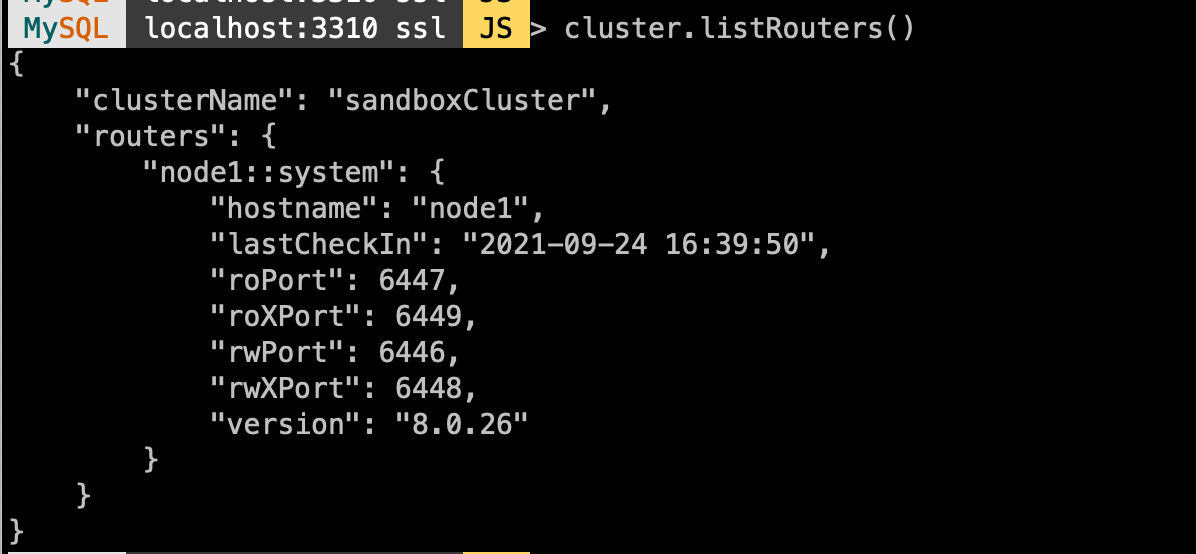
#查看配置
cluster.listRouters()
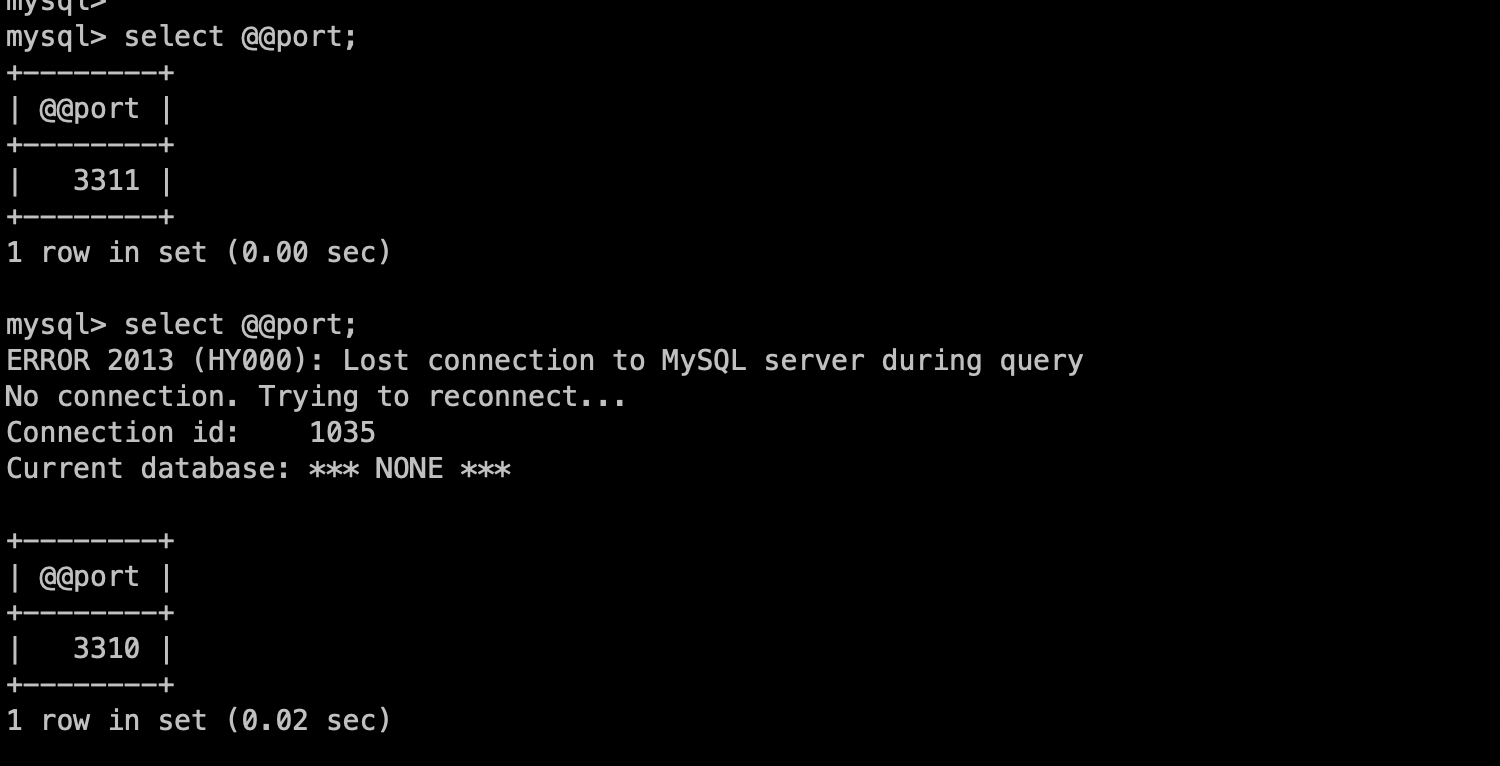
通过RW端口连接,简单测试下failover
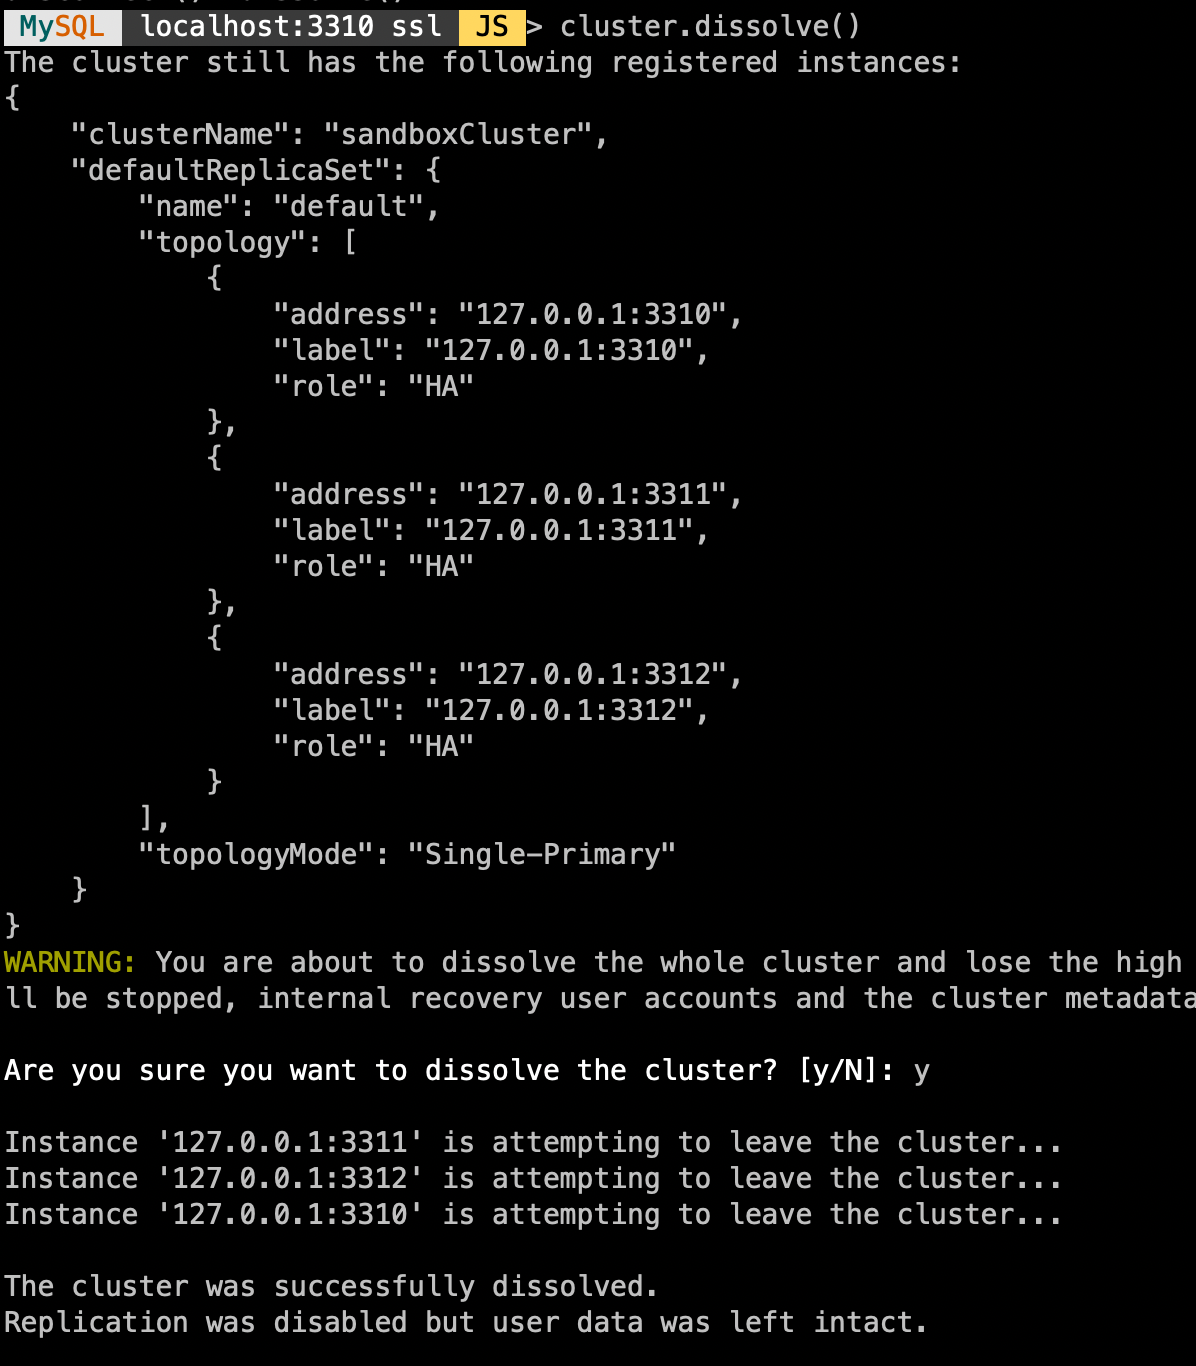
- 销毁集群
cluster.dissolve()
「喜欢这篇文章,您的关注和赞赏是给作者最好的鼓励」
关注作者
【版权声明】本文为墨天轮用户原创内容,转载时必须标注文章的来源(墨天轮),文章链接,文章作者等基本信息,否则作者和墨天轮有权追究责任。如果您发现墨天轮中有涉嫌抄袭或者侵权的内容,欢迎发送邮件至:contact@modb.pro进行举报,并提供相关证据,一经查实,墨天轮将立刻删除相关内容。
