


摘要
这是夜说的第二篇学习文章,安装达梦8数据库,为后面的学习提供操作环境。
一、系统信息
1.系统版本信息(带GUI安装)[root@yeshuo ~]# cat etc/redhat-releaseRed Hat Enterprise Linux release 8.3 (Ootpa)2.获取系统位数[root@yeshuo ~]# getconf LONG_BIT643.查询操作系统 release 信息[root@yeshuo ~]# lsb_release -aLSB Version: :core-4.1-amd64:core-4.1-noarch:cxx-4.1-amd64:cxx-4.1-noarch:desktop-4.1-amd64:desktop-4.1-noarch:languages-4.1-amd64:languages-4.1-noarch:printing-4.1-amd64:printing-4.1-noarchDistributor ID: RedHatEnterpriseDescription: Red Hat Enterprise Linux release 8.3 (Ootpa)Release: 8.3Codename: Ootpa4.查询系统名称[root@yeshuo ~]# uname -aLinux yeshuo 4.18.0-240.el8.x86_64 #1 SMP Wed Sep 23 05:13:10 EDT 2020 x86_64 x86_64 x86_64 GNU/Linux5.内存大小[root@yeshuo ~]# free -gtotal used free shared buff/cache availableMem: 5 1 0 0 4 4Swap: 7 0 76.磁盘大小[root@yeshuo ~]# df -hFilesystem Size Used Avail Use% Mounted ondevtmpfs 2.9G 0 2.9G 0% devtmpfs 3.0G 0 3.0G 0% dev/shmtmpfs 3.0G 11M 2.9G 1% runtmpfs 3.0G 0 3.0G 0% sys/fs/cgroup/dev/mapper/rhel-root 55G 14G 42G 25%/dev/sda1 1014M 221M 794M 22% boottmpfs 595M 28K 595M 1% run/user/976tmpfs 595M 44K 595M 1% run/user/1000tmpfs 595M 0 595M 0% /run/user/0
二、配置yum源
[root@yeshuo ~]# cd etc/yum.repos.d/[root@yeshuo yum.repos.d]# lsredhat.repo[root@yeshuo yum.repos.d]# mv redhat.repo redhat.repo.bak[root@yeshuo yum.repos.d]# vi dm8.repo[root@yeshuo yum.repos.d]# cat dm8.repo[BaseOS]name=BaseOSbaseurl=file:///mnt/dm8/BaseOSgpgcheck=0enabled=1[AppStream]name=AppStreambaseurl=file:///mnt/dm8/AppStreamgpgcheck=0enabled=1[root@yeshuo yum.repos.d]#[root@yeshuo yum.repos.d]# mkdir -p mnt/dm8[root@yeshuo ~]# mount -o loop root/rhel-8.3-x86_64-dvd.iso mnt/dm8mount: mnt/dm8: WARNING: device write-protected, mounted read-only.[root@yeshuo ~]# df -hFilesystem Size Used Avail Use% Mounted ondevtmpfs 2.9G 0 2.9G 0% devtmpfs 3.0G 0 3.0G 0% dev/shmtmpfs 3.0G 11M 2.9G 1% runtmpfs 3.0G 0 3.0G 0% sys/fs/cgroup/dev/mapper/rhel-root 55G 14G 42G 25%/dev/sda1 1014M 221M 794M 22% boottmpfs 595M 28K 595M 1% run/user/976tmpfs 595M 44K 595M 1% run/user/1000tmpfs 595M 0 595M 0% run/user/0/dev/loop0 8.9G 8.9G 0 100% /mnt/dm8
三、安装中文语言包
说明:由于安装系统时未选择中文,所以这里需要先安装中文语言包1.查看当前语言为en_US.[root@yeshuo ~]# localeLANG=en_US.UTF-8LC_CTYPE="en_US.UTF-8"LC_NUMERIC="en_US.UTF-8"LC_TIME="en_US.UTF-8"LC_COLLATE="en_US.UTF-8"LC_MONETARY="en_US.UTF-8"LC_MESSAGES="en_US.UTF-8"LC_PAPER="en_US.UTF-8"LC_NAME="en_US.UTF-8"LC_ADDRESS="en_US.UTF-8"LC_TELEPHONE="en_US.UTF-8"LC_MEASUREMENT="en_US.UTF-8"LC_IDENTIFICATION="en_US.UTF-8"LC_ALL=2.查看当前是否有中文包已安装(如果有则设置环境变量即可)[root@yeshuo ~]# locale -a | grep zh_CN3.安装中文包[root@yeshuo ~]# yum install -y glibc-langpack-zh4.临时修改系统为中文环境[root@yeshuo ~]# LANG="zh_CN.UTF-8"[root@yeshuo ~]# locale |grep LANGLANG=zh_CN.UTF-85.永久修改有两种方式:5.1执行以下命令[root@yeshuo ~]# localectl set-locale LANG=zh_CN.UTF8[root@yeshuo ~]# reboot5.2修改locale.conf文件内容如下:[root@yeshuo ~]# cat etc/locale.confLANG=zh_CN.UTF8[root@yeshuo ~]# reboot
四、创建安装用户
[root@yeshuo ~]# groupadd -g 12349 dinstall[root@yeshuo ~]# useradd -u 12345 -g dinstall -m -d home/dmdba -s bin/bash dmdba[root@yeshuo ~]# echo "passwd#123" | passwd --stdin dmdba更改用户 dmdba 的密码 。passwd:所有的身份验证令牌已经成功更新。
五、检查操作系统限制
[root@yeshuo ~]# ulimit -acore file size (blocks, -c) unlimiteddata seg size (kbytes, -d) unlimitedscheduling priority (-e) 0file size (blocks, -f) unlimitedpending signals (-i) 23542max locked memory (kbytes, -l) 64max memory size (kbytes, -m) unlimitedopen files (-n) 1024pipe size (512 bytes, -p) 8POSIX message queues (bytes, -q) 819200real-time priority (-r) 0stack size (kbytes, -s) 8192cpu time (seconds, -t) unlimitedmax user processes (-u) 23542virtual memory (kbytes, -v) unlimitedfile locks (-x) unlimited官方文档说明如下:参数使用限制:1.data seg sizedata seg size (kbytes, -d)建议用户设置为 1048576(即 1GB)以上或 unlimited(无限制),此参数过小将导致数据库启动失败。2. file sizefile size(blocks, -f)建议用户设置为 unlimited(无限制),此参数过小将导致数据库安装或初始化失败。3. open filesopen files(-n)建议用户设置为 65536 以上或 unlimited(无限制)。4.virtual memoryvirtual memory (kbytes, -v)建议用户设置为 1048576(即 1GB)以上或 unlimited(无限制),此参数过小将导致数据库启动失败。如 果 用 户 需 要 为 当 前 安 装 用 户 更 改 ulimit 的 资 源 限 制 , 请 修 改 文 件/etc/security/limits.conf。
六、上传安装介质并解压
[root@yeshuo ~]# mv dm8_20210712_x86_rh6_64_ent.zip home/dmdba/[root@yeshuo ~]# chown dmdba:dinstall home/dmdba/dm8_20210712_x86_rh6_64_ent.zip解压文件[root@yeshuo ~]# su - dmdba[dmdba@yeshuo ~]$ ll总用量 732380-rw-r--r--. 1 dmdba dinstall 749955771 9月 21 21:22 dm8_20210712_x86_rh6_64_ent.zip[dmdba@yeshuo ~]$ unzip dm8_20210712_x86_rh6_64_ent.zipArchive: dm8_20210712_x86_rh6_64_ent.zipcreating: dm8_20210712_x86_rh6_64_ent/inflating: dm8_20210712_x86_rh6_64_ent/dm8_20210712_x86_rh6_64_ent_8.1.2.38_pack1.iso_SHA256.txtinflating: dm8_20210712_x86_rh6_64_ent/dm8_20210712_x86_rh6_64_ent_8.1.2.38_pack1.iso[dmdba@yeshuo ~]$创建达梦ISO挂载点[root@yeshuo ~]# mkdir -p software/dm8[root@yeshuo ~]# chown -R dmdba:dinstall software/挂载达梦ISO文件[root@yeshuo ~]# mount -o loop home/dmdba/dm8_20210712_x86_rh6_64_ent/dm8_20210712_x86_rh6_64_ent_8.1.2.38_pack1.iso software/dm8/mount: software/dm8: WARNING: device write-protected, mounted read-only.[root@yeshuo ~]# df -h文件系统 容量 已用 可用 已用% 挂载点devtmpfs 2.9G 0 2.9G 0% devtmpfs 3.0G 0 3.0G 0% dev/shmtmpfs 3.0G 11M 2.9G 1% runtmpfs 3.0G 0 3.0G 0% sys/fs/cgroup/dev/mapper/rhel-root 55G 15G 41G 28%/dev/sda1 1014M 221M 794M 22% boottmpfs 595M 28K 595M 1% run/user/976tmpfs 595M 44K 595M 1% run/user/1000tmpfs 595M 0 595M 0% run/user/0/dev/loop0 8.9G 8.9G 0 100% mnt/dm8/dev/loop1 727M 727M 0 100% /software/dm8
七、创建达梦数据库软件目录和数据目录
说明:/dmsoftware安装达梦软件,/dmdata放置达梦数据库[root@yeshuo ~]# mkdir -p dmsoftware[root@yeshuo ~]# mkdir -p dmdata[root@yeshuo ~]# chown -R dmdba:dinstall dmsoftware/[root@yeshuo ~]# chown -R dmdba:dinstall /dmdata/
八、 关闭防火墙和SELINUX
需要关闭selinux,否则后面DmAPService.service无法启动从日志看是selinux没有关闭导致服务没有启动9月 21 22:15:00 yeshuo setroubleshoot[40914]: SELinux is preventing usr/lib/systemd/systemd from execute access on the file DmAPService. Fo>9月 21 22:15:00 yeshuo setroubleshoot[40914]: SELinux is preventing usr/lib/systemd/systemd from execute access on the file DmAPService.关闭selinux和防火墙[root@yeshuo ~]# vi etc/selinux/config[root@yeshuo ~]# cat etc/selinux/config# This file controls the state of SELinux on the system.# SELINUX= can take one of these three values:# enforcing - SELinux security policy is enforced.# permissive - SELinux prints warnings instead of enforcing.# disabled - No SELinux policy is loaded.SELINUX=disabled# SELINUXTYPE= can take one of these three values:# targeted - Targeted processes are protected,# minimum - Modification of targeted policy. Only selected processes are protected.# mls - Multi Level Security protection.SELINUXTYPE=targeted临时生效[root@yeshuo ~]# setenforce 0关闭防火墙[root@yeshuo ~]# systemctl stop firewalld.service[root@yeshuo ~]# systemctl disable firewalld.service
九、安装达梦八软件
[root@yeshuo ~]# su - dmdba[dmdba@yeshuo ~]$ cd software/dm8/[dmdba@yeshuo dm8]$ ls'DM8 Install.pdf' DMInstall.bin[dmdba@yeshuo dm8]$ export DISPLAY=192.168.171.1:0.0[dmdba@yeshuo dm8]$ ./DMInstall.bin解压安装程序........
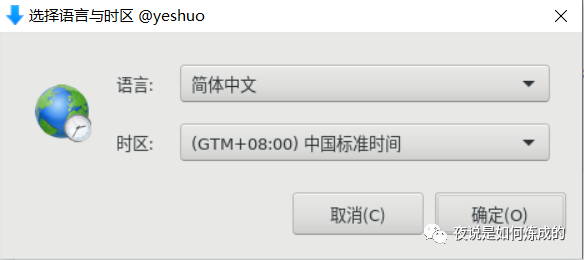
点击确定
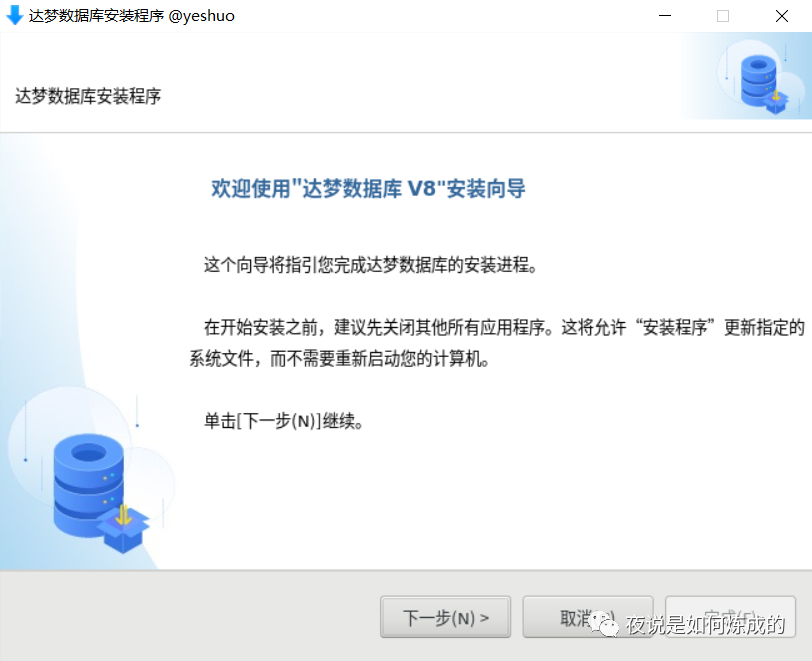
点击下一步
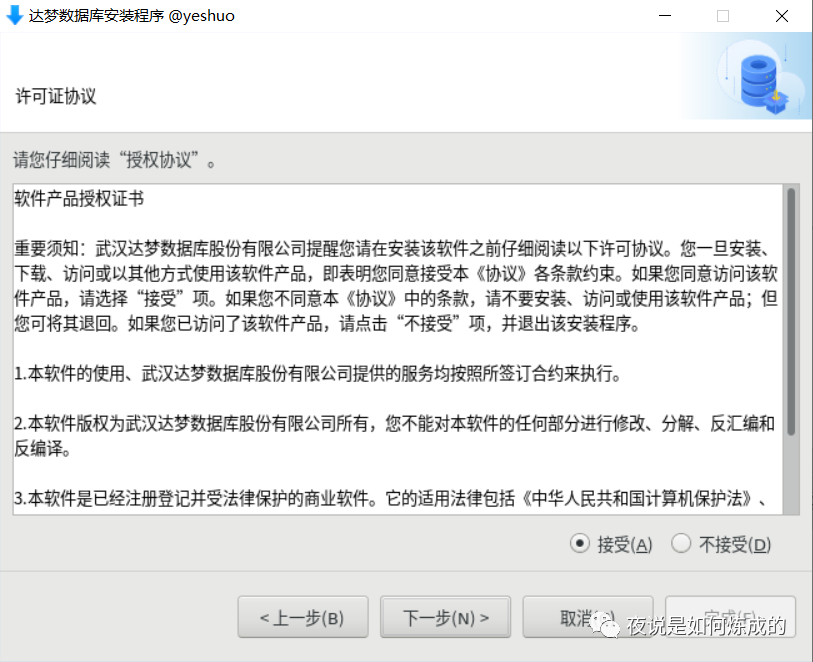
接受许可,并点击下一步
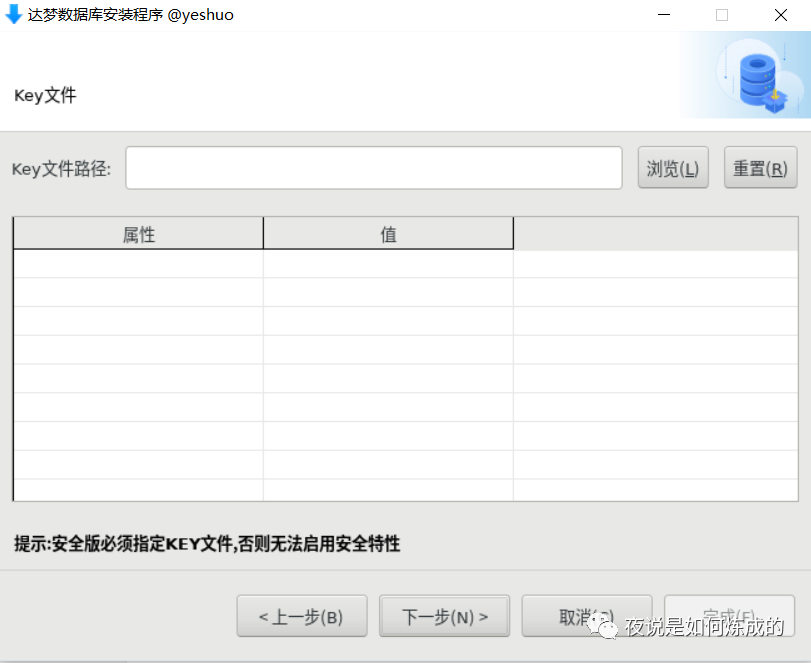
有购买key则输入,无则直接下一步
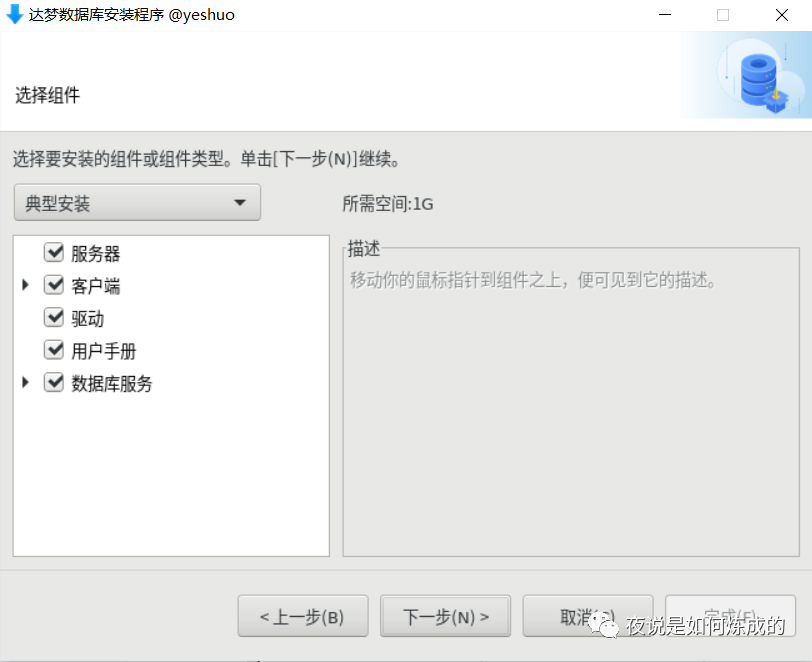
为了学习,选择典型安装【可自己自由选择组件】
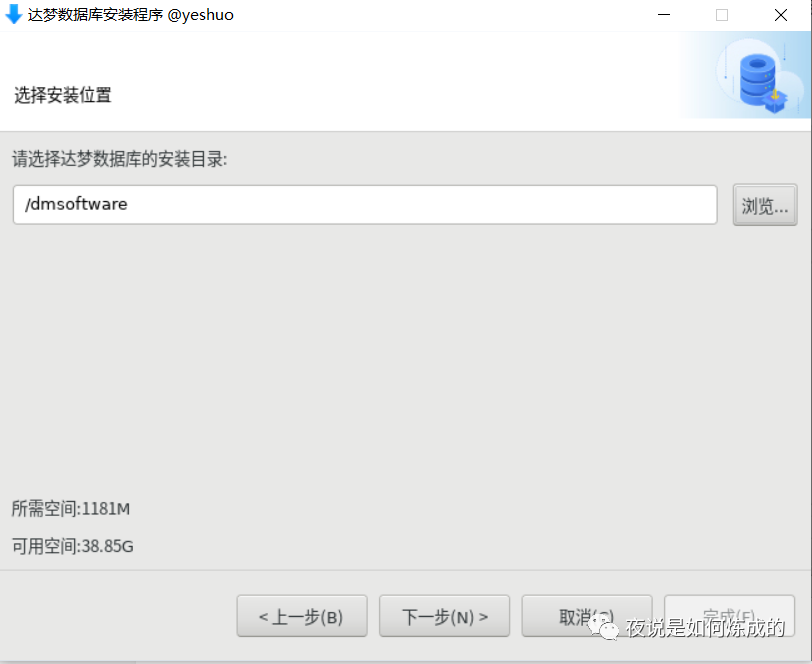
选择软件安装目录,点击下一步
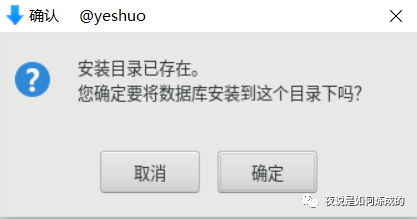
选择确定
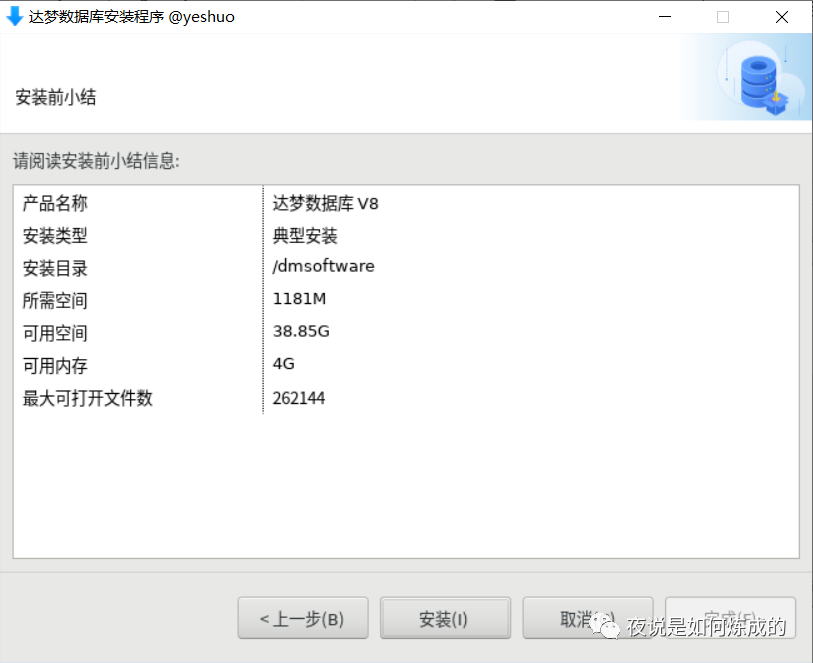
安装前小结,确认没问题后点击安装
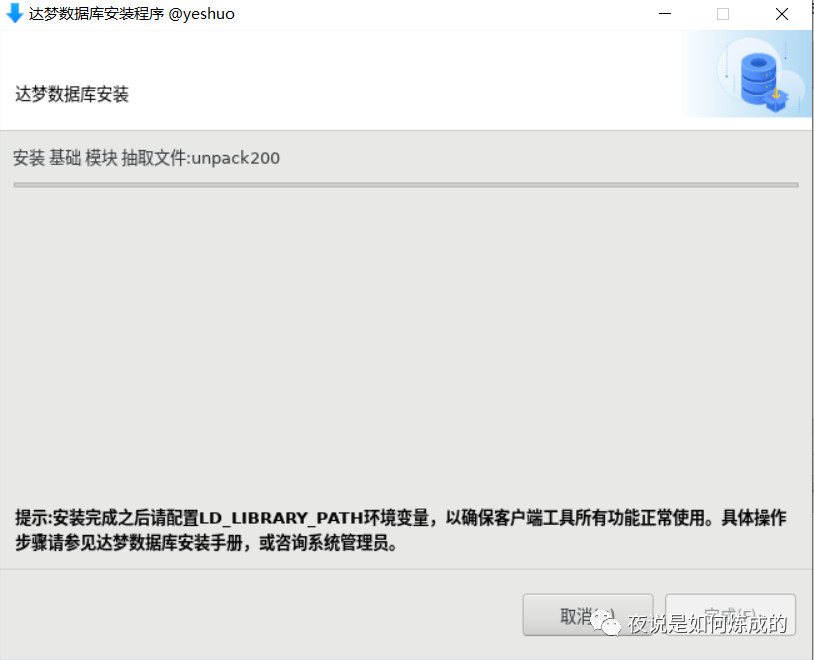
进入安装过程
配置dmdba环境变量如下:[dmdba@yeshuo ~]$ vi .bash_profile[dmdba@yeshuo ~]$ cat .bash_profile# .bash_profile`# Get the aliases and functionsif [ -f ~/.bashrc ]; then. ~/.bashrcfi# User specific environment and startup programsexport LD_LIBRARY_PATH="$LD_LIBRARY_PATH:/dmsoftware/bin"export DM_HOME="/dmsoftware"export PATH=$PATH:/dmsoftware/bin[dmdba@yeshuo ~]$[dmdba@yeshuo ~]$ source .bash_profile[dmdba@yeshuo ~]$ echo $DM_HOME/dmsoftware
执行配置脚本
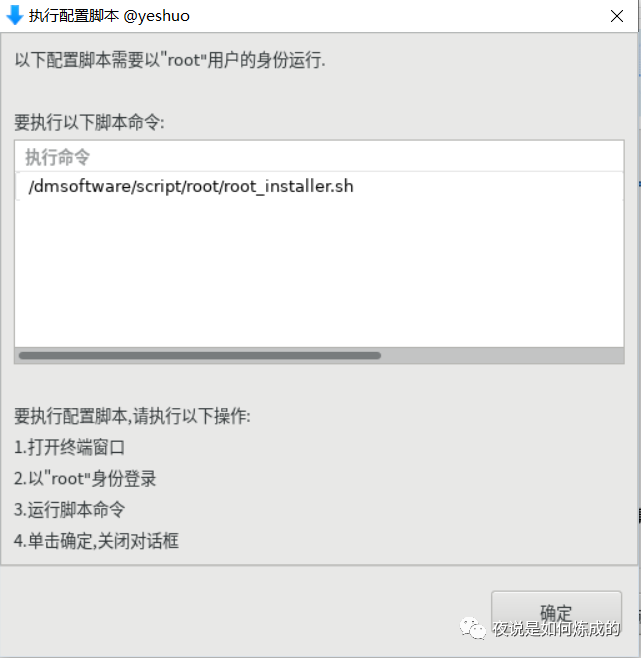
[root@yeshuo ~]# /dmsoftware/script/root/root_installer.sh移动 /dmsoftware/bin/dm_svc.conf 到/etc目录修改服务器权限创建DmAPService服务Created symlink /etc/systemd/system/multi-user.target.wants/DmAPService.service → /usr/lib/systemd/system/DmAPService.service.创建服务(DmAPService)完成启动DmAPService服务Job for DmAPService.service failed because the control process exited with error code.See "systemctl status DmAPService.service" and "journalctl -xe" for details.[root@yeshuo ~]#【前面已补充以下部分】从日志看是selinux没有关闭导致服务没有启动9月 21 22:15:00 yeshuo setroubleshoot[40914]: SELinux is preventing /usr/lib/systemd/systemd from execute access on the file DmAPService. Fo>9月 21 22:15:00 yeshuo setroubleshoot[40914]: SELinux is preventing /usr/lib/systemd/systemd from execute access on the file DmAPService.关闭selinux和防火墙[root@yeshuo ~]# vi /etc/selinux/config[root@yeshuo ~]# cat /etc/selinux/config# This file controls the state of SELinux on the system.# SELINUX= can take one of these three values:# enforcing - SELinux security policy is enforced.# permissive - SELinux prints warnings instead of enforcing.# disabled - No SELinux policy is loaded.SELINUX=disabled# SELINUXTYPE= can take one of these three values:# targeted - Targeted processes are protected,# minimum - Modification of targeted policy. Only selected processes are protected.# mls - Multi Level Security protection.SELINUXTYPE=targeted临时生效[root@yeshuo ~]# setenforce 0关闭防火墙[root@yeshuo ~]# systemctl stop firewalld.service[root@yeshuo ~]# systemctl disable firewalld.service
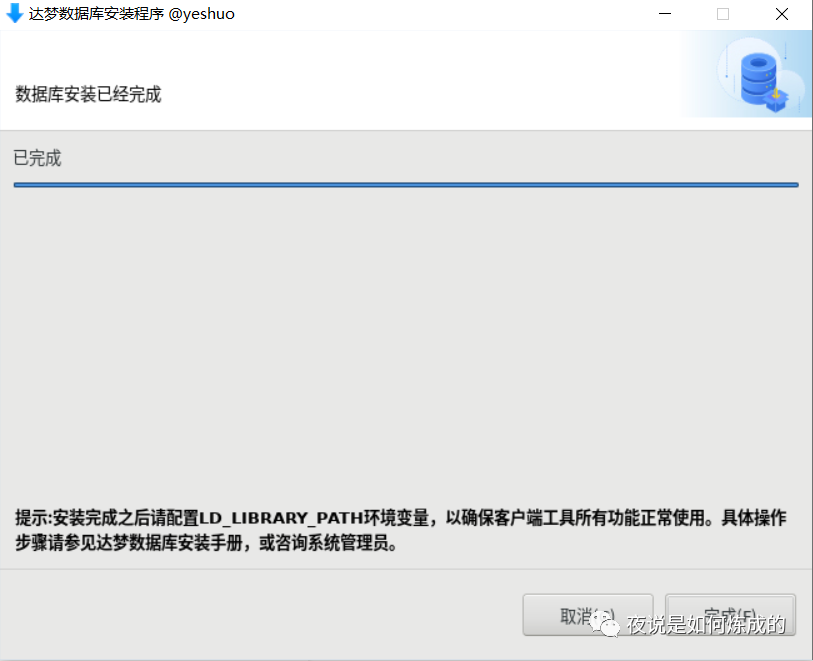
点击完成
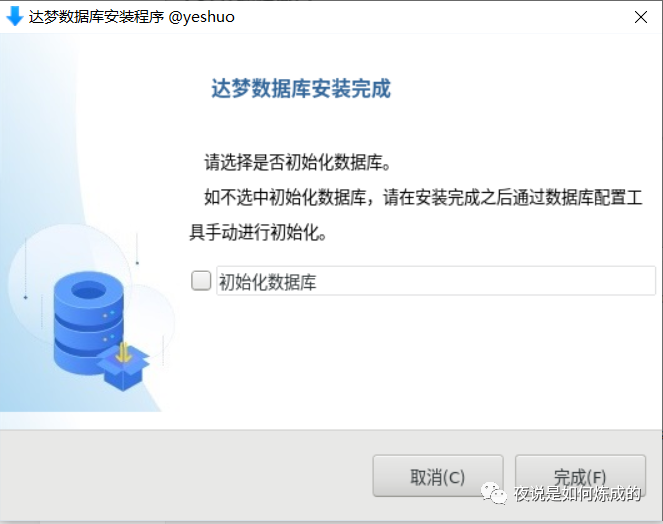
这里选择不初始化数据库,后面使用DBCA.SH脚本进行初始化
说明:如果想直接初始化,可以选择【初始化数据库】并继续
十、DBCA初始化数据库
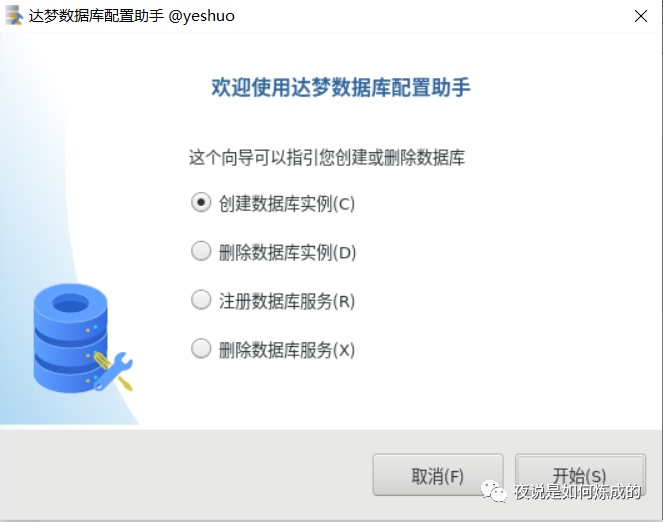
[dmdba@yeshuo tool]$ pwd/dmsoftware/tool[dmdba@yeshuo tool]$ ./dbca.sh[INFO] 启动DBCA
选择创建数据库实例
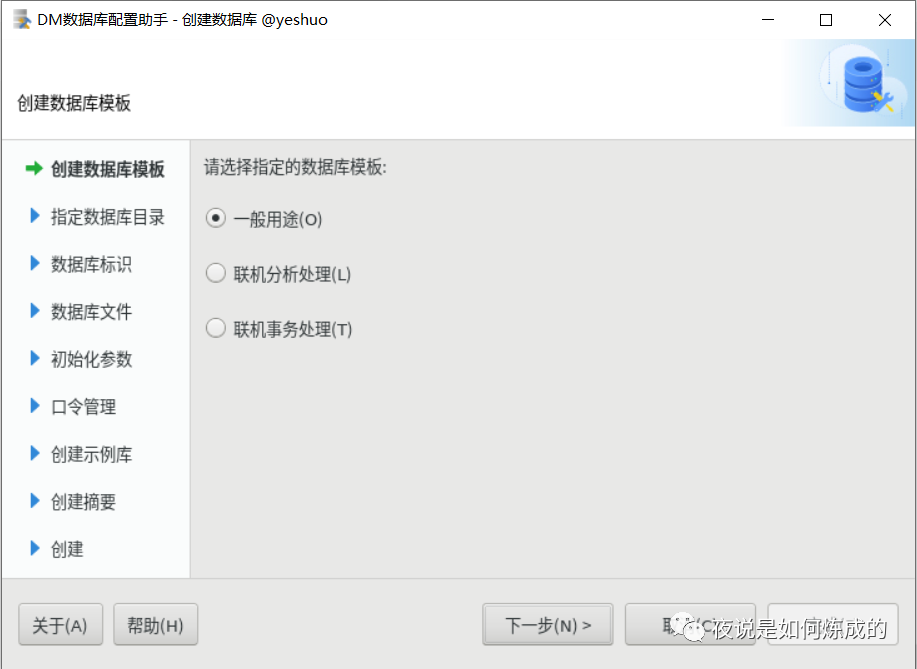
选择一般用途,点击下一步
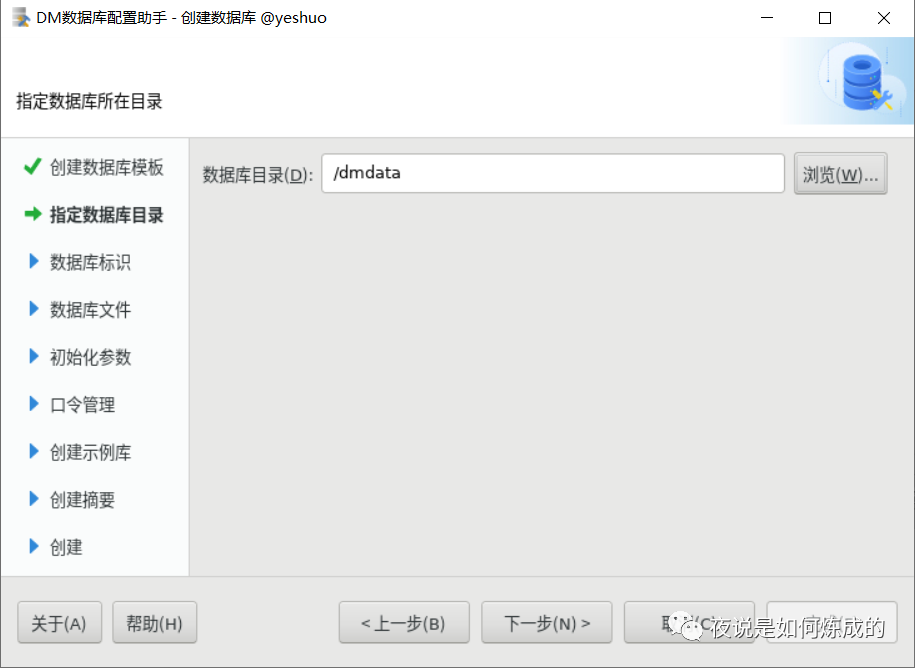
选择/dmdata作为数据库目录,点击下一步
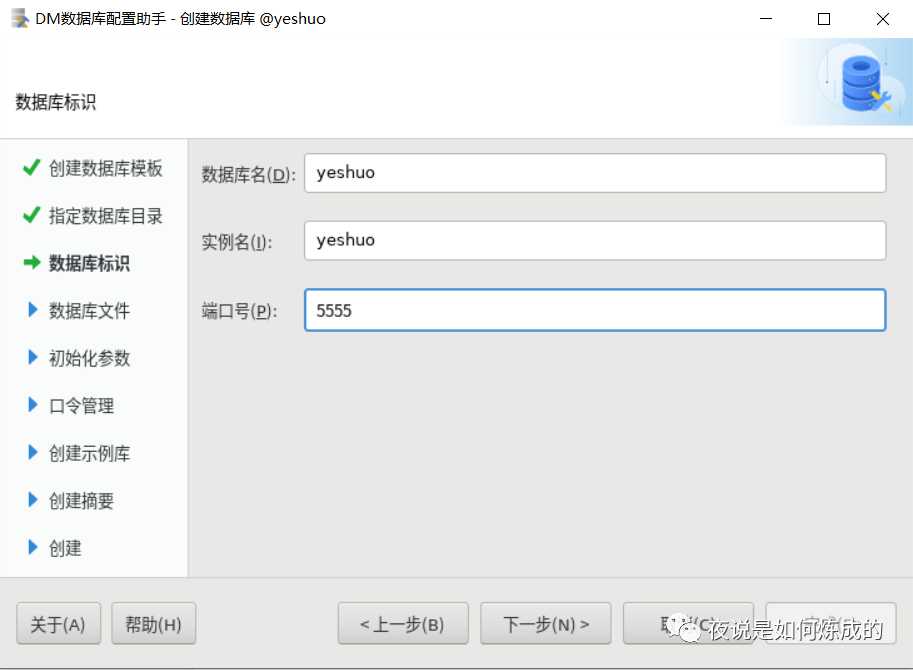
输入数据库名、实例名、监听端口,点击下一步
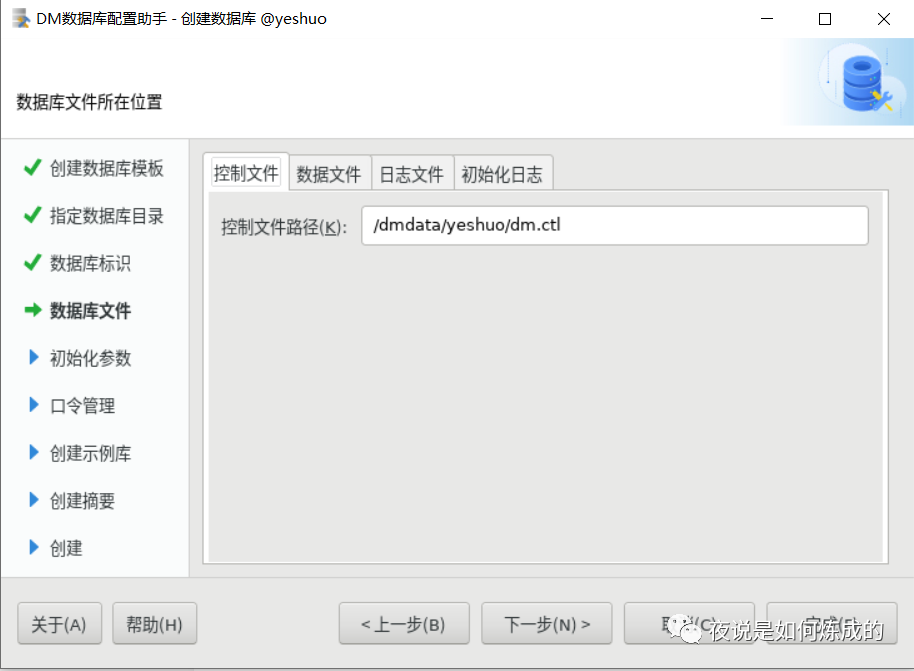
确认文件位置,并点击下一步
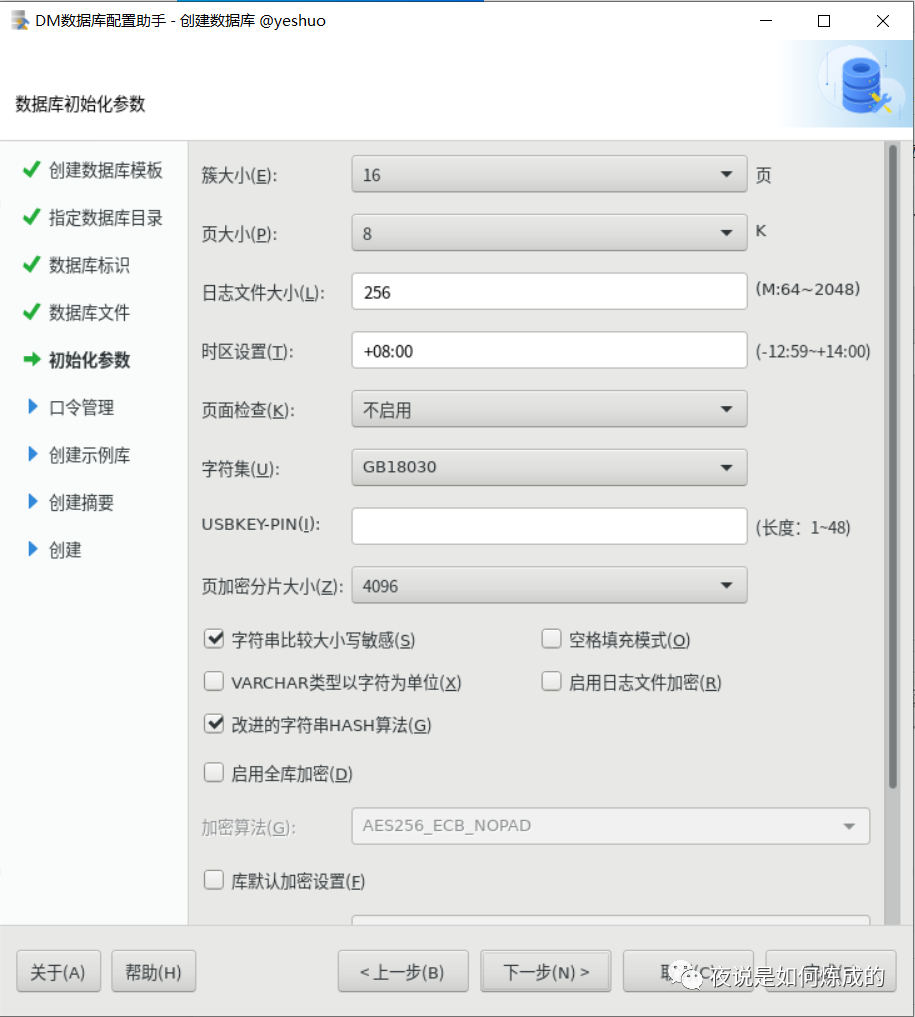
设置数据库参数,点击下一步
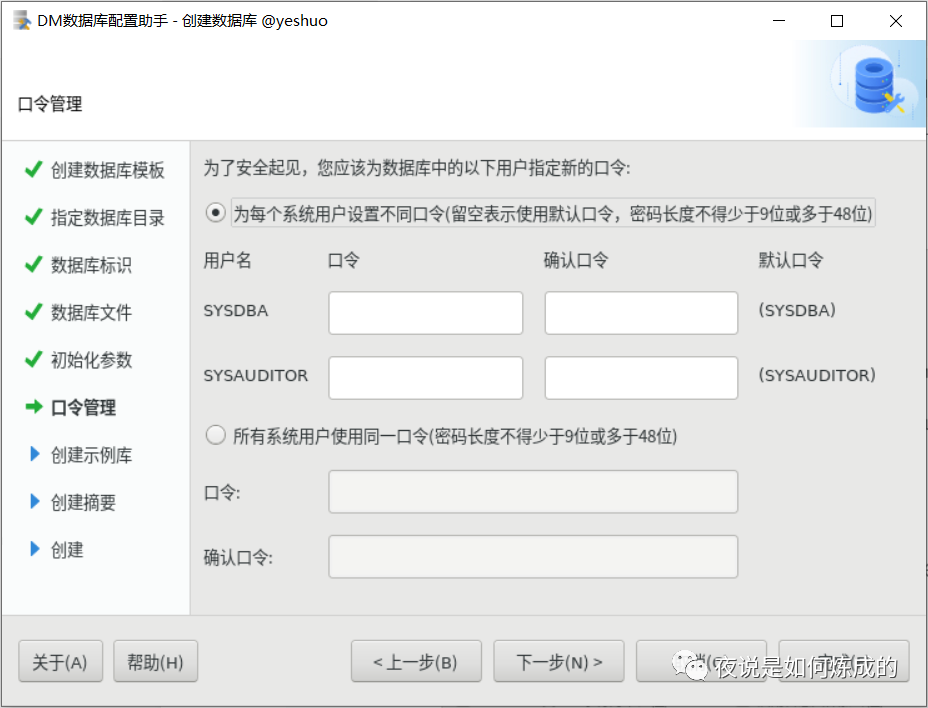
不输入密码,使用默认口令,点击下一步
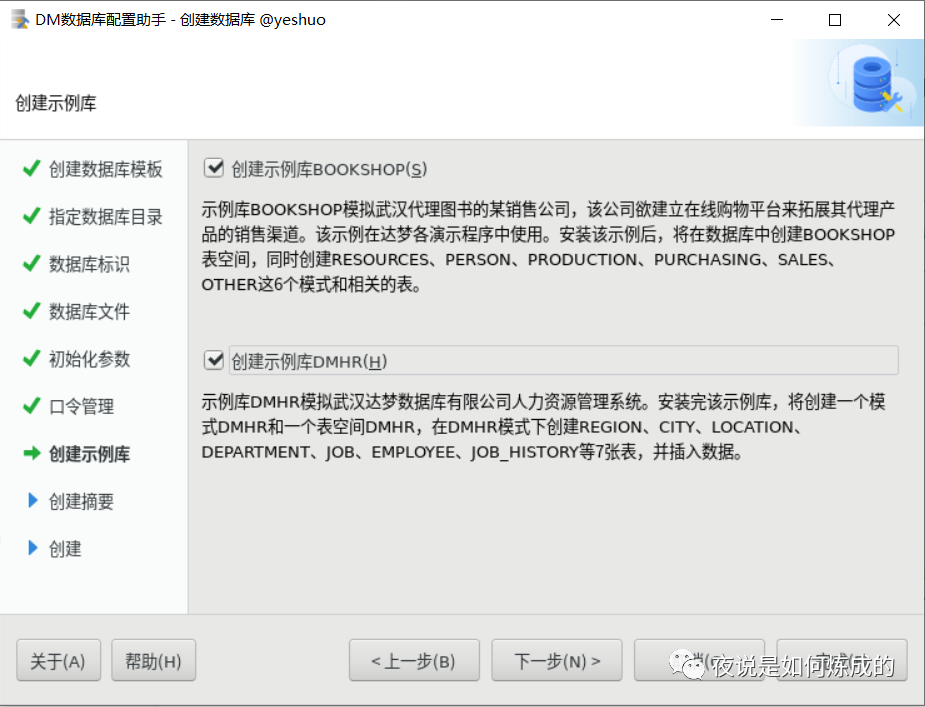
为了后面的学习,创建实例数据库,点击下一步
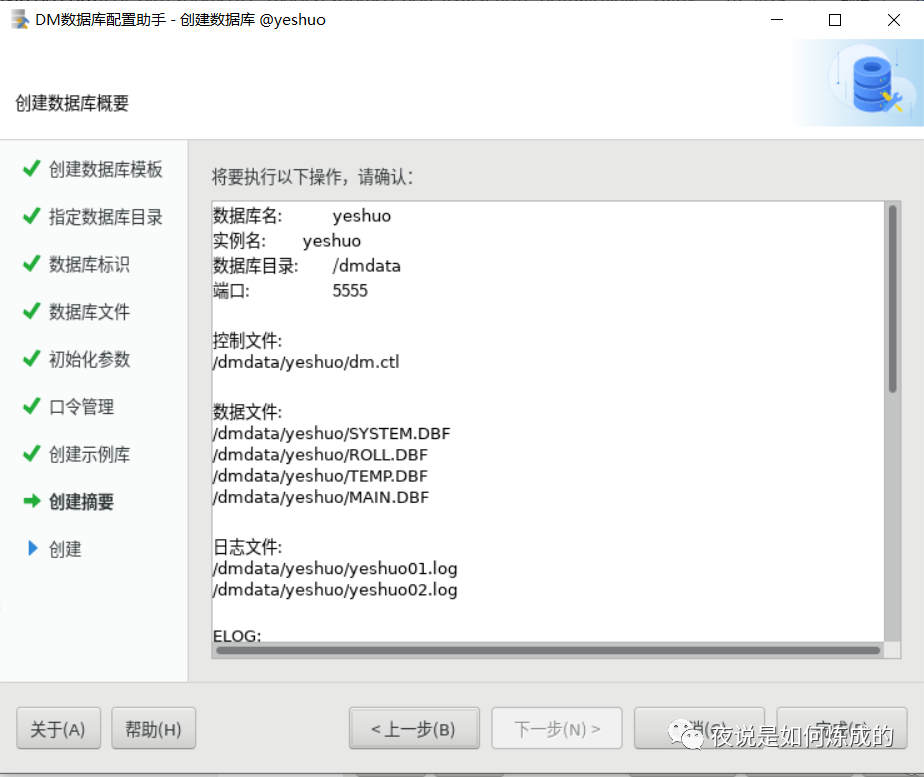
再次确认配置信息,无误后,点击完成
使用root用户执行以下脚本
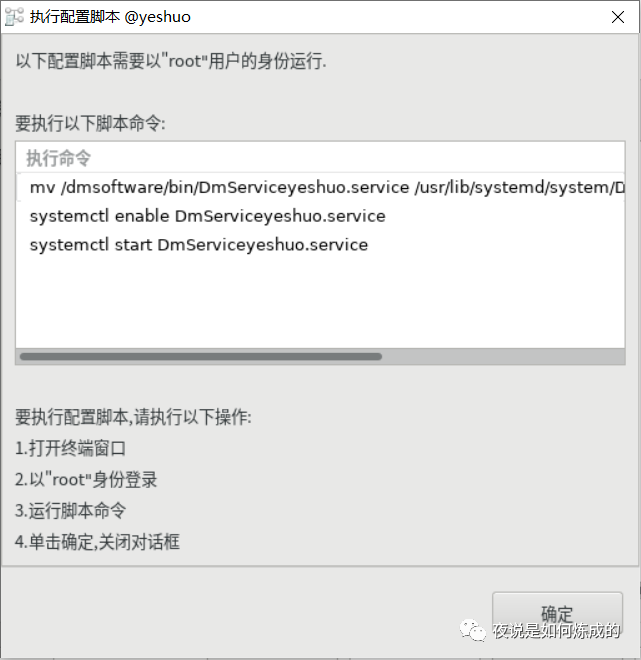
[root@yeshuo ~]# mv /dmsoftware/bin/DmServiceyeshuo.service /usr/lib/systemd/system/DmServiceyeshuo.service[root@yeshuo ~]# systemctl enable DmServiceyeshuo.serviceCreated symlink /etc/systemd/system/multi-user.target.wants/DmServiceyeshuo.service → /usr/lib/systemd/system/DmServiceyeshuo.service.[root@yeshuo ~]# systemctl start DmServiceyeshuo.service[root@yeshuo ~]# systemctl status DmServiceyeshuo.service● DmServiceyeshuo.service - DM Instance ServiceLoaded: loaded (/usr/lib/systemd/system/DmServiceyeshuo.service; enabled; vendor preset: disabled)Active: active (running) since Tue 2021-09-21 22:37:39 CST; 7s agoProcess: 41723 ExecStart=/dmsoftware/bin/DmServiceyeshuo start (code=exited, status=0/SUCCESS)Main PID: 41747 (dmserver)Tasks: 49Memory: 280.9MCGroup: /system.slice/DmServiceyeshuo.service└─41747 /dmsoftware/bin/dmserver path=/dmdata/yeshuo/dm.ini -noconsole9月 21 22:37:23 yeshuo systemd[1]: Starting DM Instance Service...9月 21 22:37:39 yeshuo DmServiceyeshuo[41723]: [37B blob data]9月 21 22:37:39 yeshuo systemd[1]: Started DM Instance Service.[root@yeshuo ~]#
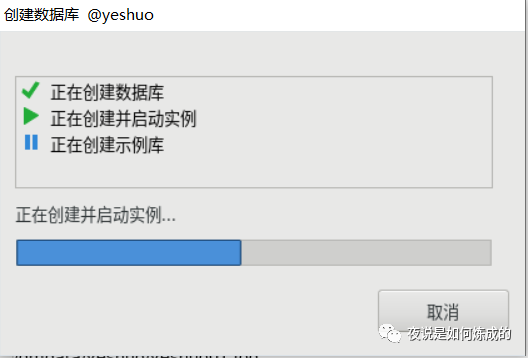
执行完后点击确认关闭对话框
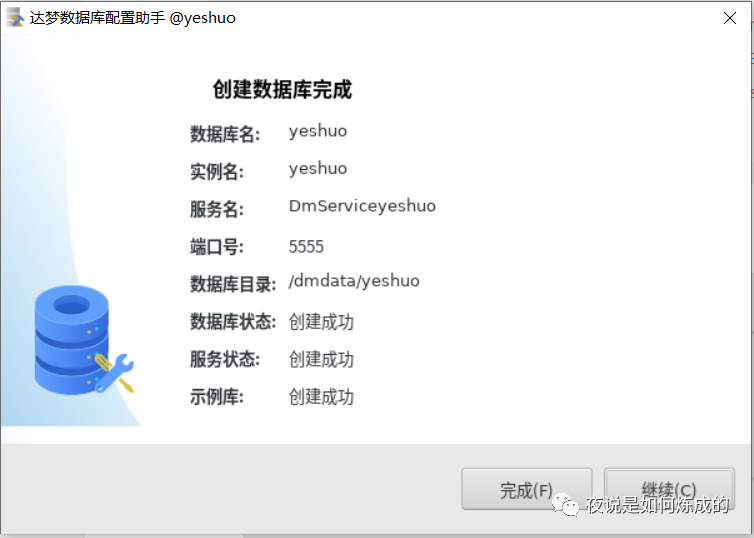
创建完毕,点击完成,结束安装
十一、登陆验证数据库
[dmdba@yeshuo ~]$ disql sysdba/SYSDBA@192.168.171.8:5555服务器[192.168.171.8:5555]:处于普通打开状态登录使用时间 : 0.983(ms)disql V8SQL> select status$ from v$instance;行号 STATUS$---------- -------1 OPEN已用时间: 1.642(毫秒). 执行号:54600.SQL> select status$ from v$database;行号 STATUS$---------- -----------1 4已用时间: 5.889(毫秒). 执行号:54601.SQL>说明:v$database的status$列为4表示OPEN。状态。1:启动;2:启动,redo 完成;3:MOUNT;4:打开;5:挂起;6:关闭
安装完成。
文章转载自夜说是如何炼成的,如果涉嫌侵权,请发送邮件至:contact@modb.pro进行举报,并提供相关证据,一经查实,墨天轮将立刻删除相关内容。
