1.旧版本FastDFS说明
FastDFS有一部分是网络通信功能,旧版本FastDFS(FastDFS 2.0之间版本)没有直接使用epoll实现,而是通过libevent实现(libevent 是一个用C语言编写的、轻量级的开源高性能网络库),但是最新版的FastDFS最终网络IO这部分重新用epoll实现。所以如果是FastDFS是2.0之前的版本,请先安装好libevent环境(新版本不需要安装)。
libevent下载地址: http://libevent.org
2.libfastcommon的安装
libfastcommon为FastDFS操作的基础库,FastDFS没有使用标准的库,而是封装了一套和FastDFS相关的库。
关注公众号:c_302888524
回复:"FastDFS" 获取相关资源
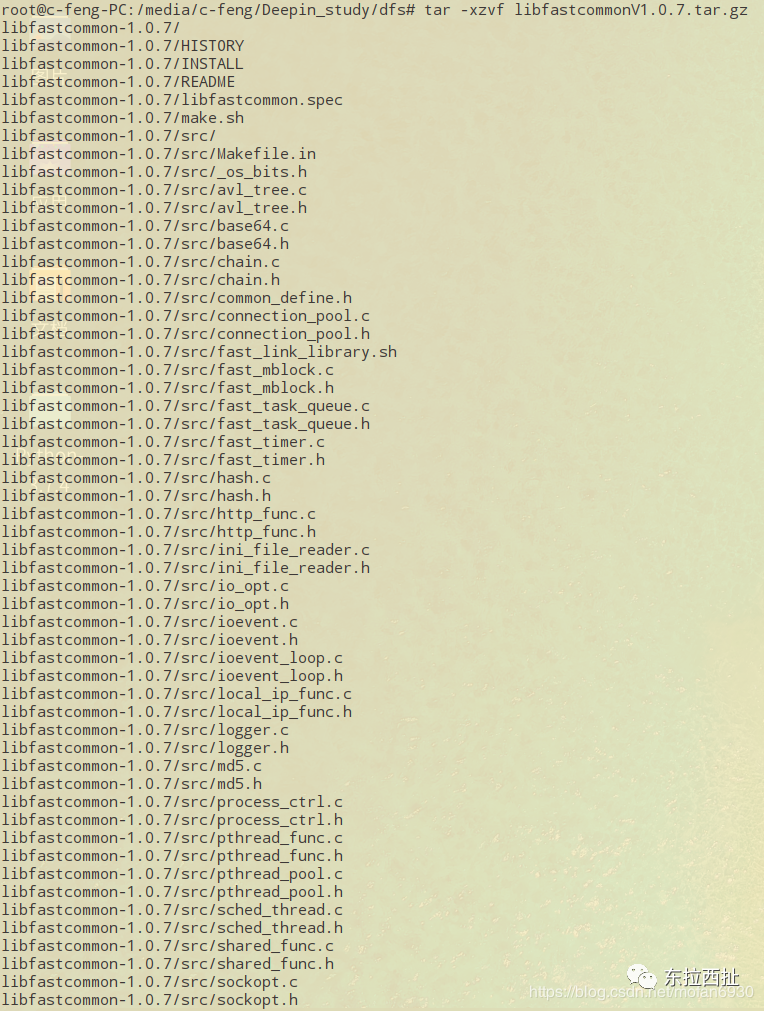
1. 解压压缩包:
tar -xzvf libfastcommonV1.0.7.tar.gz
2. 进入解压后的目录
cd libfastcommon-1.0.7/

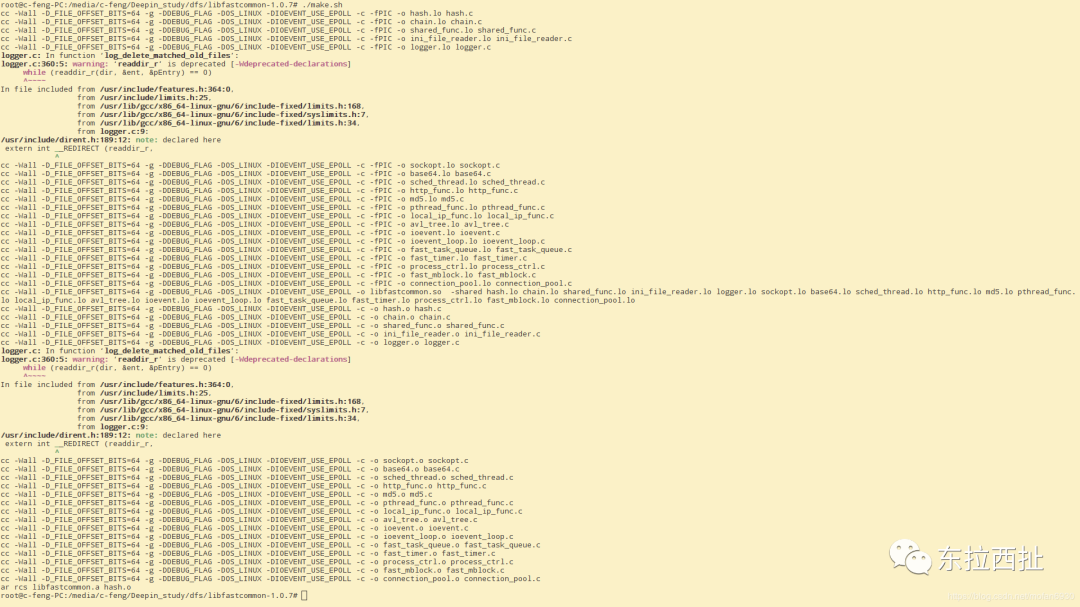
3. 编译代码
./make.sh
4.安装
sudo ./make.sh install

5.动态库安装后的路径安装成功后,默认会复制到/usr/lib64下:
 6.设置环境变量或者创建软连接 由于系统不会自动在 /usr/lib64 找动态库,所以需要人为设置环境变量或者创建软链接(二者选一):
①
export LD_LIBRARY_PATH=/usr/lib64/:$LD_LIBRARY_PATH
②推荐
sudo ln -s /usr/lib64/libfastcommon.so /usr/lib/libfastcommon.so
3.FastDFS的安装
这里使用的是V5.05版本:FastDfs_V5.05.tar.gz
关注公众号:c_302888524
回复:"FastDFS" 获取相关资源
FastDFS 安装过程和 libfastcommon 是一样的:
tar -zxvf FastDfs_V5.05.tar.gzcd fastdfs-5.05/./make.shsudo ./make.sh install
若出现如下错误:
/tmp/ccCrDJLU.o:在函数‘main’中:/media/c-feng/Deepin_study/FastDFS/FastDFS/tracker/fdfs_trackerd.c:277:对‘pthread_kill’未定义的引用../common/shared_func.o:在函数‘init_pthread_lock’中:/media/c-feng/Deepin_study/FastDFS/FastDFS/tracker/../common/shared_func.c:924:对‘pthread_mutexattr_init’未定义的引用/media/c-feng/Deepin_study/FastDFS/FastDFS/tracker/../common/shared_func.c:932:对‘pthread_mutexattr_settype’未定义的引用/media/c-feng/Deepin_study/FastDFS/FastDFS/tracker/../common/shared_func.c:949:对‘pthread_mutexattr_destroy’未定义的引用../common/shared_func.o:在函数‘init_pthread_attr’中:/media/c-feng/Deepin_study/FastDFS/FastDFS/tracker/../common/shared_func.c:976:对‘pthread_attr_getstacksize’未定义的引用/media/c-feng/Deepin_study/FastDFS/FastDFS/tracker/../common/shared_func.c:1007:对‘pthread_attr_setstacksize’未定义的引用../common/shared_func.o:在函数‘create_work_threads’中:/media/c-feng/Deepin_study/FastDFS/FastDFS/tracker/../common/shared_func.c:1734:对‘pthread_create’未定义的引用../common/shared_func.o:在函数‘kill_work_threads’中:/media/c-feng/Deepin_study/FastDFS/FastDFS/tracker/../common/shared_func.c:1760:对‘pthread_kill’未定义的引用../common/sched_thread.o:在函数‘sched_start’中:/media/c-feng/Deepin_study/FastDFS/FastDFS/tracker/../common/sched_thread.c:235:对‘pthread_create’未定义的引用collect2: error: ld returned 1 exit statusMakefile:23: recipe for target 'fdfs_trackerd' failedmake: *** [fdfs_trackerd] Error 1
网上查看资料是说在make.sh 文件中没有指定libpthread.so 和 libpthread.a的正确路径,所以打开make.sh找到如下代码:
if [ -f usr/lib/libpthread.so ] || [ -f usr/local/lib/libpthread.so ] || [ -f lib64/libpthread.so ] || [ -f /usr/lib64/libpthread.so ]|| [ -f /usr/lib/libpthread.a ] || [ -f /usr/local/lib/libpthread.a ] || [ -f /lib64/libpthread.a ] || [ -f /usr/lib64/libpthread.a ];
在我机器上找了下,确实在以上代码中指定的路径中没有找到libpthread.so 和 libpthread.a;随后我在 /usr/lib/x86_64-linux-gnu/ 中找到了libpthread.so 和 libpthread.a(Deepin系统):
find / -name 'libpthread.a'

find / -name 'libpthread.so'

所以增加软连接:
ln -s /usr/lib/x86_64-linux-gnu/libpthread.a /usr/lib/libpthread.a
ln -s /usr/lib/x86_64-linux-gnu/libpthread.so /usr/lib/libpthread.so
再次运行 ./make.sh 问题解决
确认 make 没有错误后,执行安装,可执行程序程序默认安装到 /usr/bin 中:
cd /usr/bin/
ls fdfs*
 安装成功后,自动在 /etc/fdfs 中添加三个配置文件:
cd /etc/fdfs/ls

欢迎关注公众号:c_302888524 发送:”FastDFS“ 获取相关资源