


1 Nexus3 简介
Nexus3 是一个统一的仓库系统,常见的有诸如apt、docker、maven2、npm、pypi、yum等repositories。如果开发工程师在开发软件时没有一个统一的repositories地址,那么将会受到不必要的影响,降低开发迭代效率。而Nexus3 就是这么一个平台,可以统一管理repositories仓库。这里文章介绍如何在k8s环境部署Nexus3,并快速使用,作为docker images 私有仓库。
2 K8s部署Nexus3
nexus-nm.yaml
#创建namespace - nexusapiVersion: v1kind: Namespacemetadata:name: nexus
nexus-pv.yaml
#创建 pv,这里使用aliyun的nas作为pvapiVersion: v1kind: PersistentVolumemetadata:name: nexus-pvname: nexuslabels:alicloud-nfs: nexus-pvspec:capacity:storage: 500GiaccessModes:- ReadWriteManypersistentVolumeReclaimPolicy: Retainnfs:server: "xxxxx.cn-hangzhou.nas.aliyuncs.com"path: nexus/
nexus-pvc.yaml
#创建pvc,注意labels对齐kind: PersistentVolumeClaimapiVersion: v1metadata:name: nexus-pvcnamespace: nexusspec:accessModes:- ReadWriteManyresources:requests:storage: 500Giselector:matchLabels:alicloud-nfs: nexus-pv
nexus-deployment.yaml
#创建nexus deployment,这里containers端口开放了8081、8082、8083分别作为web管理页面、docker repo、maven repo,且通过traefik2将web、docker域名开放apiVersion: apps/v1kind: Deploymentmetadata:name: nexus-deploymentnamespace: nexusspec:replicas: 1selector:matchLabels:app: nexustemplate:metadata:labels:app: nexusspec:containers:- name: nexusimage: sonatype/nexus3ports:- containerPort: 8081- containerPort: 8082- containerPort: 8083resources:requests:memory: "128Mi"limits:memory: "2Gi"cpu: 4volumeMounts:- mountPath: nexus-dataname: nexus-datavolumes:- name: nexus-datapersistentVolumeClaim:claimName: nexus-pvc---apiVersion: v1kind: Servicemetadata:name: nexus-svcnamespace: nexusspec:selector:app: nexusports:- name: webprotocol: TCPport: 8081targetPort: 8081- name: dockerprotocol: TCPport: 8082targetPort: 8082- name: mavenprotocol: TCPport: 8083targetPort: 8083---apiVersion: traefik.containo.us/v1alpha1kind: IngressRoutemetadata:name: nexusnamespace: nexusspec:entryPoints:- httproutes:- match: Host(`nexus3.domain.com`) && PathPrefix(`/`)kind: Rulepriority: 1middlewares:- name: compressnamespace: defaultservices:- name: nexus-svcnamespace: nexusport: 8081- match: Host(`repo-nexus.domain.com`) && PathPrefix(`/`)kind: Rulepriority: 1middlewares:- name: compressnamespace: defaultservices:- name: nexus-svcnamespace: nexusport: 8082
按顺序分别kubectl apply部署nexus3,部署完成后可查看相关nexus资源。

3 Nexus3使用
3.1 登陆
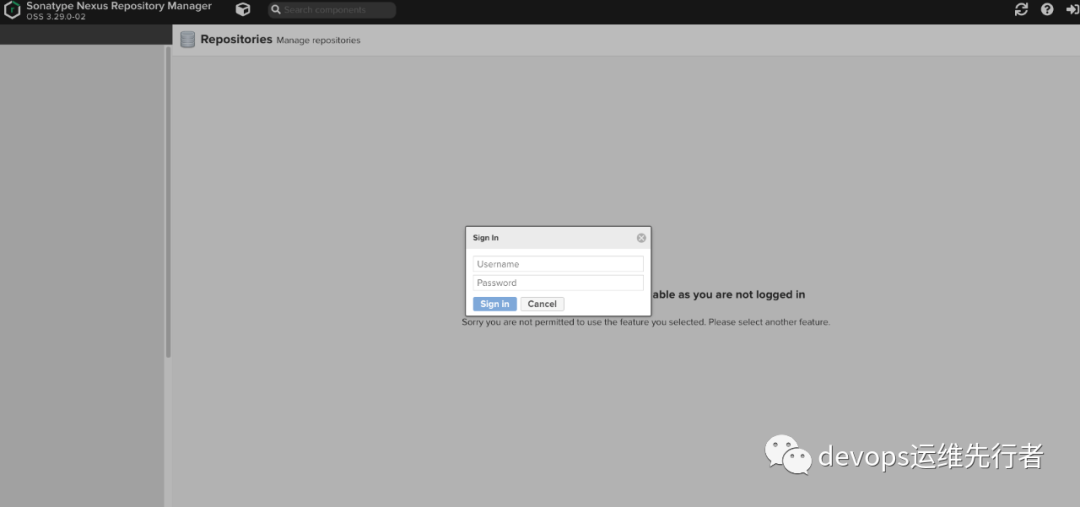
当我们首次登陆 nexus3.domain.com 的web界面的时候,需要输入admin的用户密码,这里需要通过查看nexus pods下面的/nexus-data/admin.password文件,
#kubectl exec -n nexus nexus-deployment-697b6f5945-jkzst cat nexus-data/admin.passwordmsNPSKNbX05BwV9V
将输出的msNPSKNbX05BwV9V
作为admin密码。
3.2 添加Docker repo
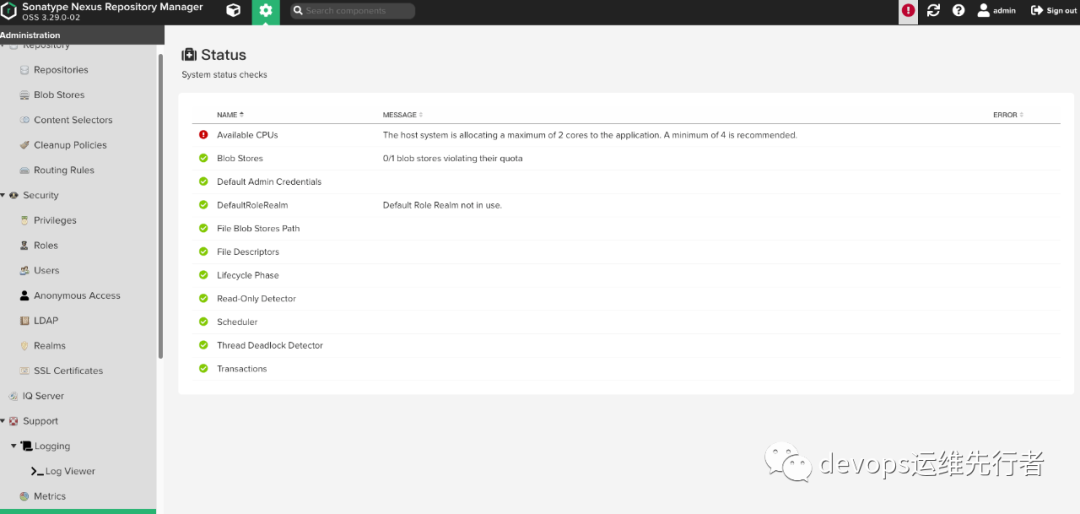
可以看到有个感叹号提醒,Nexus3建议至少使用4核CPU,这里使用2C,并无太大关系,如果有强迫症的同学可以增大CPU核数 >= 4C。
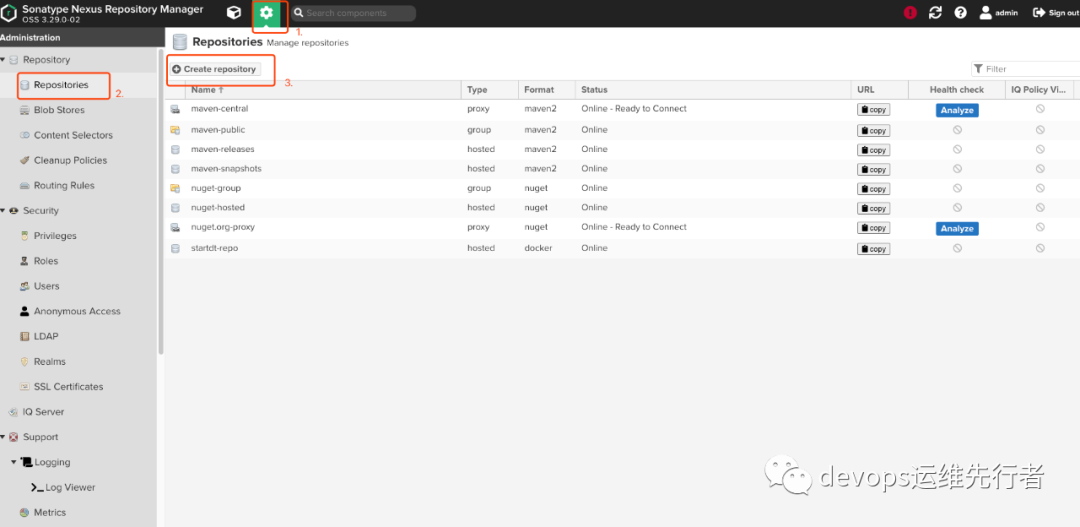
1.点击系统配置 - Repositories - Create repository
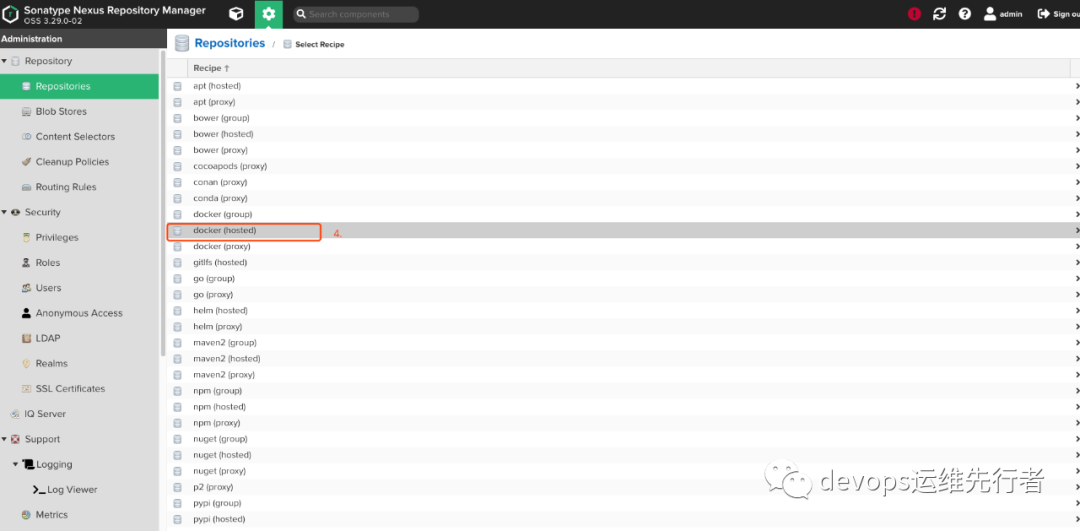
2.选择docker(hosted)
3.创建一个name为docker-repo,选择8082作为http入口(如果需要https,可以在k8s上在增加一个Nexus端口作为https端口,同nexus deployment中的 ports.docker)
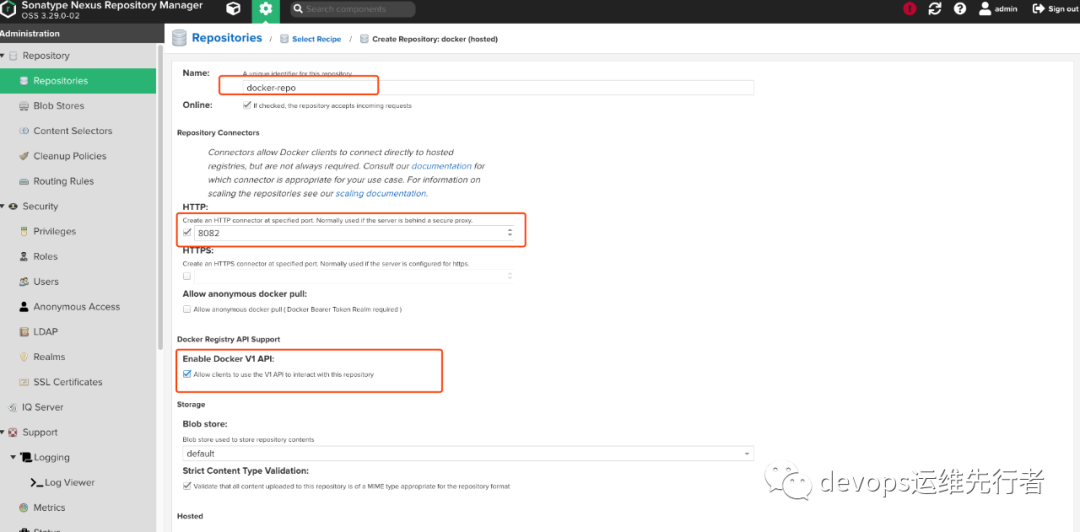
4.点击save,创建完docker repo后,就可以通过Browse看到docker-repo已经online在线。

4 Decker repo 使用
4.1 调整docker配置
由于使用的http协议,需要修改/etc/docker/daemon.json
配置文件,
{"insecure-registries": ["repo-nexus.k8s.stdomai.com"]}
4.2 上传push
1.docker login repo-nexus.domain.com
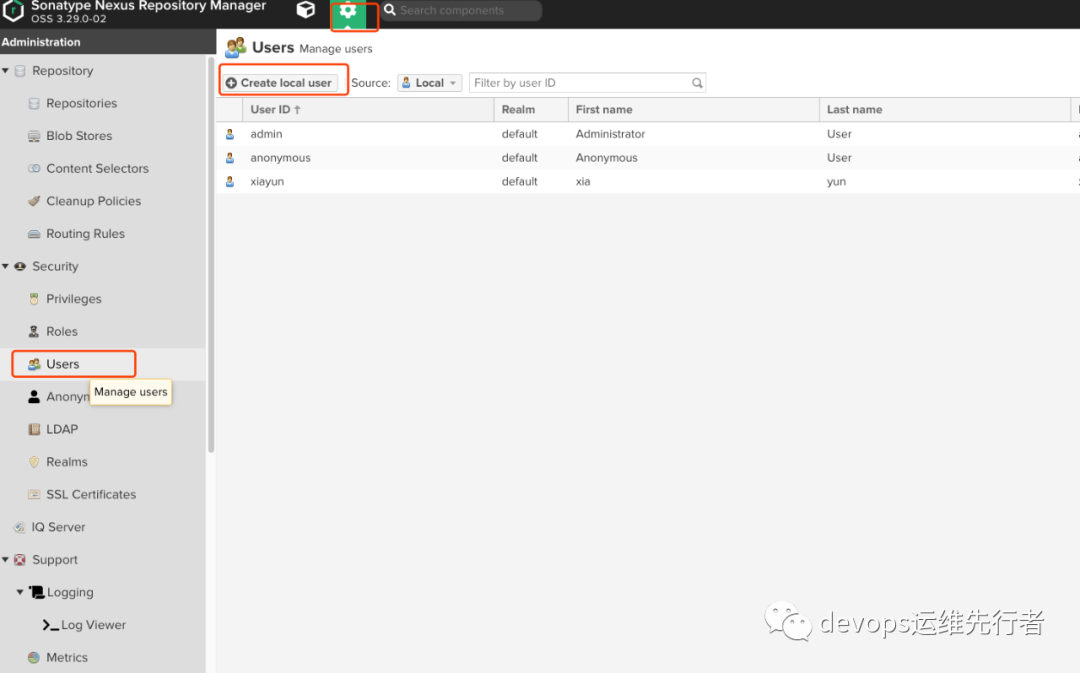
输入admin用户密码,如果不想用admin用户登陆的,可以在Nexus3创建一个新的使用用户。
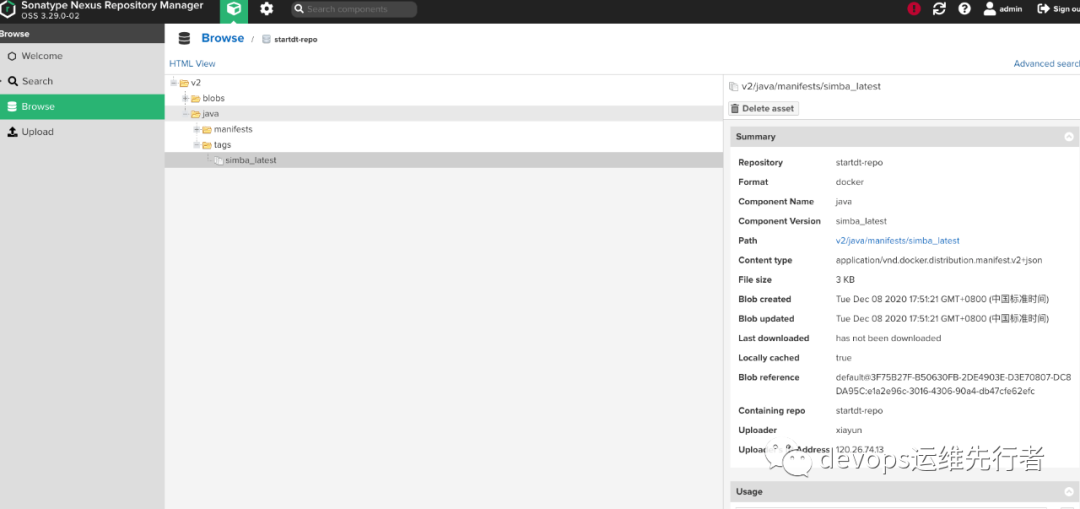
2.docker tag 172.16.10.13/library/java:latest repo-nexus.domain.com/java:simba_latest
3.docker push repo-nexus.domain.com/java:simba_latest
4.3 下载pull
docker pull repo-nexus.domain.com/java:simba_latest


往期推荐
