


1、安装概述
PG安装方法很多,和MySQL类似,给用户提供很大的选择空间。如:RPM包安装(在线、离线)、源码编译安装、系统自带、二进制、NDB安装等。
官网:https://www.postgresql.org/
rpm包:https://yum.postgresql.org/rpmchart.php
yum源:https://yum.postgresql.org/repopackages.php
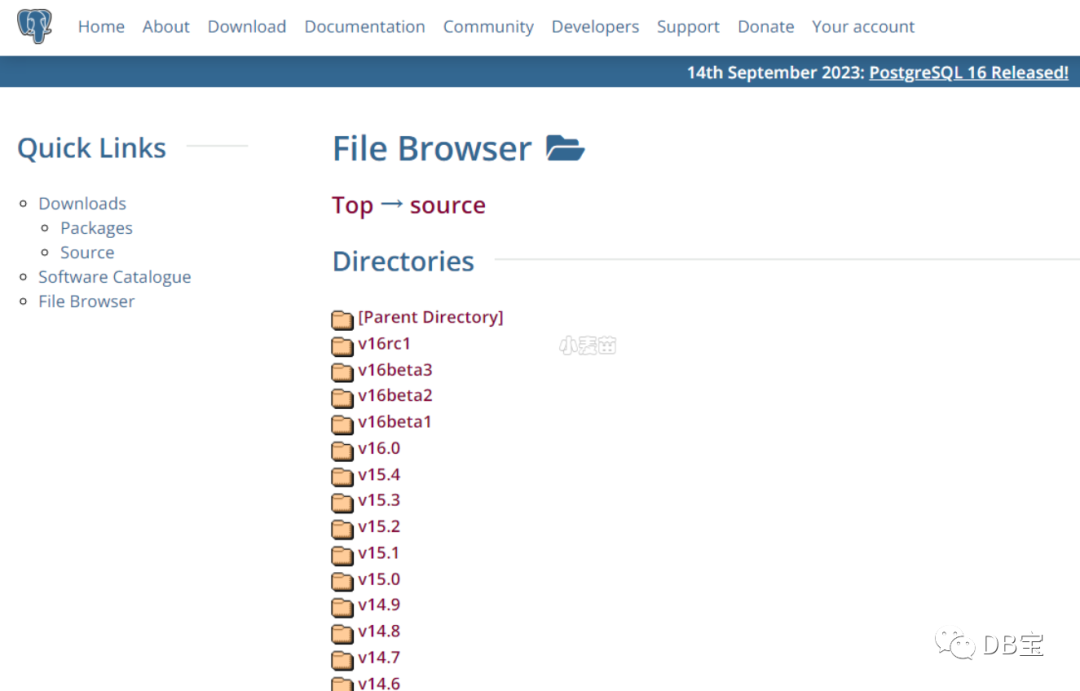
源码包:https://www.postgresql.org/ftp/source/
打开 PostgreSQL 官网 https://www.postgresql.org/,点击菜单栏上的 Download ,可以看到这里包含了很多平台的安装包,包括 Linux、Windows、Mac OS等 。
2、yum在线安装
申请环境:
1docker rm -f pg13
2docker run -itd --name pg13 -h pg13 \
3  -p 5436:5432 -p 34389:3389 \
4  -v /sys/fs/cgroup:/sys/fs/cgroup \
5  --privileged=true lhrbest/lhrcentos76:9.2 \
6  /usr/sbin/init
7 docker exec -it pg13 bash
开始安装:
 1-- 一些依赖包
 2yum install -y cmake make gcc zlib gcc-c++ perl readline readline-devel zlib zlib-devel \
 3perl python36 tcl openssl ncurses-devel openldap pam  perl-IPC-Run libicu-devel
 4
 5
 6-- 删除已存在的PG
 7yum remove -y postgresql* && rm -rf  /var/lib/pgsql && rm -rf  /usr/pgsql* && userdel -r postgres && groupdel postgres
 8yum install -y sysbench
 9
10-- 安装yum源
11yum install -y https://download.postgresql.org/pub/repos/yum/reporpms/EL-7-x86_64/pgdg-redhat-repo-latest.noarch.rpm
12# yum install -y https://download.postgresql.org/pub/repos/yum/reporpms/EL-6-x86_64/pgdg-redhat-repo-latest.noarch.rpm
13
14sed -i 's/gpgcheck=1/gpgcheck=0/g'  /etc/yum.repos.d/pgdg-redhat-all.repo
15sed -i 's/repo_gpgcheck = 1/repo_gpgcheck = 0/g'  /etc/yum.repos.d/pgdg-redhat-all.repo
16
17
18yum repolist all | grep pgdg
19yum repolist enabled | grep pgdg
20
21
22-- 安装pg
23yum install -y postgresql13 postgresql13-server postgresql13-contrib postgresql13-libs
24# yum install -y postgresql9.6 postgresql9.6-server
25# yum install postgresql10-server postgresql10-contrib postgresql10 postgresql10.x86_64
26
27-- 验证
28[root@lhrpg /]# rpm -aq| grep postgres
29postgresql13-server-13.3-1PGDG.rhel7.x86_64
30postgresql13-13.3-1PGDG.rhel7.x86_64
31postgresql13-libs-13.3-1PGDG.rhel7.x86_64
32postgresql13-contrib-13.3-1PGDG.rhel7.x86_64
33
34-- 环境变量
35echo "export PATH=/usr/pgsql-13/bin:$PATH" >> /etc/profile
36
37
38
39-- (建议安装)安装开发包,若后期需要编译一些插件,例如pg_recovery、pg_dirtyread等都需要该包
40-- 必须先安装centos-release-scl-rh
41-- 安装成功会在目录/etc/yum.repos.d/下产生文件CentOS-SCLo-scl-rh.repo,若安装不成功则会报错 Requires: llvm-toolset-7-clang >= 4.0.1
42yum install -y centos-release-scl-rh
43yum install -y postgresql13-devel
44
45
46# 最终一共需要5个rpm包
47[root@lhrpgall /]#  rpm -aq| grep postgres
48postgresql13-13.12-1PGDG.rhel7.x86_64
49postgresql13-libs-13.12-1PGDG.rhel7.x86_64
50postgresql13-devel-13.12-1PGDG.rhel7.x86_64
51postgresql13-server-13.12-1PGDG.rhel7.x86_64
52postgresql13-contrib-13.12-1PGDG.rhel7.x86_64
3、初始化PG,并启动PG
1/usr/pgsql-13/bin/postgresql-13-setup initdb
2systemctl enable postgresql-13
3systemctl start postgresql-13
4systemctl status postgresql-13
4、修改密码
 1-- 本地登陆
 2su - postgres
 3psql
 4
 5-- 安装插件
 6create extension pageinspect;
 7create extension pg_stat_statements;
 8
 9select * from pg_extension ;
10select * from pg_available_extensions order by name;
11
12-- 修改postgres密码
13alter user postgres with  password 'lhr'; 或 \password
14select * from pg_tables;
15select version();
5、开放防火墙
1-- 开放防火墙
2firewall-cmd --add-port=5432/tcp --permanent
3firewall-cmd --reload
4firewall-cmd --list-port
6、配置允许PG远程登录
 1-- 配置允许PG远程登录,注意版本:
 2cat >> /var/lib/pgsql/13/data/postgresql.conf <<"EOF"
 3listen_addresses = '*'
 4port=5432
 5unix_socket_directories='/var/lib/pgsql/13/data'
 6logging_collector = on
 7log_directory = 'pg_log'
 8log_filename = 'postgresql-%a.log'
 9log_truncate_on_rotation = on
10EOF
11
12cat  << EOF > /var/lib/pgsql/13/data/pg_hba.conf
13# TYPE  DATABASE    USER    ADDRESS       METHOD
14local     all       all                    trust
15host      all       all    ::1/128         trust
16host      all       all   127.0.0.1/32     trust
17host      all       all    0.0.0.0/0        md5
18host   replication  all    0.0.0.0/0        md5
19EOF
20
21systemctl restart postgresql-13
7、登陆测试
1-- 远程登陆
2psql -U postgres -h 192.168.66.35 -d postgres -p54327
3
4-- 从Postgresql 9.2开始,还可以使用URI格式进行远程连接:psql postgresql://myuser:mypasswd@myhost:5432/mydb
5psql postgresql://postgres:lhr@192.168.66.35:54327/postgres
其中-h参数指定服务器地址,默认为127.0.0.1,默认不指定即可,-d指定连接之后选中的数据库,默认也是postgres,-U指定用户,默认是当前用户,-p 指定端口号,默认是"5432",其它更多的参数选项可以执行:./bin/psql --help 查看。
 1C:\Users\lhrxxt>psql -U postgres -h 192.168.66.35 -d postgres -p54327
 2Password for user postgres:
 3psql (13.3)
 4Type "help" for help.
 5
 6postgres=# select version();
 7                                                     version
 8------------------------------------------------------------------------------------------------------------------
 9 PostgreSQL 13.3 (Debian 13.3-1.pgdg100+1) on x86_64-pc-linux-gnu, compiled by gcc (Debian 8.3.0-6) 8.3.0, 64-bit
10(1 row)
11
12postgres=# \l
13                                        List of databases
14   Name    |  Owner   | Encoding |      Collate      |       Ctype       |   Access privileges
15-----------+----------+----------+-------------------+-------------------+-----------------------
16 postgres  | postgres | UTF8     | Chinese_China.936 | Chinese_China.936 |
17 template0 | postgres | UTF8     | Chinese_China.936 | Chinese_China.936 | =c/postgres          +
18           |          |          |                   |                   | postgres=CTc/postgres
19 template1 | postgres | UTF8     | Chinese_China.936 | Chinese_China.936 | =c/postgres          +
20           |          |          |                   |                   | postgres=CTc/postgres
21(3 rows)
22
23
24postgres=# CREATE DATABASE lhrdb WITH OWNER=postgres ENCODING='UTF-8';
25CREATE DATABASE
26postgres=# \c lhrdb
27You are now connected to database "lhrdb" as user "postgres".
28lhrdb=#
29lhrdb=# create table student (
30lhrdb(#   id integer not null,
31lhrdb(#   name character(32),
32lhrdb(#   number char(5),
33lhrdb(#   constraint student_pkey primary key (id)
34lhrdb(# );
35CREATE TABLE
36lhrdb=#
37lhrdb=# \d student
38                 Table "public.student"
39 Column |     Type      | Collation | Nullable | Default
40--------+---------------+-----------+----------+---------
41 id     | integer       |           | not null |
42 name   | character(32) |           |          |
43 number | character(5)  |           |          |
44Indexes:
45    "student_pkey" PRIMARY KEY, btree (id)
46
47
48lhrdb=#
49lhrdb=# INSERT INTO student (id, name, number) VALUES (1, '张三', '1023');
50INSERT 0 1
51lhrdb=# SELECT * FROM student WHERE id=1;
52 id |                name                | number
53----+------------------------------------+--------
54  1 | 张三                               | 1023
55(1 row)
56
8、配置环境变量
 1mkdir -p /home/postgres
 2chown postgres.postgres /home/postgres -R
 3sed -i 's|/var/lib/pgsql|/home/postgres|' /etc/passwd
 4echo "lhr" |passwd --stdin postgres
 5
 6
 7cat > /home/postgres/.bash_profile <<"EOF"
 8export PGPORT=5432
 9export PGHOME=/usr/pgsql-13
10export PGDATA=/var/lib/pgsql/13/data
11export PATH=$PGHOME/bin:$PATH
12export MANPATH=$PGHOME/share/man:$MANPATH
13export LANG=en_US.UTF-8
14export DATE='date +"%Y%m%d%H%M"'
15export LD_LIBRARY_PATH=$PGHOME/lib:$LD_LIBRARY_PATH
16export PGHOST=$PGDATA
17export PGUSER=postgres
18export PGPASSWORD=lhr
19export PGDATABASE=postgres
20export PS1="[\u@\h \W]\$ "
21EOF
22
23
24chown postgres.postgres /home/postgres/.bash_profile
安装配置完成,若有不懂,可以私聊麦老师。
PG环境汇总
麦老师的镜像中包括了PG 9.4、9.6、10、11、12、13、14、15各个版本,都是采用源码安装,可以直接使用,满足各类测试要求:
 1docker rm -f lhrpgall
 2docker run -itd --name lhrpgall -h lhrpgall \
 3  -p 25432-25445:5432-5445  -p 122:22 -p 189:3389 \
 4  -v /sys/fs/cgroup:/sys/fs/cgroup \
 5  --restart=always \
 6  --privileged=true lhrbest/lhrpgall:3.0 \
 7  /usr/sbin/init
 8docker exec -it lhrpgall bash
 9
10systemctl status pg94 pg96 pg10 pg11 pg12 pg13 pg14 pg15
11systemctl status postgresql-13.service
12
13
14[root@lhrpgall /]# ps -ef|grep postgres | grep bin
15pg15         229       1  0 12:11 ?        00:00:00 /pg15/pg15/bin/postgres -D /pg15/pgdata -p 5440
16pg10         231       1  0 12:11 ?        00:00:00 /pg10/pg10/bin/postgres -D /pg10/pgdata -p 5436
17pg13         232       1  0 12:11 ?        00:00:00 /pg13/pg13/bin/postgres -D /pg13/pgdata -p 5433
18pg14         235       1  0 12:11 ?        00:00:00 /pg14/pg14/bin/postgres -D /pg14/pgdata -p 5439
19pg94         243       1  0 12:11 ?        00:00:00 /pg94/pg94/bin/postgres -D /pg94/pgdata -p 5438
20pg11         244       1  0 12:11 ?        00:00:00 /pg11/pg11/bin/postgres -D /pg11/pgdata -p 5435
21pg96         247       1  0 12:11 ?        00:00:00 /pg96/pg96/bin/postgres -D /pg96/pgdata -p 5437
22pg12         249       1  0 12:11 ?        00:00:00 /pg12/pg12/bin/postgres -D /pg12/pgdata -p 5434
docker版本
参考:https://www.xmmup.com/dbbao69zaidockerzhongkuaisushiyonggegebanbendepostgresqlshujuku.html
注意:RHEL7的yum自2023年8月起停止更新
PostgreSQL RPM repo stopped adding new packages to the PostgreSQL RPM repo as of Aug 2023, including PostgreSQL 16.We will maintain older major releases until each major release is EOLed by PostgreSQL project. Please visit here for latest release dates for each major release.
自2023年8月起,PostgreSQL RPM repo停止向PostgreSQL RPM repo添加新包,包括PostgreSQL 16.
我们将维护旧的主要版本,直到每个主要版本被PostgreSQL项目终止。请访问这里每个主要版本的最新发布日期。
参考:https://yum.postgresql.org/news/rhel7-postgresql-rpms-end-of-life/
总结
1、PG 16在Centos 7中不能直接使用yum安装,可以编译安装,可以使用Centos stream 8来安装,请参考:https://www.xmmup.com/postgresql-16shujukudegezhonganzhuangfangshihuizongyumbianyidockerdeng.html
