


前言
跟随着信创国产化,国产数据库也会有在ARM Kylin系统上使用的需求。
ARM 一般指 CPU的架构,和X86是两种不同型号的CPU架构;
Kylin 是指操作系统,是一款国产的unix操作系统。
YashanDB在兼容性这块也做到了,本篇文章记录了如何在Kylin V10上安装YashanDB,整体和在CentOS上没啥大区别。
本篇文章介绍如何将YashanDB快速搭建起来,一些相关概念并没有过多介绍,感兴趣的同学可以上官方网站上学习。
注意:使用此方法安装的数据库,如果需要用yasboot管理,需要托管数据库,所以如果想用yasboot管理数据库的话,建议直接使用yasboot部署。
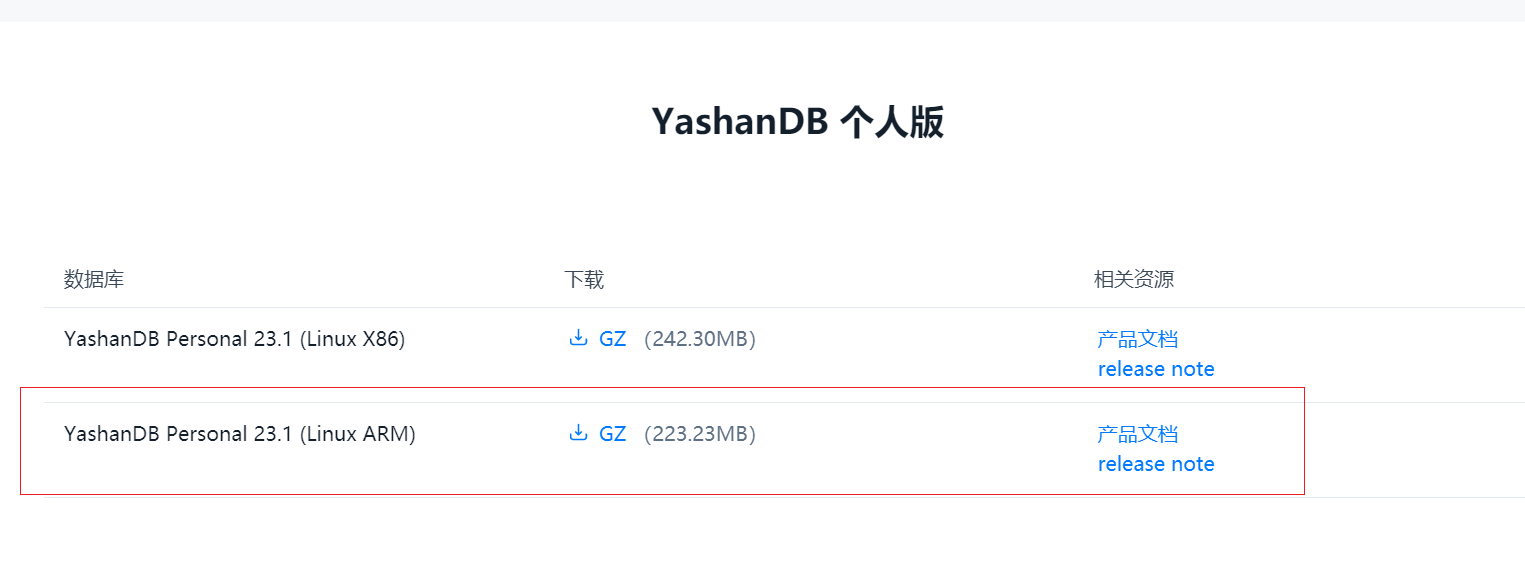
1.下载安装包
注意这里下载的安装包,要选择 FOR ARM版本的。
2.安装部署
2.1 虚拟机准备
资源配置:2C8G500G
操作系统:Kylin V10
IP:192.168.23.167
[root@localhost ~]# lscpu
架构:                           aarch64
CPU 运行模式:                   64-bit
字节序:                         Little Endian
CPU:                             2
在线 CPU 列表:                  0,1
每个核的线程数:                 1
每个座的核数:                   1
座:                             2
NUMA 节点:                      1
厂商 ID:                        HiSilicon
型号:                           0
型号名称:                       Kunpeng-920
步进:                           0x1
CPU 最大 MHz:                   2600.0000
CPU 最小 MHz:                   2600.0000
BogoMIPS:                       200.00
L1d 缓存:                       128 KiB
L1i 缓存:                       128 KiB
L2 缓存:                        1 MiB
L3 缓存:                        64 MiB
NUMA 节点0 CPU:                 0,1
Vulnerability Itlb multihit:     Not affected
Vulnerability L1tf:              Not affected
Vulnerability Mds:               Not affected
Vulnerability Meltdown:          Not affected
Vulnerability Spec store bypass: Vulnerable
Vulnerability Spectre v1:        Mitigation; __user pointer sanitization
Vulnerability Spectre v2:        Not affected
Vulnerability Srbds:             Not affected
Vulnerability Tsx async abort:   Not affected
标记:                           fp asimd evtstrm aes pmull sha1 sha2 crc32 atom
                                 ics fphp asimdhp cpuid asimdrdm jscvt fcma dcpo
                                 p asimddp asimdfhm
[root@localhost ~]# free -g
              total        used        free      shared  buff/cache   available
Mem:              6           0           5           0           0           5
Swap:             8           0           8
[root@localhost ~]# df -h
文件系统               容量  已用  可用 已用% 挂载点
devtmpfs               3.1G     0  3.1G    0% /dev
tmpfs                  3.4G     0  3.4G    0% /dev/shm
tmpfs                  3.4G   21M  3.4G    1% /run
tmpfs                  3.4G     0  3.4G    0% /sys/fs/cgroup
/dev/mapper/klas-root  441G  6.1G  435G    2% /
tmpfs                  3.4G     0  3.4G    0% /tmp
/dev/vda2             1014M  221M  794M   22% /boot
/dev/vda1              599M  6.5M  593M    2% /boot/efi
tmpfs                  681M     0  681M    0% /run/user/0

[root@localhost ~]# cat /etc/kylin-release
Kylin Linux Advanced Server release V10 (Sword)
2.2 系统参数调整
在root用户下执行
echo "
yashan soft nofile 65536
yashan hard nofile 65536
yashan soft nproc 65536
yashan hard nproc 65536
yashan soft rss unlimited
yashan hard rss unlimited
yashan soft stack 8192
yashan hard stack 8192
" >> /etc/security/limits.conf
2.3 创建系统用户及用户组
这里需要注意Kylin系统默认对于密码复杂度有一定的要求,所以设置了一个稍微复杂的密码。
[root@localhost ~]# groupadd YASDBA
[root@localhost ~]# useradd yashan -G YASDBA
[root@localhost ~]# echo "Yasdb_2023"|passwd --stdin yashan
更改用户 yashan 的密码 。
passwd:所有的身份验证令牌已经成功更新。
2.4 解压软件包&安装
2.4.1 创建soft目录,将安装包传到虚拟机
[root@localhost ~]# su - yashan
[yashan@localhost ~]$ mkdir soft
[yashan@localhost ~]$ cd soft
[yashan@localhost soft]$ ll
总用量 227564
-rw-r--r-- 1 root root 233024066 11月  2 18:14 yashandb-personal-23.1.1.100-linux-aarch64.tar.gz
2.4.2 解压
[yashan@localhost soft]$ tar -zxvf yashandb-personal-23.1.1.100-linux-x86_64.tar.gz
[yashan@localhost soft]$ ll
总用量 227600
drwxr-xr-x 6 yashan yashan        70 11月  1 17:32 admin
drwxr-xr-x 2 yashan yashan       188 11月  1 17:32 bin
drwxr-xr-x 2 yashan yashan       152 11月  1 17:32 conf
drwxr-xr-x 5 yashan yashan        60 11月  1 17:32 ext
-rw-r--r-- 1 yashan yashan     11731 11月  1 17:32 gitmoduleversion.dat
drwxr-xr-x 2 yashan yashan        65 11月  1 17:32 include
drwxr-xr-x 3 yashan yashan        17 11月  1 17:32 java
drwxr-xr-x 2 yashan yashan      4096 11月  1 17:32 lib
-rw-r----- 1 yashan yashan     14989 11月  1 17:32 LICENSE
drwxr-xr-x 3 yashan yashan        21 11月  1 17:32 plug-in
drwxr-xr-x 2 yashan yashan       170 11月  1 17:32 scripts
-rw-r--r-- 1 root   root   233024066 11月  2 18:14 yashandb-personal-23.1.1.100-linux-aarch64.tar.gz
2.4.3 使用脚本快速安装并建库
官方推荐使用的是yasboot来管理,因为这里只测试一个单机的环境,直接使用脚本来安装快速体验。
[yashan@localhost soft]$ cd scripts/
[yashan@localhost scripts]$ ll
总用量 32
-rwxr-xr-x 1 yashan yashan 3296 11月  1 17:32 createResourceCgroup.sh
-rwxr-xr-x 1 yashan yashan 2934 11月  1 17:32 initDB.sh
-rwxr-xr-x 1 yashan yashan 2104 11月  1 17:32 initStandby.sh
-rw-r--r-- 1 yashan yashan  411 11月  1 17:32 install.ini
-rwxr-xr-x 1 yashan yashan 1412 11月  1 17:32 install.sh
-rwxr-xr-x 1 yashan yashan 1157 11月  1 17:32 startup.sh
-rwxr-xr-x 1 yashan yashan 1157 11月  1 17:32 stop.sh
-rwxr-xr-x 1 yashan yashan  667 11月  1 17:32 yascheckStart.sh
[yashan@localhost scripts]$ cat install.ini
[install]
YASDB_HOME=~/yashandb/yasdb_home
YASDB_DATA=~/yashandb/yasdb_data
REDO_FILE_SIZE=100M
REDO_FILE_NUM=4
INSTALL_SIMPLE_SCHEMA_SALES=N
NLS_CHARACTERSET=UTF8
[instance]
LISTEN_ADDR=0.0.0.0:1688
DB_BLOCK_SIZE=8K
DATA_BUFFER_SIZE=256M
SHARE_POOL_SIZE=256M
WORK_AREA_POOL_SIZE=32M
LARGE_POOL_SIZE=32M
REDO_BUFFER_SIZE=8M
UNDO_RETENTION=300
OPEN_CURSORS=310
MAX_SESSIONS=1024
RUN_LOG_LEVEL=INFO
NODE_ID=1-1:1
#安装数据库软件
[yashan@localhost scripts]$ ./install.sh
#初始化数据库,即建库启动实例
[yashan@localhost scripts]$ ./initDB.sh
process started!
Database open succeed !
[yashan@localhost scripts]$
#使环境变量生效
[yashan@localhost scripts]$ source ~/.bashrc
install.ini是一些数据库参数,作为初始化使用,当数据库创建完成之后,就不会使用这个文件了。这里面的参数也可以按需调整,详细操作参考官方文档
安装完成,默认会将环境变量卸载~/.bashrc,我们只用source一下生效就可以了
2.4.4 登录数据库
以上述方式安装的数据库,sys默认密码是yasdb_123,也就是说,sys密码也在脚本中初始化好了,不用再通过yaspwd重置密码。
[yashan@localhost scripts]$ yasql sys/yasdb_123
YashanDB SQL Personal Edition Release 23.1.1.100 aarch64

Connected to:
YashanDB Server Personal Edition Release 23.1.1.100 aarch64 - X86 64bit Linux

SQL> select status,version from v$instance;

STATUS        VERSION
------------- ----------------------------------------------------------------
OPEN          Personal Edition Release 23.1.1.100 aarch64

1 row fetched.

SQL>
2.4.5 关闭数据库
在数据库里面执行shutdown immediate关闭
SQL> shutdown immediate;

Succeed.
2.4.6 启动数据库
使用yasdb直接启动到open状态
SQL> exit
[yashan@localhost scripts]$ yasdb open &
[1] 20502
[yashan@localhost scripts]$ Starting instance open
Instance started

[yashan@localhost scripts]$ ps -ef|grep yasdb
yashan     20502    1800  2 18:30 pts/0    00:00:00 yasdb open
yashan     20578    1800  0 18:30 pts/0    00:00:00 grep yasdb
总结
本篇记录的安装方式,仅适合个人测试,如果要使用主备或者集群模式,还是要用官方提供的yasboot管理数据库哦~
