> 作者:马顺华
> 从事运维管理工作多年,目前就职于某科技有限公司,熟悉运维自动化、OceanBase部署运维、MySQL 运维以及各种云平台技术和产品。并已获得OceanBase认证OBCA、OBCP 证书、OpenGauss社区认证结业证书。OceanBase & 墨天轮第二、三、四届技术征文大赛,多次获得 一、二、三 等奖,时常在墨天轮发布原创技术文章,并多次被首页推荐。

前言
「YashanDB个人版体验」在YashanDB官网下载YashanDB个人版安装包,试用后输出体验报告。
下载地址:https://download.yashandb.com
我是通过数据库相关行业论坛或墨天轮社区了解YashanDB的。发现墨天轮社区有许多关于YashanDB的讨论和使用经验分享,我也准备参与其中,对YashanDB的评价和使用说一下自己的心得。
YashanDB是一个自主构建的数据库系统,其内核代码完全由开发者自行编写。在技术上,YashanDB不断引入新理论、新算法,以开展更多的创新,为客户提供极致体验与绝佳工程实践。它不仅采用了深圳计算科学研究院原创的基础性理论成果,还融入了并行可扩展、并行事务和跨模融合计算理论等先进的数据库技术。
一、服务器资源环境准备
还不知道如何部署,我们先来看看官方部署文档吧
https://doc.yashandb.com/yashandb/23.1/zh/%E4%BA%A7%E5%93%81%E6%8F%8F%E8%BF%B0/%E4%BA%A7%E5%93%81%E7%AE%80%E4%BB%8B.html
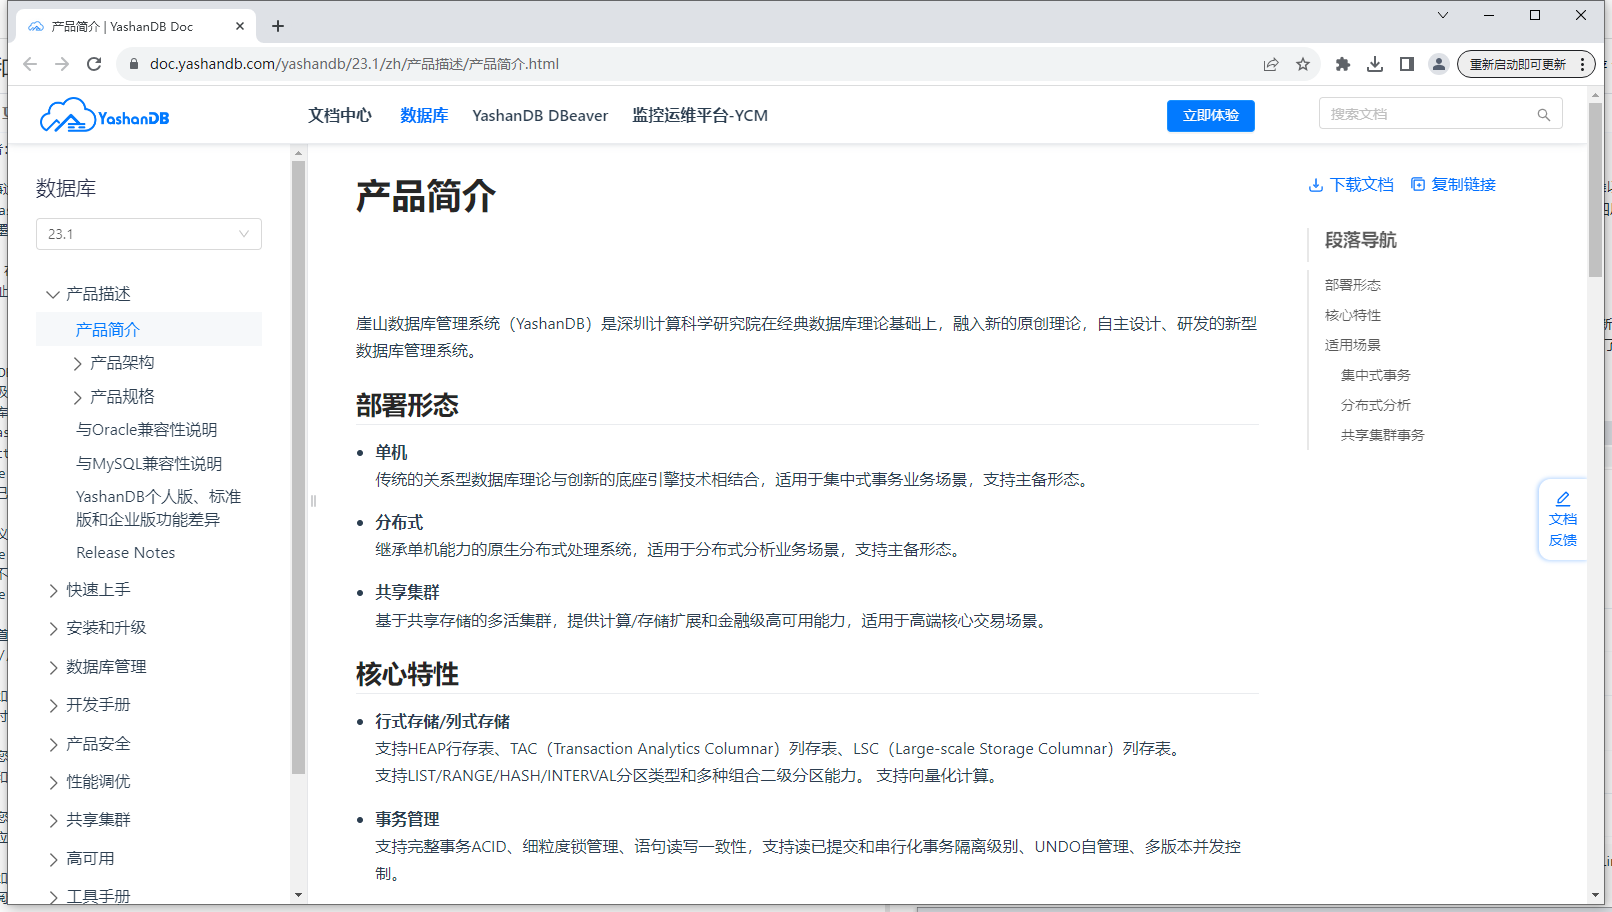
1、了解部署形态
部署形态有三种
单机、分布式、共享集群。首次测试,先采用单机部署测试下。
2、安装前准备
本章节将介绍个人版单机形态YashanDB服务端安装部署所需的前期准备,安装前请根据本文所述内容进行相关配置。
演示环境如下:
操作系统
[root@worker2 opt]# cat /etc/redhat-release
CentOS Linux release 7.4.1708 (Core)

内存
[root@worker2 opt]# free -h
              total        used        free      shared  buff/cache   available
Mem:            31G        9.9G         18G        624K        3.2G         20G
Swap:            0B          0B          0B
[root@worker2 opt]#

CPU
[root@worker2 opt]# cat /proc/cpuinfo | grep name | cut -f2 -d: | uniq -c
      8  Intel(R) Xeon(R) Gold 5118 CPU @ 2.30GHz
[root@worker2 opt]#

硬盘

这个是个人开发环境配置,请根据如下配置自行调整软硬件配置。
3、创建安装用户
建议创建一个新用户安装YashanDB数据库。
切换至root用户,并执行如下命令创建新用户yashan:
[root@worker2 opt]# useradd yashan
[root@worker2 opt]#

执行如下命令为用户yashan指定密码:
[root@worker2 opt]# passwd yashan
Changing password for user yashan.
New password:
Retype new password:
passwd: all authentication tokens updated successfully.
[root@worker2 opt]#

4、操作系统参数调整
下表为YashanDB数据库所需的资源限制值的最小要求,请根据下表所示将资源限制值调整为大于或等于最小要求的值。
资源项 描述 最小要求
open files 文件句柄 65536
max user processes 最大用户线程数 65536
max memory size 最大内存限制 unlimited
stack size 堆栈大小 8192
配置参数永久生效
执行如下命令将参数写入/etc/security/limits.conf文件,重启后参数永久生效:
[root@worker2 opt]# echo "
>
>  * soft nofile 65536
>
>  * hard nofile 65536
>
>  * soft nproc 65536
>
>  * hard nproc 65536
>
>  * soft rss unlimited
>
>  * hard rss unlimited
>
>  * soft stack 8192
>
>  * hard stack 8192
>
> " >> /etc/security/limits.conf
[root@worker2 opt]#

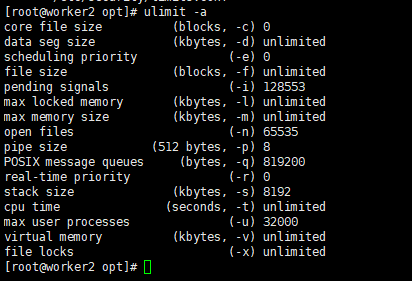
执行如下命令查看系统的所有资源限制值:
[root@worker2 opt]# ulimit -a
core file size          (blocks, -c) 0
data seg size           (kbytes, -d) unlimited
scheduling priority             (-e) 0
file size               (blocks, -f) unlimited
pending signals                 (-i) 128553
max locked memory       (kbytes, -l) unlimited
max memory size         (kbytes, -m) unlimited
open files                      (-n) 65535
pipe size            (512 bytes, -p) 8
POSIX message queues     (bytes, -q) 819200
real-time priority              (-r) 0
stack size              (kbytes, -s) 8192
cpu time               (seconds, -t) unlimited
max user processes              (-u) 32000
virtual memory          (kbytes, -v) unlimited
file locks                      (-x) unlimited
[root@worker2 opt]#
5、软件包准备
下载 YashanDB
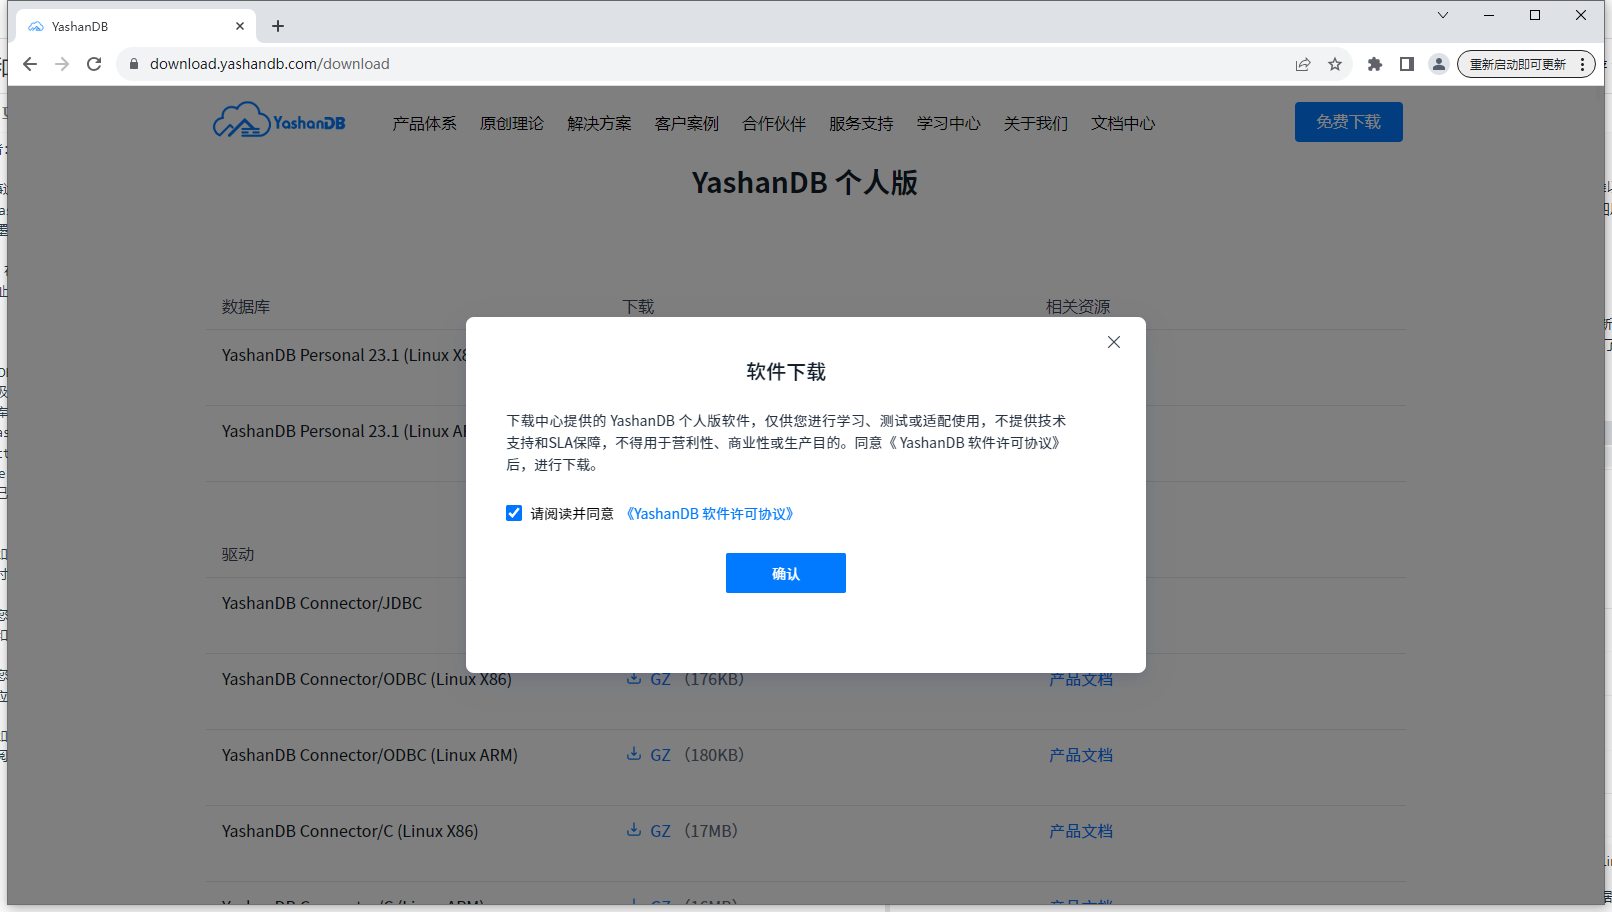
登录 https://download.yashandb.com/download

根据自己的资源环境,选择要下载的安装包,我的环境是Centot7 X86的,所有选择 YashanDB Personal 23.1 (Linux X86)
确认协议
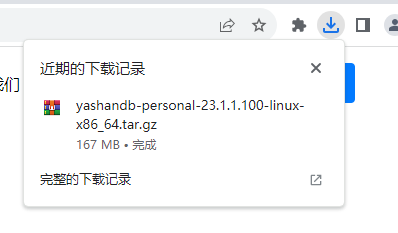
网速,不同,下载很快

二、YashanDB服务端安装
本章节将介绍Linux环境下单机形态的YashanDB数据库服务端安装部署方式,请确保已根据安装前准备章节进行相关配置,本文以yashandb-personal-23.1.0.100-linux-x86_64.tar.gz软件包为例进行阐述 。
如需安装其他部署形态的YashanDB数据库,请参考om安装章节。
1、创建安装目录
执行如下命令切换至yashan用户:
[root@worker2 opt]# su yashan
[yashan@worker2 opt]$

执行如下命令创建目录install:
[yashan@worker2 ~]$ cd ~
[yashan@worker2 ~]$ mkdir install

2、获取yasboot安装工具
执行如下命令进入目录install,此时用户所在路径为/home/yashan/install:
[yashan@worker2 ~]$ cd install/
[yashan@worker2 install]$ pwd
/home/yashan/install
[yashan@worker2 install]$

将软件包上传至install目录中。

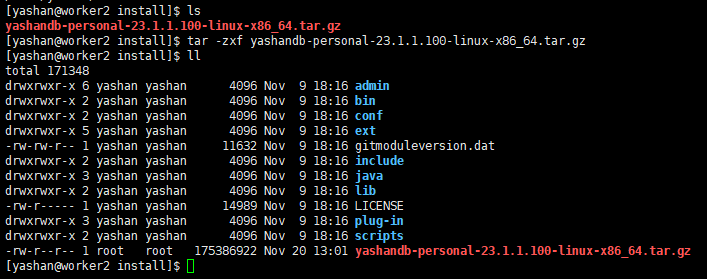
执行如下命令解压软件包,并查看解压后目录中所有文件,请将解压命令后的软件包名称更改为实际使用的软件包名称:
[yashan@worker2 install]$ ls
yashandb-personal-23.1.1.100-linux-x86_64.tar.gz
[yashan@worker2 install]$ tar -zxf yashandb-personal-23.1.1.100-linux-x86_64.tar.gz
[yashan@worker2 install]$ ll
total 171348
drwxrwxr-x 6 yashan yashan      4096 Nov  9 18:16 admin
drwxrwxr-x 2 yashan yashan      4096 Nov  9 18:16 bin
drwxrwxr-x 2 yashan yashan      4096 Nov  9 18:16 conf
drwxrwxr-x 5 yashan yashan      4096 Nov  9 18:16 ext
-rw-rw-r-- 1 yashan yashan     11632 Nov  9 18:16 gitmoduleversion.dat
drwxrwxr-x 2 yashan yashan      4096 Nov  9 18:16 include
drwxrwxr-x 3 yashan yashan      4096 Nov  9 18:16 java
drwxrwxr-x 2 yashan yashan      4096 Nov  9 18:16 lib
-rw-r----- 1 yashan yashan     14989 Nov  9 18:16 LICENSE
drwxrwxr-x 3 yashan yashan      4096 Nov  9 18:16 plug-in
drwxrwxr-x 2 yashan yashan      4096 Nov  9 18:16 scripts
-rw-r--r-- 1 root   root   175386922 Nov 20 13:01 yashandb-personal-23.1.1.100-linux-x86_64.tar.gz
[yashan@worker2 install]$
3、生成参数文件
执行如下命令生成安装参数文件,ssh登录密码为创建yashan用户时指定的密码,请将–ip参数后面的值更换成安装服务端主机所在IP地址(使用127.0.0.1会导致客户端无法连接至服务端):
 hostid   | group | node_type | node_name | listen_addr    | replication_addr | data_path
--------------------------------------------------------------------------------------------------------
 host0001 | dbg1  | db        | 1-1       | 192.168.1.2:1688 | 192.168.1.2:1689   | /home/yashan/yasdb_data
----------+-------+-----------+-----------+----------------+------------------+-------------------------

Generate config success
Copied!

4、执行安装
执行如下命令安装YashanDB数据库,如实际安装数据库版本与示例中版本不同,请将-i参数后的软件包名称更改成实际名称:
[yashan@worker2 install]$ ./bin/yasboot package install -t hosts.toml -i yashandb-personal-23.1.1.100-linux-x86_64.tar.gz
checking install package...
install version: yashandb 23.1.1.100
host0001 100% [====================================================================]    3s
update host to yasom...
[yashan@worker2 install]$

5、执行部署
5.1 执行如下命令部署YashanDB数据库:
[yashan@worker2 install]$ ./bin/yasboot cluster deploy -t yashandb.toml
 type | uuid             | name               | hostid | index    | status  | return_code | progress | cost
------------------------------------------------------------------------------------------------------------
 task | 19ccd81a206af679 | DeployYasdbCluster | -      | yashandb | SUCCESS | 0           | 100      | 9
------+------------------+--------------------+--------+----------+---------+-------------+----------+------
task completed, status: SUCCESS
[yashan@worker2 install]$

5.2 执行如下命令配置环境变量:
[yashan@worker2 install]$ cd /home/yashan/yasdb_home/yashandb/23.1.1.100/conf/
[yashan@worker2 conf]$

如~/.bashrc中已存在YashanDB相关的环境变量,将其清除
[yashan@worker2 conf]$ cat yashandb.bashrc >> ~/.bashrc
[yashan@worker2 conf]$ source ~/.bashrc
[yashan@worker2 conf]$

5.3 执行如下命令设置YashanDB数据库中sys用户的密码:
[yashan@worker2 conf]$ cd /home/yashan/yasdb_data/db-1-1/instance
[yashan@worker2 instance]$ mv yasdb.pwd yasdb1.pwd
[yashan@worker2 instance]$ yaspwd file=yasdb.pwd
Enter password for SYS:

5.4 执行如下命令查看YashanDB数据库状态
如显示出数据库状态信息即为安装成功:
[yashan@worker2 instance]$ yasboot cluster status -c yashandb
 host_id  | node_type | nodeid | pid
---------------------------------------
 host0001 | db        | 1-1:1  | 65676
----------+-----------+--------+-------
[yashan@worker2 instance]$

5.5 执行如下命令连接数据库,请将password更改成设置的sys用户密码:
[yashan@worker2 instance]$ yasql sys/password
YashanDB SQL Personal Edition Release 23.1.1.100 x86_64

YAS-02143 invalid username/password, login denied

Connected to:
YashanDB Server Personal Edition Release 23.1.1.100 x86_64 - X86 64bit Linux

SQL>

6、服务端配置
如部署服务端时没有对监听地址参数进行修改,则服务端的监听地址默认为127.0.0.1:1688,即本地地址,此时仅支持同主机不同用户下安装的YashanDB客户端进行连接,如位于不同主机则无法连接至服务端,需要对服务端的监听地址进行修改。
于数据库服务端执行如下SQL命令查看监听地址参数值:
执行如下SQL命令重新查看监听地址参数值:
SQL> show parameter LISTEN_ADDR;

NAME                                                             VALUE
---------------------------------------------------------------- ----------------------------------------------------------------
LISTEN_ADDR                                                      127.0.0.1:1688

1 row fetched.

SQL>

7、基本操作
本章节将介绍YashanDB数据库的实例启停方式。数据库安装过程中将实例自动切换成OPEN阶段,并创建名为yashandb的数据库。
执行如下SQL命令查看当前实例状态及数据库名称:
SQL> SELECT status FROM V$INSTANCE;

STATUS
-------------
OPEN

1 row fetched.

SQL> SELECT database_name FROM V$DATABASE;

DATABASE_NAME
----------------------------------------------------------------
yashandb

1 row fetched.

SQL>

执行如下命令关闭YashanDB服务:
$ yasboot cluster stop -c yashandb
 type | uuid             | name             | hostid | index    | status  | return_code | progress | cost
----------------------------------------------------------------------------------------------------------
 task | 3b62bda48bad7fd1 | StopYasdbCluster | -      | yashandb | SUCCESS | 0           | 100      | 1
------+------------------+------------------+--------+----------+---------+-------------+----------+------
task completed, status: SUCCESS
结语:
参考资源:
https://doc.yashandb.com/yashandb/23.1/zh/%E4%BA%A7%E5%93%81%E6%8F%8F%E8%BF%B0/%E4%BA%A7%E5%93%81%E7%AE%80%E4%BB%8B.html
首先,如果您打算部署YashanDB,您需要考虑您的系统环境和应用程序的需求。YashanDB是一个高性能的数据库系统,需要一个强大的硬件平台来支持。同时,您需要了解您的应用程序对数据库系统的要求,以便选择适合的版本和配置。
其次,您需要了解YashanDB的安装和配置过程。YashanDB的安装过程相对简单,但是您需要确保您的系统满足其要求。在配置过程中,您需要选择合适的参数和设置,以确保数据库系统的正常运行。
最后,您需要了解YashanDB的特性和优点,以便在部署过程中充分利用其功能。YashanDB具有高性能、可扩展性、高可用性和安全性等优点,可以帮助您提高应用程序的性能和可靠性。
总之,如果您打算部署YashanDB,您需要充分了解其要求和特性,并选择合适的版本和配置来满足您的应用程序需求。同时,您需要在安装和配置过程中仔细阅读文档并遵循步骤,以确保数据库系统的正常运行。


