


本文说下怎么使用 docker-compose 部署 Vue 项目!
(一)打包 Vue 项目,并上传至服务器解压
在前端 Vue 工程项目中执行打包命令:
npm run build
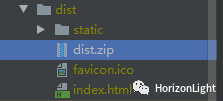
然后可看到在工程项目中生成了一个zip包:
在 Linux 服务器的某个统一目录下使用`sz`命令上传该zip包,之后执行解压命令:
unzip -o dise.zip -d dist/
说明:
-o 表示覆盖存在的文件
-d 表示解压到指定该路径下
(二)编辑 Nginx 配置文件以及 docker-compose.yml 文件
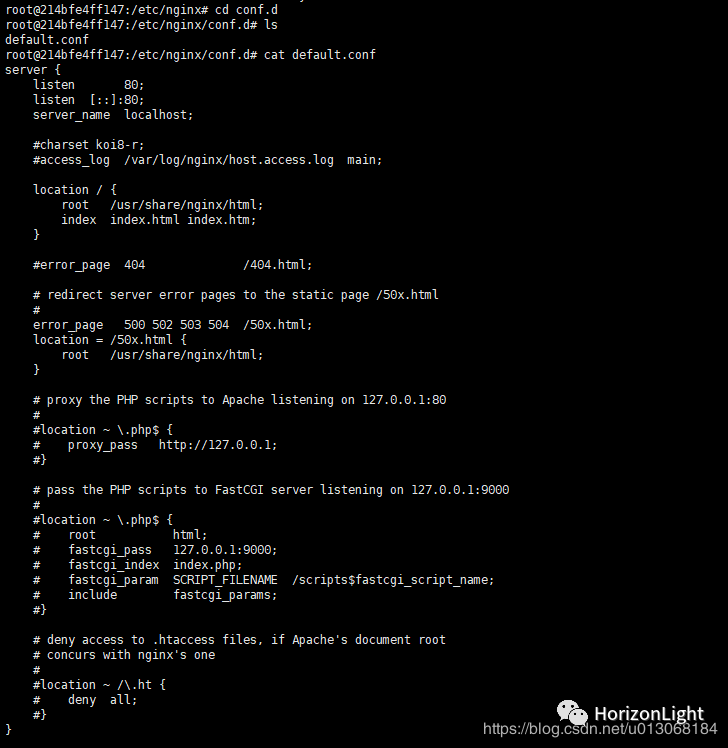
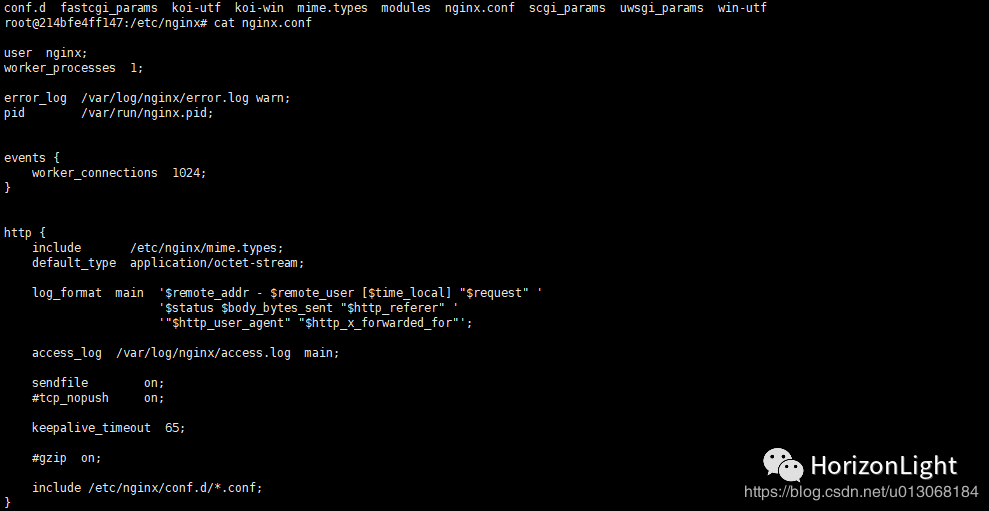
因为需要用到Nginx做反向代理,而Nginx的配置文件会包含 default.conf 以及 nginx.conf ;二者的联系为 default.conf 会被 nginx.conf 引入,所以实际上我们只需要配置 default.conf ,然后挂载到 Nginx 容器中即可!
以下可看出两者的关系:
创建一个 default.conf 文件:
touch default.conf
编辑并添加以下内容(可根据自己需求自行修改):
server {listen 80;server_name localhost;#charset koi8-r;#access_log logs/host.access.log main;location / {root /usr/share/nginx/html;index index.html index.htm;}#error_page 404 /404.html;# redirect server error pages to the static page /50x.html#error_page 500 502 503 504 /50x.html;location = /50x.html {root /usr/share/nginx/html;}# proxy the PHP scripts to Apache listening on 127.0.0.1:80##location ~ \.php$ {# proxy_pass http://127.0.0.1;#}# pass the PHP scripts to FastCGI server listening on 127.0.0.1:9000##location ~ \.php$ {# root html;# fastcgi_pass 127.0.0.1:9000;# fastcgi_index index.php;# fastcgi_param SCRIPT_FILENAME /scripts$fastcgi_script_name;# include fastcgi_params;#}# deny access to .htaccess files, if Apache's document root# concurs with nginx's one##location ~ /\.ht {# deny all;#}}
然后再创建一个 docker-compose.yml 文件:
touch docker-compose.yml
编辑并添加以下内容:
version: "3.4"services: #指定服务名称vue_test: #vue前端服务container_name: vue_testimage: nginx:1.9.0 #nginx镜像ports: #避免出现端口映射错误,建议采用字符串格式- "8066:80"volumes:#挂载dist静态资源到容器中- /media/vue/dist/:/usr/share/nginx/html/#挂载nginx配置文件到容器中,替换nginx容器中的默认配置- /media/vue/default.conf:/etc/nginx/conf.d/default.confrestart: always
最后启动容器:
docker-compose up -d
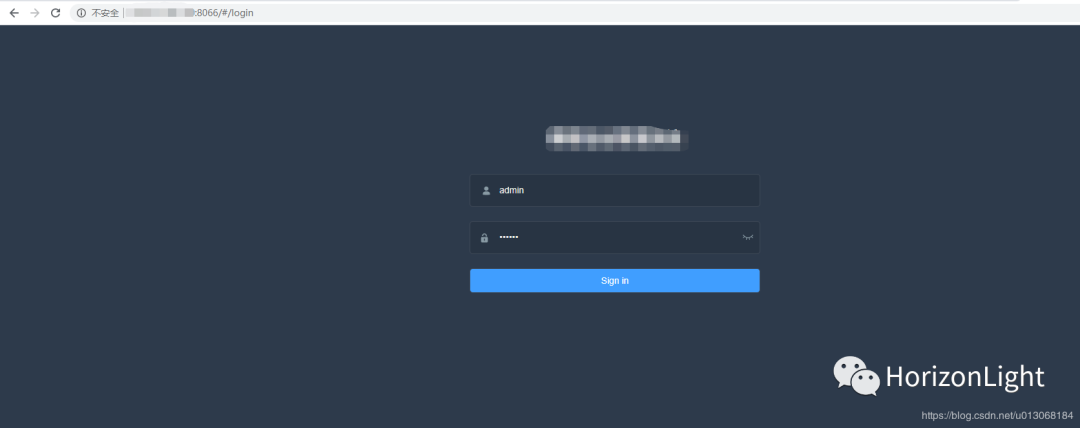
然后成功访问前端页面(ip + 映射的端口):
(三)其他方法启动
除了以上的启动方式,还可以使用Dockerfile构造镜像后,再使用docker命令直接启动或者使用docker-compose启动!
新建Dockerfile文件,并添加以下内容:
#指定基础镜像,在其上进行定制FROM nginx:1.19.0#维护者信息MAINTAINER zjh <909877582@qq.com>#复制同级路径下的dist文件夹中的所有文件到容器里#dist文件为vue打包后上传到服务器的解压包COPY dist/ /usr/share/nginx/html/#复制nginx配置文件,替换nginx容器中的默认配置COPY default.conf /etc/nginx/conf.d/default.conf
执行构建镜像命令:
docker build -t imageName:version .
说明:
imageName 镜像名称,自定义
version 镜像版本号,自定义
. 点号代表根据同级路径下的Dockerfile构建镜像
查看镜像id:
docker images
最后执行docker命令启动容器:
docker run -p 8066:80 -d --container_name image_id
说明:
container_name 容器名称,自定义
image_id 镜像id,需要替换成构建的镜像id
使用 docker-compose 的方式这里省略(不需要再挂载dist静态文件以及default.conf),请参考第(二)部分!
总的来说,更推荐第(二)部分的部署方式,一步到位!
可能遇到的问题:
1.启动容器报错:
类似这种
nginx: [emerg] "http" directive is not allowed here in /etc/nginx/conf.d/default.conf:14
解决办法:需要搞清楚 default.conf 与 nginx.conf 二者的联系
2.启动容器成功,但日志信息报错:
10-listen-on-ipv6-by-default.sh: Getting the checksum of /etc/nginx/conf.d/default.conf10-listen-on-ipv6-by-default.sh: error: /etc/nginx/conf.d/default.conf differs from the packaged version
解决办法:这里是Nginx版本问题,本人一开始使用的是1.19.1版本,后面切换回1.19.0版本正常
