实验环境:Centos7.4 +Apache+Mariadb+PHP
实验目的:手工搭建LAMP环境
实验步骤:
完成LAMP环境搭建的方式有很多种,本文介绍两种:1、yum一键安装;2、源码安装。读者会问,两种安装方式有什么不同吗?结果是一样的,源码安装对安装者要求的技能更多,可配置的参数都是按照用户的需求配置,本文只讲最基本的配置,基本可以满足您的需求。
方式1、YUM一键安装配置LAMP
Step1、安装apache
# yum install httpd httpd-devel -y #service httpd restart |
Step2、安装Mariadb
# yum install mariadb mariadb-server mariadb-devel -y # service mariadb restart # mysql -uroot -p 直接回车 Mariadb> set password for root@localhost = password('123456'); Mariadb> create database discuz charset=utf8; Mariadb> grant all on discuz.* to root@'hpprdyc' identified by "123456"; hpprdyc更换为你的数据库服务器的机器名 Mariadb> flush privileges; |
Step3、安装php
# yum install php php-devel php-mysql -y # cd /var/www/html # vi index.php <?php # systemctl restart mariadb.service |
Step4、浏览器测试
打开浏览器,地址栏输入http://ip/index.php
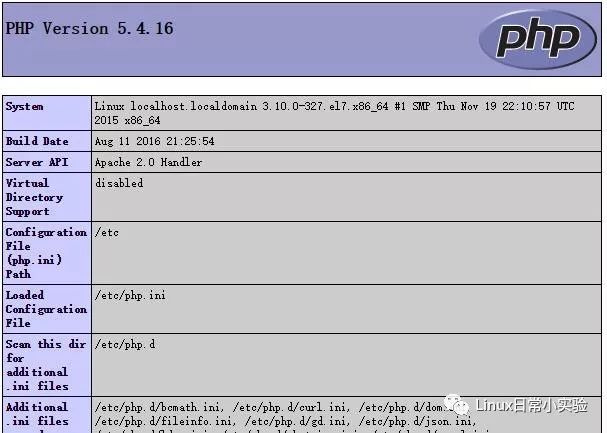
Step5、Discuz论坛测试
# cd /var/www/html # wget http://download.comsenz.com/DiscuzX/3.1/Discuz_X3.1_SC_UTF8.zip # yum install unzip -y # unzip Discuz_X3.1_SC_UTF8.zip # mv upload/* . # chmod 777 -R /var/www/html |
浏览器地址栏输入http://ip/index.php,安装数据库时,数据库服务器可以写localhost也可以直接写你的数据库服务器的机器名。
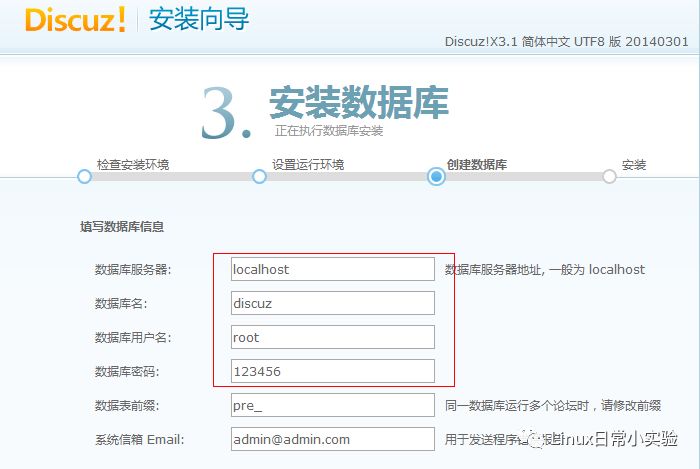
此处容易遇见一下错误,
无法连接数据库,请检查数据库用户名或者密码是否正确 Access denied for user 'root'@'hpprdyc' (using password: YES)
解决方法,可以参见安装Mariadb步骤,对用户赋予权限即可。
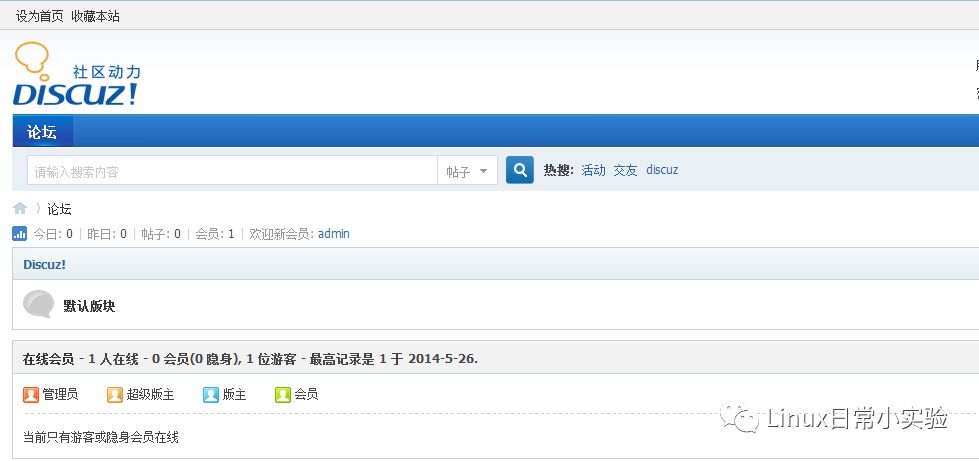
LAMP环境整合并搭建成功。
方式2、源码安装配置LAMP
Step1、安装apache
首先,找到可以下载apache的网址,本文给出一个网址
http://mirror.bit.edu.cn/apache/httpd/
本文写的时候此网址下最新的Apache为httpd-2.4.33.tar.gz。
# cd /usr/src # wget -c http://mirrors.hust.edu.cn/apache//apr/apr-util-1.6.1.tar.gz # wget -c http://mirrors.hust.edu.cn/apache//apr/apr-1.6.3.tar.gz |
安装apr
# yum install gcc gcc++ -y # tar -xf apr-1.6.3.tar.gz |
安装apr-util
| # cd .. # tar -xf apr-util-1.6.1.tar.gz # cd apr-util-1.6.1/ # ./configure --prefix=/usr/local/apr-util --with-apr=/usr/local/apr # make && make install |
源码安装apache
# wget -c http://mirror.bit.edu.cn/apache/httpd/httpd-2.4.33.tar.gz # tar -xvf httpd-2.4.33.tar.gz # cd httpd-2.4.33 # ./configure \ # make # make install |
/ etc/httpd/httpd.conf文件里面新增加如下一条内容:
ServerName localhost:80
然后启动apache服务: /usr/local/apache/bin/apachectl start
cp /usr/local/apache/bin/apachectl /etc/rc.d/init.d/httpd
在IE地址栏里面输入宿主机的IP地址,看到It works!
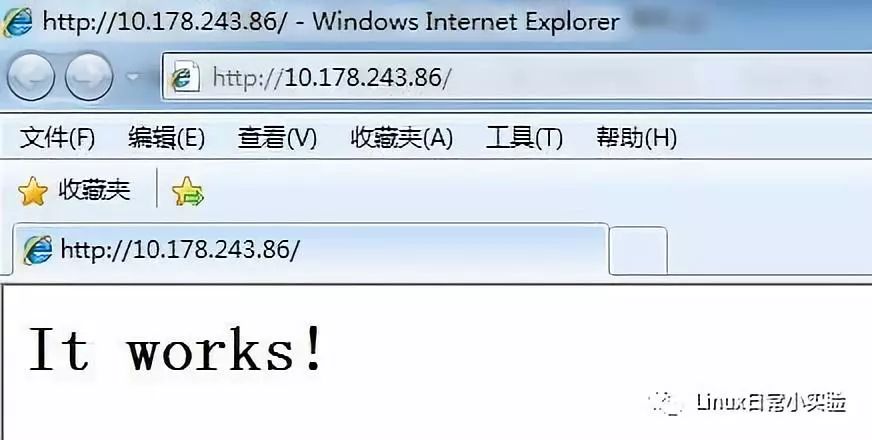
Apache源码安装完成。
Step2、Mysql源码安装
Mysql的源码安装可以参考之前的文章里面,只需要将docker部分全部省略。
Docker的Centos容器中源码安装MySQL5.7.21
Step3、PHP源码安装
# yum install libxml2 # cd /usr/local # wget -c http://mirrors.sohu.com/php/php-7.2.7.tar.gz # tar -xvf php-7.2.7.tar.gz # cd php-7.2.7 # ./configure --prefix=/usr/local/php7 --with-config-file-path=/usr/local/php7/etc --with-apxs2=/usr/local/apache/bin/apxs --with-mysql=/usr/local/mysql57/ # make && make install # vi /etc/httpd/httpd.conf LoadModule php7_module modules/libphp7.so ###error:module php7_module is already loaded # vi /usr/local/apache/htdocs/index.php # service httpd restart |
输入IP地址出现it works!apache没问题。
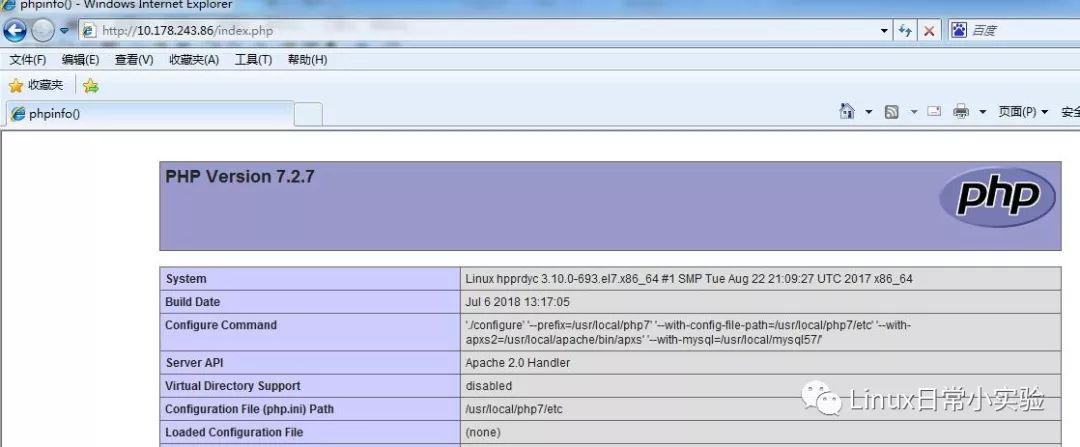
http://ip/index.php,出现PHP版本的图片信息,则LAMP部署成功。
Step4、Discuz论坛测试
# cd /var/www/html # wget http://download.comsenz.com/DiscuzX/3.1/Discuz_X3.1_SC_UTF8.zip # yum install unzip -y # unzip Discuz_X3.1_SC_UTF8.zip # mv upload/* . # chmod 777 -R /var/www/html |
浏览器地址栏输入http://ip/index.php,安装数据库时,数据库服务器可以写localhost也可以直接写你的数据库服务器的机器名。
此处容易遇见一下错误,
无法连接数据库,请检查数据库用户名或者密码是否正确 Access denied for user 'root'@'hpprdyc' (using password: YES)
解决方法,可以参见安装Mariadb步骤,对用户赋予权限即可。
LAMP环境整合并搭建成功。
如果您喜欢我的文章,请长按以下图片关注我的公众号,学习Linux的路上,期待与您同行。