


WebVirtMgr概述
WebVirtMgr是近两年来发展较快,比较活跃,非常清新的一个KVM管理平台,提供对宿主机和虚机的统一管理,它有别于kvm自带的图形管理工具(virtual machine manager),让kvm管理变得更为可视化,对中小型kvm应用场景带来了更多方便。
WebVirtMgr介绍
WebVirtMgr采用几乎纯Python开发,其前端是基于Python的Django,后端是基于Libvirt的Python接口,将日常kvm的管理操作变的更加的可视化。
WebVirtMgr 特点
操作简单,易于使用 、通过libvirt的API接口对kvm进行管理、提供对虚拟机生命周期管理
WebVirtMgr 功能
宿主机管理支持以下功能、CPU利用率、内存利用率、网络资源池管理、存储资源池管理、虚拟机镜像、虚拟机克隆、快照管理、日志管理、虚机迁移、虚拟机管理支持以下功能、CPU利用率、内存利用率、光盘管理、关/开/暂停虚拟机、安装虚拟机、VNC console连接、创建快照
##尽量参考官方文档##
官方文档
https://github.com/retspen/webvirtmgr/wiki/Install-WebVirtMgr
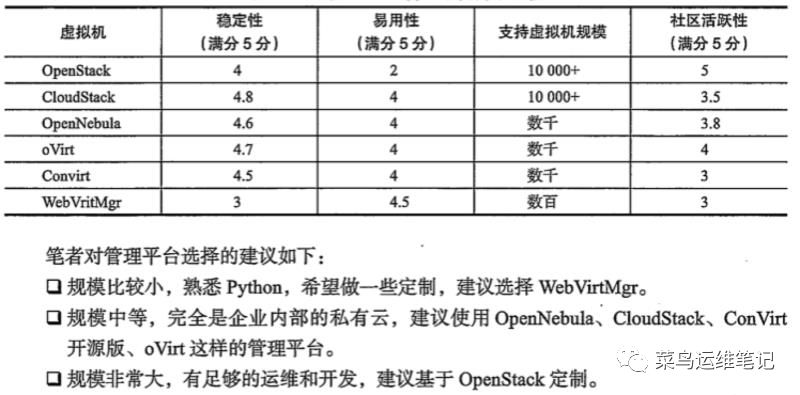
WebVirtMgr 相较于其他管理平台
操作系统为
CentOS7.4
WebVirtMgr 管理
192.168.1.200
kvm 宿主机
192.168.1.200
示例添加kvm宿主机
192.168.1.165
WebVirtMgr 管理工具安装
一、安装前的部署
安装一些依赖包
yum -y install git python-pip libvirt-python libxml2-python python-websockify supervisor nginx gcc python-devel wget vim net-tools lrzsz
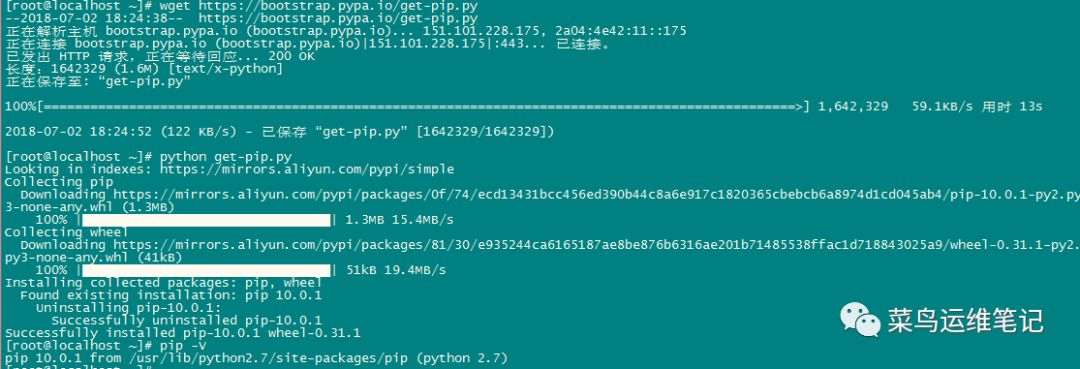
1.安装pip
wget https://bootstrap.pypa.io/get-pip.pypython get-pip.pypip -V #查看pip版本pip install numpy

2.安装python的需要包和配置Django环境
git clone git://github.com/retspen/webvirtmgr.git

3.安装nginx
rpm -Uvh http://nginx.org/packages/centos/7/noarch/RPMS/nginx-release-centos-7-0.el7.ngx.noarch.rpmyum install nginx -y
4.安装supervisor
安装参考
https://www.2cto.com/kf/201712/702837.html
开机自启参考
https://blog.csdn.net/binggoogle/article/details/53203991
cat /etc/supervisord.conf
如果没有这个文件按照一下步骤安装
有的话忽略此步骤
pip install supervisormkdir /etc/supervisord.d/echo_supervisord_conf > /etc/supervisord.conf
新建文件
vi /etc/supervisord.d/app.conf
配置文件 app.conf
内容为
[program:appname]command=/root/soft/push.apidirectory=/root/soft/push.apiautostart=trueautorestart=trueuser=rootstdout_logfile = /var/log/supervisor/pushapi.logstderr_logfile = /var/log/supervisor/pushapi-error.log
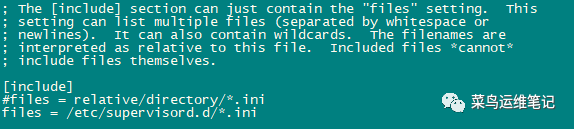
修改 在配置文件最下方修改为
vi /etc/supervisord.conf[include]files = /etc/supervisord.d/*.ini
supervisord -c /etc/supervisord.conf/usr/bin/supervisorctl start all/usr/bin/supervisorctl stop all
二、安装环境
cd webvirtmgrpip install -r requirements.txt

./manage.py syncdb
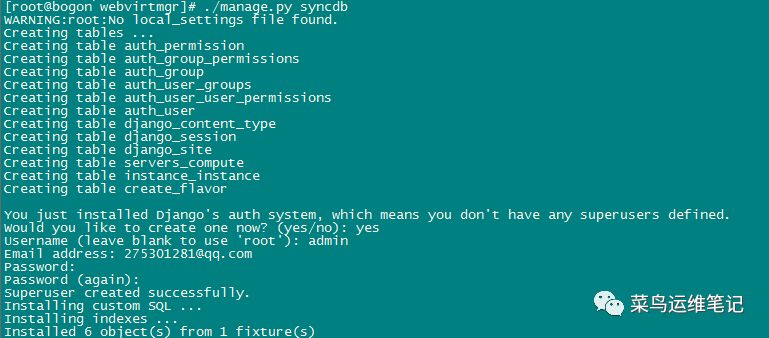
1.创建用户
输入以下用户信息
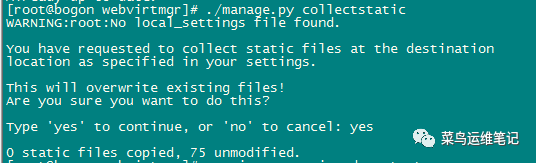
You just installed Django's auth system, which means you don't have any superusers defined.Would you like to create one now? (yes/no): yesUsername (leave blank to use 'root'): adminEmail address: 27531281@qq.comPassword: adminPassword (again):adminSuperuser created successfully.Installing custom SQL ...Installing indexes ...Installed 6 object(s) from 1 fixture(s)./manage.py collectstatic
2.配置一个超级用户
./manage.py createsuperuser

WARNING:root:No local_settings file found.Username (leave blank to use 'root'): yesEmail address: 275301281@qq.comPassword: Lenovo@123Password (again): Lenovo@123Superuser created successfully.
3.设置nginx
a、使用:8000端口
(1)移动这个webvirtmgr目录到/var/www下
cd ..mv webvirtmgr /var/www/
webvirtmgr 目录下还有一个名称为webvirtmgr 的文件夹
不要单独移动 webvirtmgr/webvirtmgr 文件

(2)编辑配置文件
vi /etc/nginx/conf.d/webvirtmgr.confserver {listen 80 default_server;server_name $hostname;#access_log /var/log/nginx/webvirtmgr_access_log;location /static/ {root /var/www/webvirtmgr/webvirtmgr; # or /srv instead of /varexpires max;}location / {proxy_pass http://127.0.0.1:8000;proxy_set_header X-Real-IP $remote_addr;proxy_set_header X-Forwarded-for $proxy_add_x_forwarded_for;proxy_set_header Host $host:$server_port;proxy_set_header X-Forwarded-Proto $scheme;proxy_connect_timeout 600;proxy_read_timeout 600;proxy_send_timeout 600;client_max_body_size 1024M; # Set higher depending on your needs}}
(3)启动nginx并设置开机自启动(如果不设置开机自启动,重启服务器supervisor无法管理Django进程),并开机自启动supervisord
systemctl restart nginxsystemctl enable supervisord
分配权限
chown nginx.nginx /var/www/webvirtmgr
4.设置supervisor
在/etc/supervisord.conf末尾加入下面的配置:
vi /etc/supervisord.conf[program:webvirtmgr]command=/usr/bin/python /var/www/webvirtmgr/manage.py run_gunicorn -c /var/www/webvirtmgr/conf/gunicorn.conf.pydirectory=/var/www/webvirtmgrautostart=trueautorestart=truelogfile=/var/log/supervisor/webvirtmgr.loglog_stderr=trueuser=nginx[program:webvirtmgr-console]command=/usr/bin/python /var/www/webvirtmgr/console/webvirtmgr-consoledirectory=/var/www/webvirtmgrautostart=trueautorestart=true#stdout_logfile=/var/log/supervisor/webvirtmgr-console.logredirect_stderr=trueuser=nginx
进程无法启动或者报错 可以选择吧 log 注释取消
5、重启supervisord
systemctl restart supervisord.servicesystemctl enable supervisord.servicesystemctl status supervisord.service
6.更新
cd /var/www/webvirtmgrgit pull

./manage.py collectstatic
systemctl restart supervisor
7、如果有错误或不运行
./manage.py runserver 0:8000#或者后台运行脚本nohup python /var/www/webvirtmgr/manage.py runserver 0:8000 >/dev/null &nohup python /var/www/console/webvirtmgr-console >/dev/null &
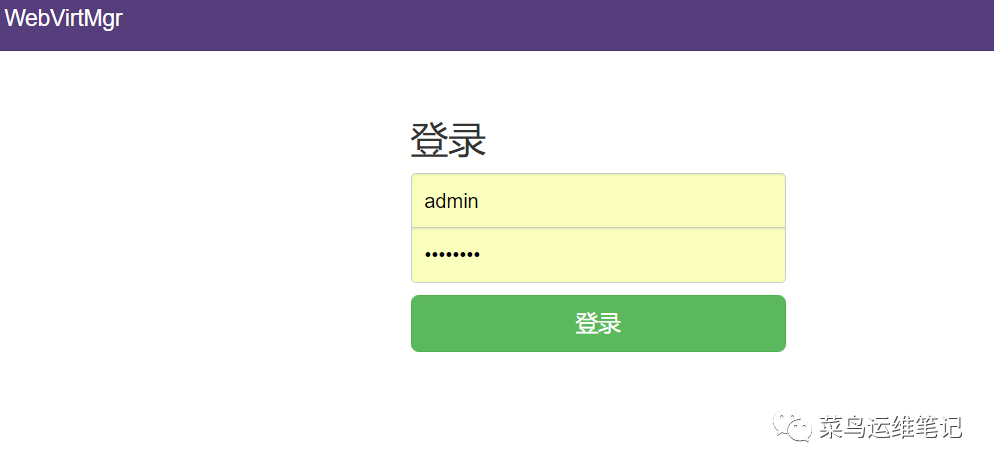
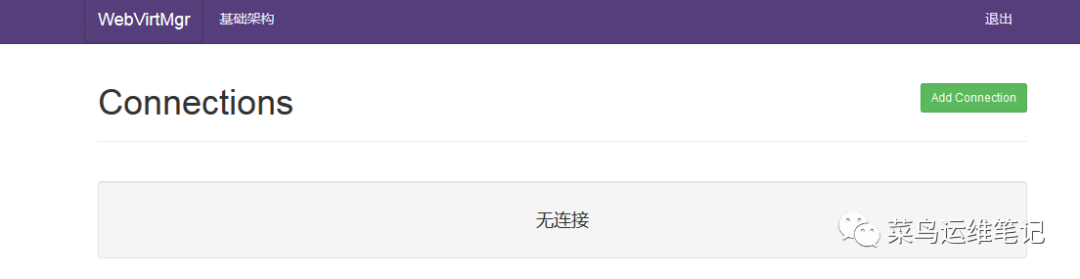
访问:http://x.x.x.x:8000(x.x.x.x - your server IP address ),输入创建的用户和密码,如果没有创建,请用python manager.py createsuperuser,命令创建。登录后如下图所示
三、配置虚拟机所在宿主机
webvirtmgr客户端就这样搭建完了,接下来需要配置虚拟机所在宿主机的,
配置宿主机
1、设置ssh认证
ssh和tcp设置一种即可,其实就是设置无密码登录,要注意的是从webvirtmgr的什么用户到宿主机的什么用户的无密码登录,比如我用root跑的django webvirtmgr,而宿主机也是root跑的virsh,所以需要设置root到root的无密码登录。而git官网推荐的是用nginx用户跑django webvirtmgr,webvirtmgr用户跑的virsh,所以设置的是nginx用户到宿主机webvirtmgr用户的无密码登录。
2、设置ssh授权
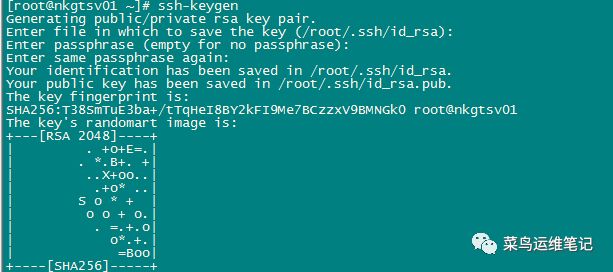
ssh-keygen -t rsa //产生公私钥
直接回车,回车,回车
ssh-copy-id 192.168.1.120
/由于这里webvirtmgr和kvm服务部署在同一台机器,所以这里本地信任。
如果kvm部署在其他机器,那么这个是其他它的ip 同时也要设置ssh key密钥
提示输入密码的时候直接输入之前1.120的密码
ssh 192.168.1.120 -L localhost:8000:localhost:8000 -L localhost:6080:localhost:6080/*--原配置内容--------------/ssh-copy-id 1.1.1.1ssh 1.1.1.1 -L localhost:8000:localhost:8000 -L localhost:6080:localhost:6080/*--原配置内容--------------/
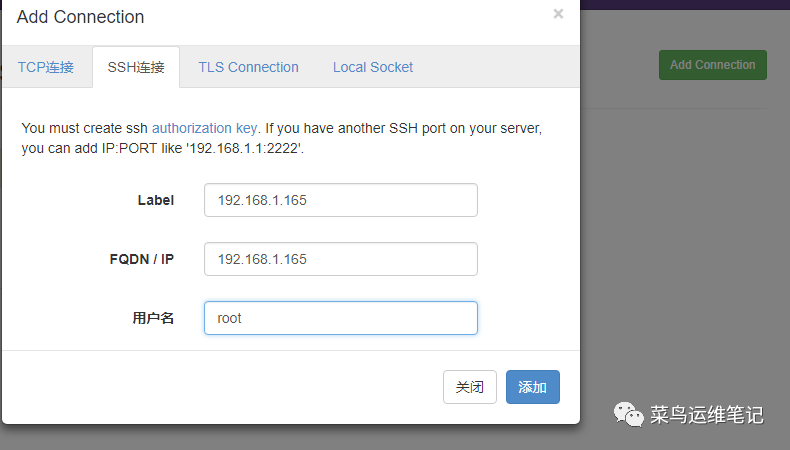
3、下面示例添加kvm 宿主机
web管理 server 也就是web virtmgr
IP地址为192.168.1.200
kvm 宿主机
IP地址为192.168.1.165
在部署web管理的主机(192.168.1.200)上执行命令
ssh-keygen -t rsassh-copy-id 192.168.1.165

添加新的kvm宿主机
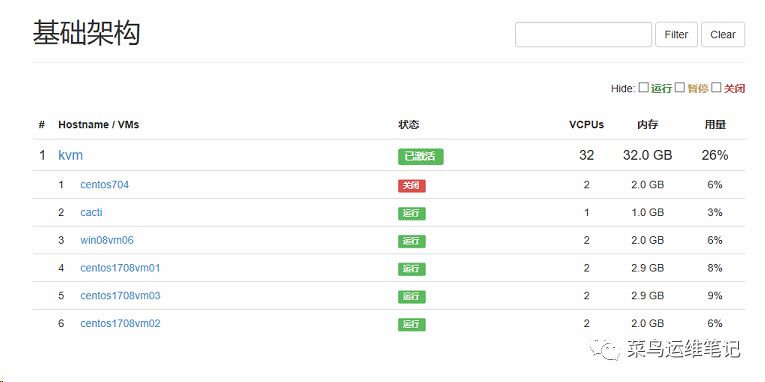
登录http://192.168.1.200:8000
基础架构可以看到一些vm虚拟机
网页控制台 远程链接报错1006
安装vnc即可
yum install -y novnc
运行
cd /var/www/console/./webvirtmgr-console &#后台运行脚本nohup python /var/www/webvirtmgr/manage.py runserver 0:8000 >/dev/null &nohup python /var/www/console/webvirtmgr-console >/dev/null &
