


一、安装环境
1、先准备一台主机,纯净版。
2、如果没网使用命令
nmcli c reload; sleep 3; nmcli c up ens33
3、修改主机名
hostnamectl set-hostname openstack.alione.loca
4、配置hosts解析
vi etc/hosts
192.168.59.149 openstack openstack.alione.local
5、配置本机免密
生成密钥
ssh-keygen
对本机进行免密
ssh-copy-id -i root/.ssh/id_rsa.pub root@192.168.59.149
6、关闭防火墙与selinux策略
sed -i "s/SELINUX=enforcing/SELINUX=disabled/g" etc/selinux/config; setenforce 0; systemctl stop firewalld; systemctl disable firewalld
7、关闭NetworkManager
centos7中有两种网络管理模式,避免冲突,在安装完opensack后可开启
systemctl stop NetworkManager; systemctl disable NetworkManager
8、修改yun源
下载阿里源
curl -o etc/yum.repos.d/CentOS-Base.repo https://mirrors.aliyun.com/repo/Centos-7.repo
清空并加载缓存yum源
yum clean all; yum makecache
9、安装基本工具
yum install -y bash-completion vim telnet bridge-utils yum-utils
bash
10、系统升级
yum -y update
reboot
11、安装OpenStack的yum仓库
yum install centos-release-openstack-train -y
12、修改openstack仓库repo文件
因为对网络需求大,当出现网络波动时会导致报错,最好修改为国内源进行部署
cd etc/yum.repos.d
cp CentOS-OpenStack-train.repo{,.bak}
vim CentOS-OpenStack-train.repo
baseurl=http://mirrors.aliyun.com/$contentdir/$releasever/cloud/$basearch/openstack-train/
#mirrorlist=http://mirrorlist.centos.org/?release=$releasever&arch=$basearch&repo=cloud-openstack-train
yum clean all; yum makecache
13、安装packstack工具
yum install -y openstack-packstack
14、安装OpenStack-allinone
packstack --allinone
二、安装完成后步骤
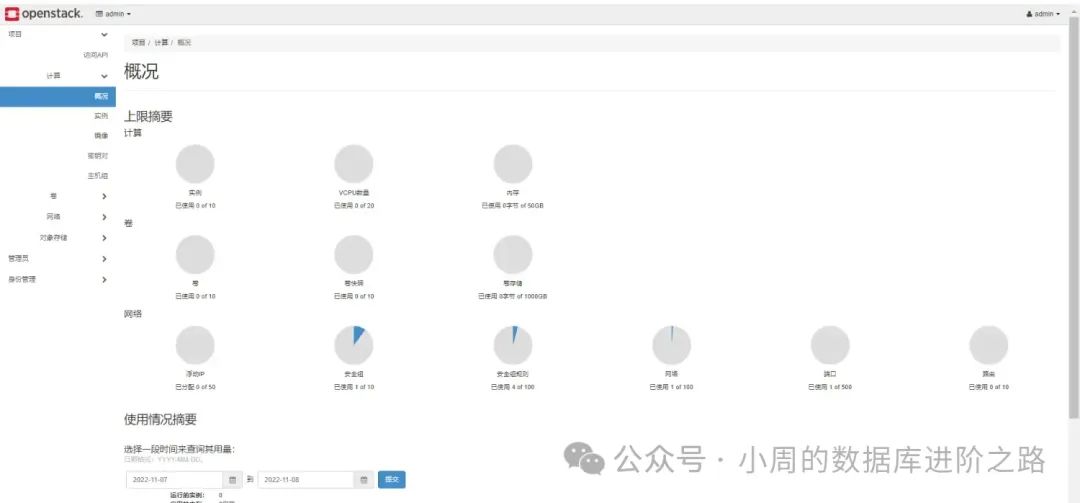
1、如下图:安装完成后会显示web登陆地址,http://192.168.59.149/dashboard
账号密码在:keystonerc_admin这个文件夹中。

三、基本操作命令
source keystonerc_admin
glance image-list
neutron agent-list
nova service-list
cinder service-list
1、 数据库:
# systemctl start mysqld
# systemctl enable mysqld
# systemctl status mysqld
#mysql> show status like 'wsrep_%'; # 查看集群状态
2、Haproxy:
# systemctl start haproxy.service
# systemctl stop haproxy.service
# systemctl restart haproxy.service
# systemctl enable haproxy.service
3、Pacemker:
# systemctl start pcsd.service
# systemctl enable pcsd.service
# systemctl status pcsd.service
# pcs status
# pcs cluster standby node
# pcs cluster unstandby node
# pcs resource restart haproxy #重启haproxy 资源
# pcs resource cleanup #清除错误日志后重启所有资源
4、时间服务 chrony:
# systemctl restart chronyd.service
# chronyc sources #同步时间
5、ceph:
# ceph -s
# ceph health detail
# ceph osd pool create pool_name gp_num pgp_num #创建池
6、http、Keystone:
# systemctl start httpd
# systemctl enable httpd
# systemctl status httpd
7、rabbitmq:
# systemctl enable rabbitmq-server.service
# systemctl start rabbitmq-server.service
# systemctl status rabbitmq-server.service -l
# rabbitmqctl cluster_status
# http://rabbitmq-server-IP:15672 #web访问
8、Memcache:
# systemctl enable memcached.service
# systemctl start memcached.service
9、openstack 查看命令:
# openstack catalog list
# openstack endpoint list
# openstack service list
# openstack domain list
# openstack image list
# openstack host list
10、Glance:
# systemctl enable openstack-glance-api.service openstack-glance-registry.service
# systemctl start openstack-glance-api.service openstack-glance-registry.service
# openstack image delete image-ID #删除镜像
11、nova-controller:
# systemctl enable openstack-nova-api.service openstack-nova-consoleauth.service openstack-nova-scheduler.service openstack-nova-conductor.service openstack-nova-novncproxy.service
# systemctl start openstack-nova-api.service openstack-nova-consoleauth.service openstack-nova-scheduler.service openstack-nova-conductor.service openstack-nova-novncproxy.service
# systemctl status openstack-nova-api.service openstack-nova-consoleauth.service openstack-nova-scheduler.service openstack-nova-conductor.service openstack-nova-novncproxy.service
12、nova-computer:
# systemctl enable libvirtd.service openstack-nova-compute.service
# systemctl start libvirtd.service openstack-nova-compute.service
13、neutron-controller:
# systemctl enable neutron-server.service neutron-linuxbridge-agent.service neutron-dhcp-agent.service neutron-metadata-agent.service
# systemctl start neutron-server.service neutron-linuxbridge-agent.service neutron-dhcp-agent.service neutron-metadata-agent.service
# systemctl status neutron-server.service neutron-linuxbridge-agent.service neutron-dhcp-agent.service neutron-metadata-agent.service
14、neutron-computer:
# systemctl enable neutron-linuxbridge-agent.service
# systemctl start neutron-linuxbridge-agent.service
15、dashboard:
# systemctl restart httpd.service memcached.service
欢迎关注公众号:小周的数据库进阶之路,一起交流数据库、中间件和云计算等技术。欢迎觉得读完本文有收获,可以转发给其他朋友,大家一起学习进步!感兴趣的朋友可以扫描下面的二维码加入群聊,与业界的大佬们一起交流学习。

