


1、badblocks命令
# badblocks -s -v -o root/badblocks.log dev/sda 公司操作-s Show the progress of the scan by writing out rough percentage completion of the current badblocks pass over the disk. Note that badblocks may do multiple test passes over the disk, in particular if the -p or -w option is requested by the user.-v Verbose mode.-o output_fileWrite the list of bad blocks to the specified file. Without this option, badblocks displays the list on its standard output. The format of this file is suitable for use by the -l option in e2fsck(8) or mke2fs(8).
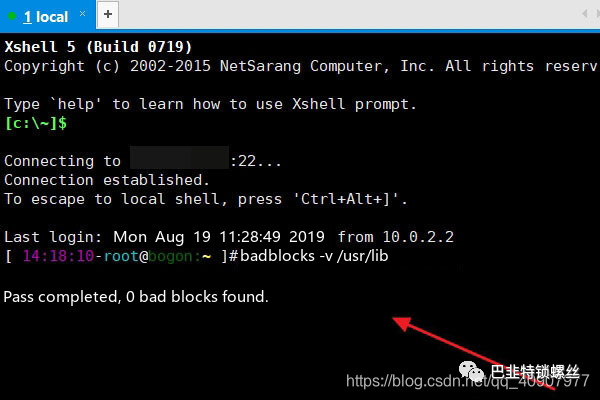
通过命令扫描硬盘。
# badblocks -s -v dev/sdnx其中n表示硬盘设备名,x表示硬盘对应的分区号。例如需要检查“/dev/sda2”,执行命令如下:# badblocks -s -v dev/sda2Checking blocks 0 to 30681000Checking for bad blocks (read-only test): 306809600674112/ 30681000000030680964306809653068096630680967306809683068096930680970306809713068097230680973...donePass completed, 37 bad blocks found.其中,“37 bad blocks found”表示硬盘存在37个坏块。
2、使用smartctl查dell服务器坏道实录
#yum -y install smartmontools或者#apt install -y smartmontools
检查硬盘健康状态
# smartctl -H dev/sda5smartctl 6.0 2012-10-10 r3643 [x86_64-linux-2.6.32-220.el6.x86_64] (local build)Copyright (C) 2002-12, Bruce Allen, Christian Franke, www.smartmontools.org=== START OF READ SMART DATA SECTION ===SMART overall-health self-assessment test result: PASSED
# smartctl -A dev/hdb-a 显示设备所有的SMART信息。-l error 列出硬盘错误日志。如果显示没有错误最好,如果显示了大量的错误信息,那就该着手准备替换硬盘了。-l selftest 列出自行测试结果

#smartctl -H -d megaraid,1 dev/sdasmartctl 6.0 2012-10-10 r3643 [x86_64-linux-2.6.18-274.el5] (local build)Copyright (C) 2002-12, Bruce Allen, Christian Franke, www.smartmontools.orgSMART Health Status: OK
DELL SATA SSD硬盘 :
/opt/smartmontools-6.0/sbin/smartctl -H -d sat+megaraid,2 dev/sdbsmartctl 6.0 2012-10-10 r3643 [x86_64-linux-2.6.18-274.el5] (local build)Copyright (C) 2002-12, Bruce Allen, Christian Franke, www.smartmontools.org
3、使用edac工具来检测服务器内存故障.【转】
#yum install -y libsysfs edac-utils或# apt install -y edac-utils
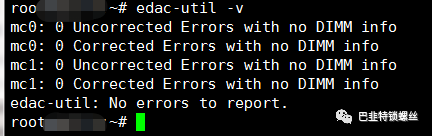
执行检测命令,可查看纠错提示如下
#edac-util -vmc0: csrow0: CPU_SrcID#0_Ha#0_Chan#0_DIMM#0: A1mc0: csrow0: CPU_SrcID#0_Ha#0_Chan#1_DIMM#0: A2mc0: csrow0: CPU_SrcID#0_Ha#0_Chan#2_DIMM#0: A3mc0: csrow0: CPU_SrcID#0_Ha#0_Chan#3_DIMM#0: A4mc0: csrow1: CPU_SrcID#0_Ha#0_Chan#0_DIMM#1: A5mc0: csrow1: CPU_SrcID#0_Ha#0_Chan#1_DIMM#1: A6mc0: csrow1: CPU_SrcID#0_Ha#0_Chan#2_DIMM#1: A7mc0: csrow1: CPU_SrcID#0_Ha#0_Chan#3_DIMM#1: A8mc0: csrow2: CPU_SrcID#0_Ha#0_Chan#0_DIMM#2: A9mc0: csrow2: CPU_SrcID#0_Ha#0_Chan#1_DIMM#2: A10mc0: csrow2: CPU_SrcID#0_Ha#0_Chan#2_DIMM#2: A11mc0: csrow2: CPU_SrcID#0_Ha#0_Chan#3_DIMM#2: A12mc1: csrow0: CPU_SrcID#1_Ha#0_Chan#0_DIMM#0: B1mc1: csrow0: CPU_SrcID#1_Ha#0_Chan#1_DIMM#0: B2
mc0: csrow0: CPU#0Channel#0_DIMM#0: A1mc0: csrow0: CPU#0Channel#1_DIMM#0: A2mc0: csrow0: CPU#0Channel#2_DIMM#0: A3mc0: csrow1: CPU#0Channel#0_DIMM#1: A4mc0: csrow1: CPU#0Channel#1_DIMM#1: A5mc0: csrow1: CPU#0Channel#2_DIMM#1: A6mc1: csrow0: CPU#1Channel#0_DIMM#0: B1mc1: csrow0: CPU#1Channel#1_DIMM#0: B2mc1: csrow0: CPU#1Channel#2_DIMM#0: B3mc1: csrow1: CPU#1Channel#0_DIMM#1: B4mc1: csrow1: CPU#1Channel#1_DIMM#1: B5mc1: csrow1: CPU#1Channel#2_DIMM#1: B6
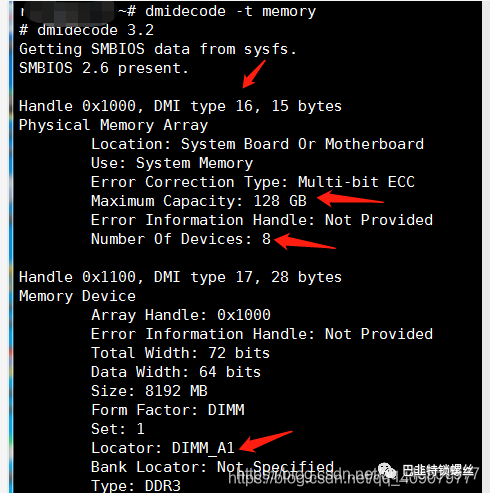
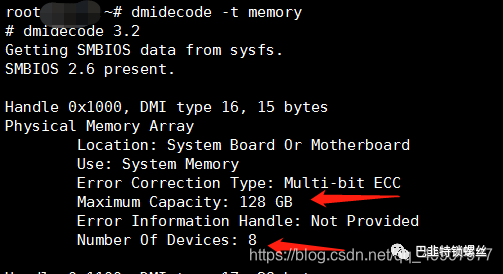
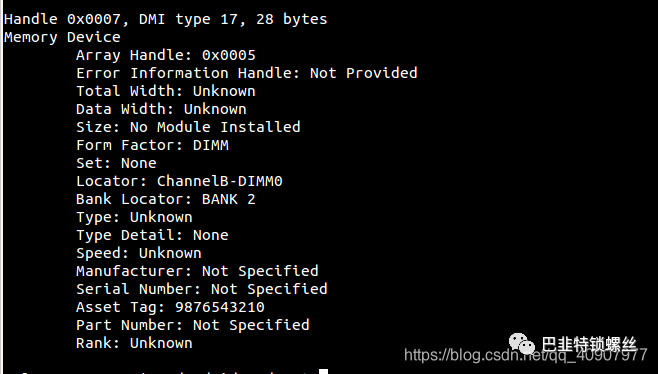
4、dmidecode 命令
#dmidecode -t memory#free -m64G

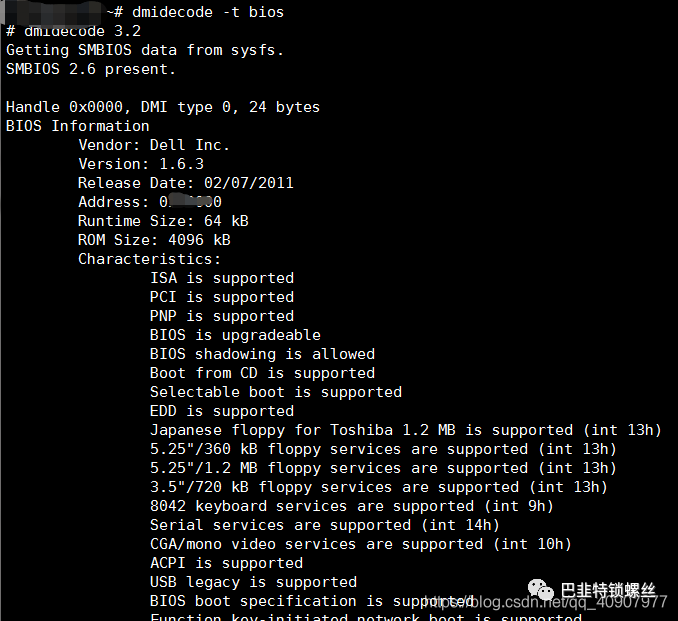
查看服务器bios信息
# dmidecode -t bios
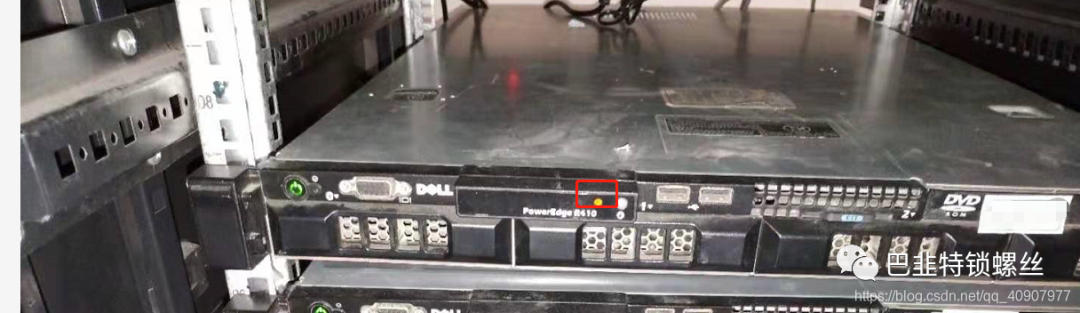
常见硬件报错
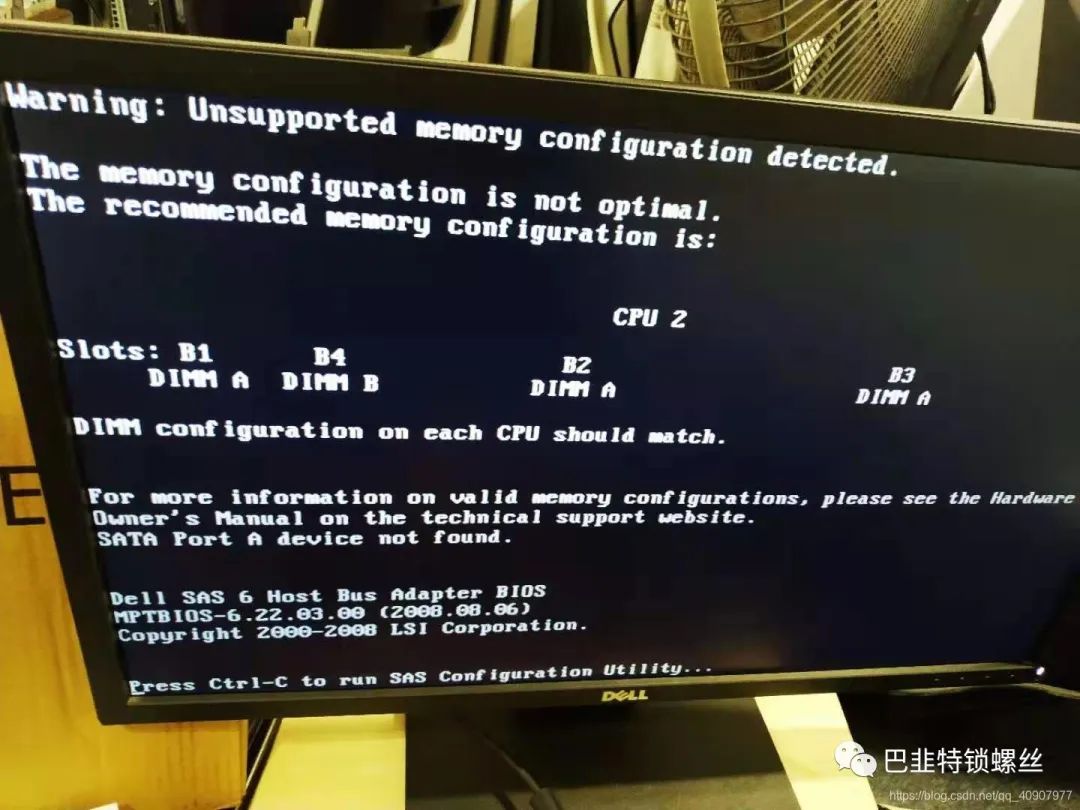
#dmidecode -t memory #确定插槽个数,以及内存条单个大小#free -m #查看总内存大小

测试各硬盘读取速度判断硬盘故障
参 数:
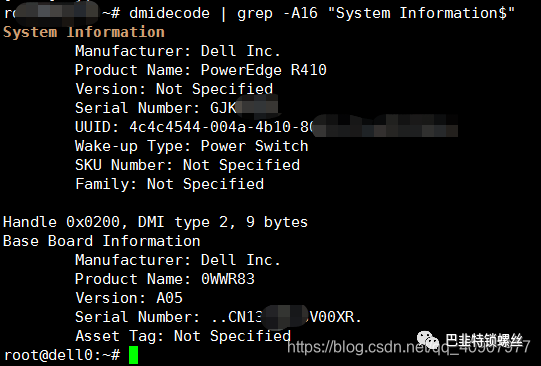
6、服务器硬件查询
输出,则完成。
版权声明:本文内容来自CSDN:寰宇001,遵循CC 4.0 BY-SA版权协议上原文接及本声明。本作品采用知识共享署名-非商业性使用-禁止演绎 2.5 中国大陆许可协议进行许可。原文链接:https://blog.csdn.net/qq_40907977/article/details/112920161如有涉及到侵权,请联系,将立即予以删除处理。在此特别鸣谢原作者的创作。此篇文章的所有版权归原作者所有,与本公众号无关,商业转载建议请联系原作者,非商业转载请注明出处。
文章转载自巴韭特锁螺丝,如果涉嫌侵权,请发送邮件至:contact@modb.pro进行举报,并提供相关证据,一经查实,墨天轮将立刻删除相关内容。
