


银河麒麟环境DBeaver安装
1、环境信息
获取环境信息,可以看到操作系统是银河麒麟V10 SP1架构是aarch64,jdk是1.8
[root@host-yashandb soft]# nkvers
############## Kylin Linux Version #################
Release:
Kylin Linux Advanced Server release V10 (Tercel)

Kernel:
4.19.90-23.8.v2101.ky10.aarch64

Build:
Kylin Linux Advanced Server
release V10 (SP1) /(Tercel)-aarch64-Build20/20210518
#################################################
[root@host-yashandb soft]#
[root@host-yashandb soft]# java -version
openjdk version "1.8.0_242"
OpenJDK Runtime Environment (build 1.8.0_242-b08)
OpenJDK 64-Bit Server VM (build 25.242-b08, mixed mode)
2、获取软件
2.1 DBeaver
联系售前获取DBeaver企业版或者官网(https://download.yashandb.com/download)下载DBeaver个人版
2.2 JDK 17以上
官网下载openjdk22 aarch64架构
https://jdk.java.net/22/
https://download.java.net/java/GA/jdk22.0.1/c7ec1332f7bb44aeba2eb341ae18aca4/8/GPL/openjdk-22.0.1_linux-aarch64_bin.tar.gz
2.3 上传到主机
[root@host-yashandb ~]# ll /data/soft/
总用量 641372
-rw-r--r-- 1 root root  91823840  5月 10 20:57 DBeaver-For-YashanDB-23.1-linux-arrch64.zip
-rw-r--r-- 1 root root 200176007  5月 11 15:14 openjdk-22.0.1_linux-aarch64_bin.tar.gz
3、安装配置VNC
linux平台图形界面,安装Xwindow系统后,或者直接接显示器,或者用vnc。这里的示例是证书云的麒麟环境,Xwindow相关组件已经安装,我们来配置vncserver。
如果已经配置好了可以跳过。
3.1 安装vncserver软件
安装vncserver软件,如果已有跳过
yum install tigervnc-server -y
复核,确认tigervnc-server已经被安装。
root@host-yashandb ~]# rpm -qa|grep vnc-server
tigervnc-server-1.10.1-3.p03.ky10.aarch64
tigervnc-server-minimal-1.10.1-3.p02.ky10.aarch64
3.2 配置vncserver
[root@host-yashandb ~]# vncserver
You will require a password to access your desktops.
Password:
Verify:
Would you like to enter a view-only password (y/n)? n
New 'host-yashandb:1 (root)' desktop is host-yashandb:1
Creating default startup script /root/.vnc/xstartup
Creating default config /root/.vnc/config
Starting applications specified in /root/.vnc/xstartup
Log file is /root/.vnc/host-yashandb:1.log
[root@host-yashandb ~]# vi .vnc/config
增加如下2行配置
securitytypes=None
geometry=1980x1080
第一行是远程连接不用密码,这个是客户环境特殊,需要用堡垒机连接,所以不设置密码
第二行是vnc图形界面的分辨率,可以按需修改

重启vncserver
[root@host-yashandb ~]# vncserver -kill :1
Killing Xvnc process ID 2159647
[root@host-yashandb ~]# vncserver

New 'host-yashandb:1 (root)' desktop is host-yashandb:1

Starting applications specified in /root/.vnc/xstartup
Log file is /root/.vnc/host-yashandb:1.log

[root@host-yashandb ~]#
4、安装DBeaver
4.1 安装DBeaver
这里用户要求使用root安装(出于安全考虑,正常情况下,请使用非root安装)
[root@host-yashandb ~]# cd
[root@host-yashandb ~]# pwd
/root
[root@host-yashandb ~]# unzip -q /data/soft/DBeaver-For-YashanDB-23.1-linux-arrch64.zip
[root@host-yashandb ~]# ls linux/gtk/aarch64/
dbeaver
[root@host-yashandb ~]# mv linux/gtk/aarch64/dbeaver ~/
[root@host-yashandb ~]# ls dbeaver
artifacts.xml  configuration  dbeaver  dbeaver.ini  features  icon.xpm  licenses  p2  plugins  readme.txt
修改配置文件存放目录(可选),
[root@host-yashandb dbeaver]# vi dbeaver.ini
增加如下行(根据实际情况修改,如果不修改,默认放在~/.dbeaver下)这里我们后面会将dbeaver打包后分发到其他主机,所以配置文件放到dbeaver目录下,方便一起打包。
-Ddbeaver.data.dir=/root/dbeaver/.dbeaver
4.2 安装openjdk
将jdk解压缩后,放到dbeaver目录,改名为jre即可。
[root@host-yashandb ~]# cd dbeaver/
[root@host-yashandb dbeaver]# tar xf /data/soft/openjdk-22.0.1_linux-aarch64_bin.tar.gz
[root@host-yashandb dbeaver]# ls
artifacts.xml  configuration  dbeaver  dbeaver.ini  features  icon.xpm  jdk-22.0.1  licenses  p2  plugins  readme.txt
[root@host-yashandb dbeaver]# mv jdk-22.0.1 jre
[root@host-yashandb dbeaver]# ls jre
bin  conf  include  jmods  legal  lib  release
[root@host-yashandb dbeaver]# ls
artifacts.xml  configuration  dbeaver  dbeaver.ini  features  icon.xpm  jre  licenses  p2  plugins  readme.txt
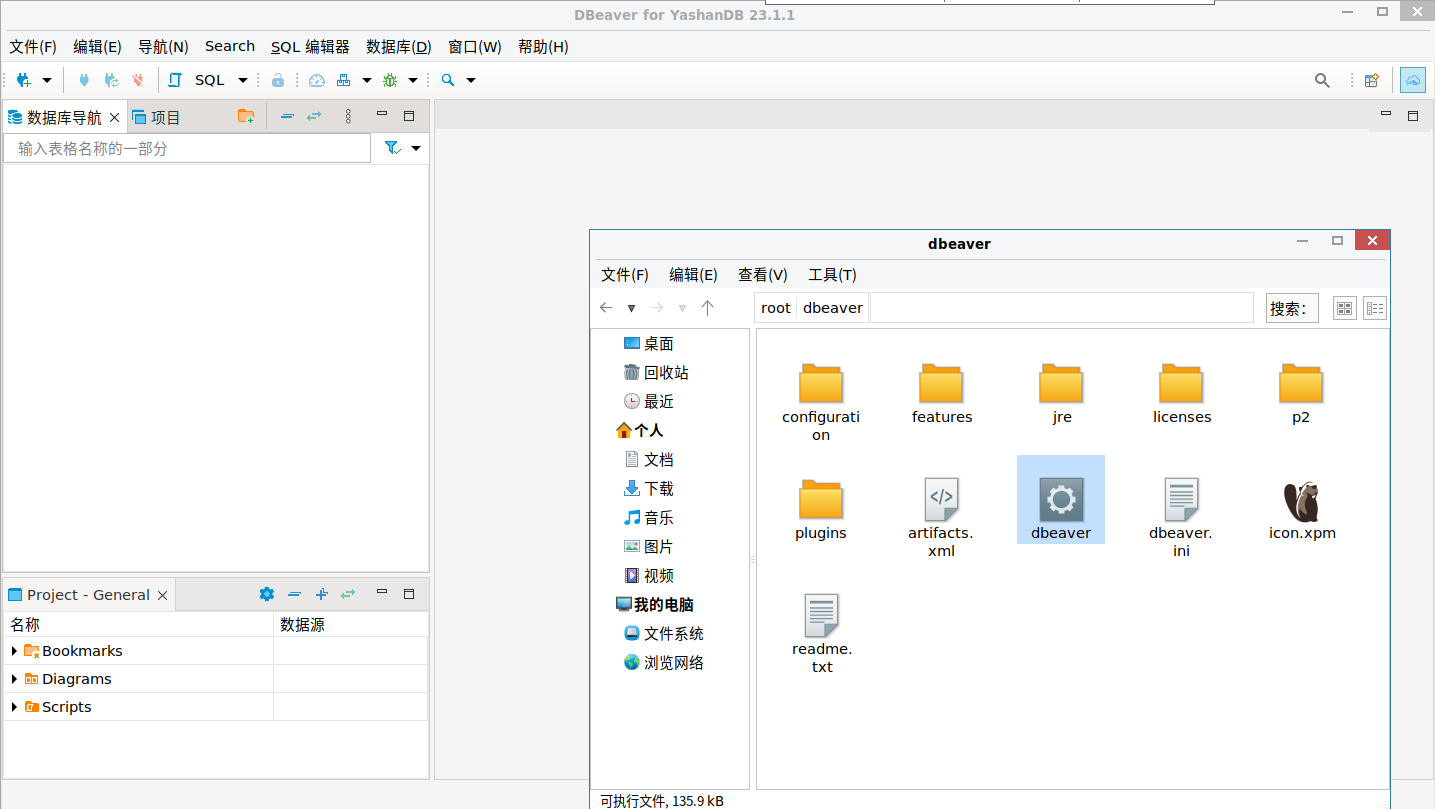
4.3运行DBeaver
打开我的电脑,点击/root dbeaver,将快捷方式放到桌面

点击桌面的快捷方式,运行dbeaver
4.4 更新YashanDB JDBC Driver(可选)
将最新的jdbc驱动放到dbeaver/lib目录下
[root@host-yashandb dbeaver]# mkdir lib
[root@host-yashandb dbeaver]# cp /data/soft/yashandb-jdbc-1.7.1.jar ./lib
[root@host-yashandb dbeaver]# cd lib
[root@host-yashandb lib]# ls
yashandb-jdbc-1.7.1.jar
[root@host-yashandb lib]# pwd
/root/dbeaver/lib
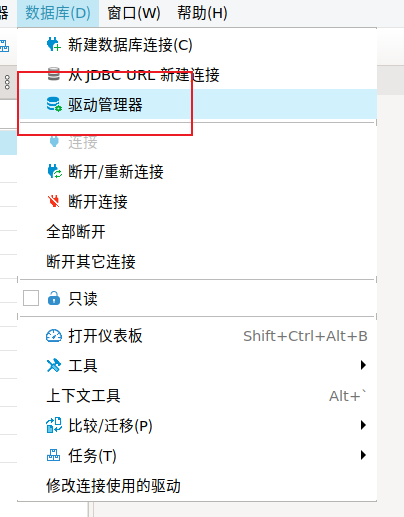
从菜单 数据库-驱动管理器 进入配置界面
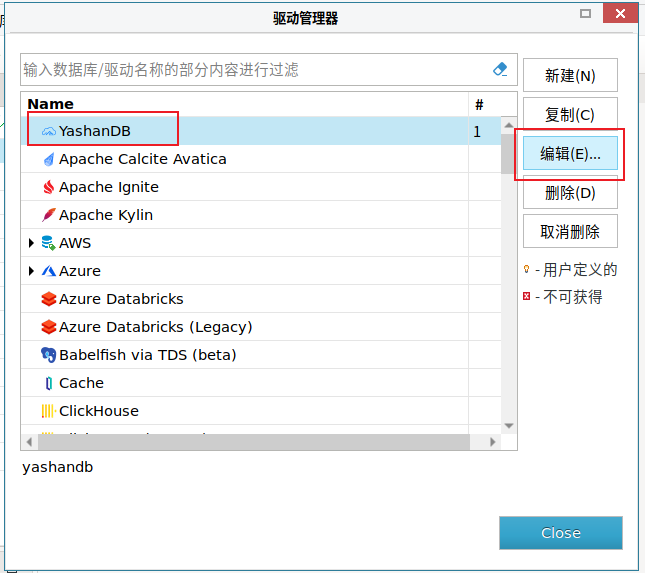
选择YashanDB,编辑

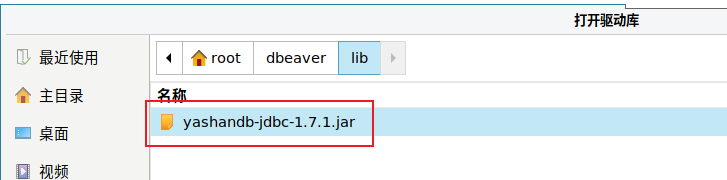
库,添加文件


选择刚才复制的jdbc driver文件

删除旧的jdbc driver,确定


点击 找到类,有YashanDB的Driver类显示,证明驱动生效了
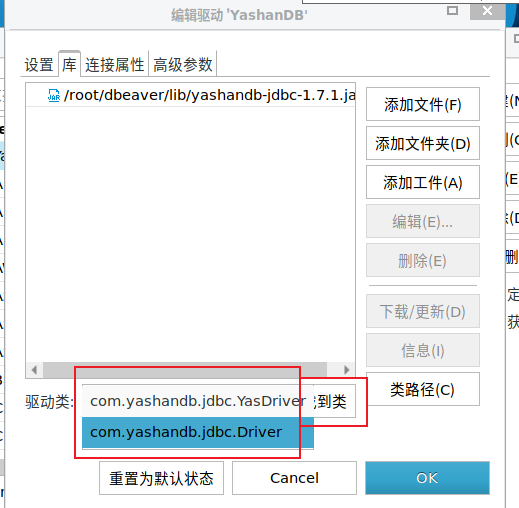

关闭窗口
4.5 配置数据源
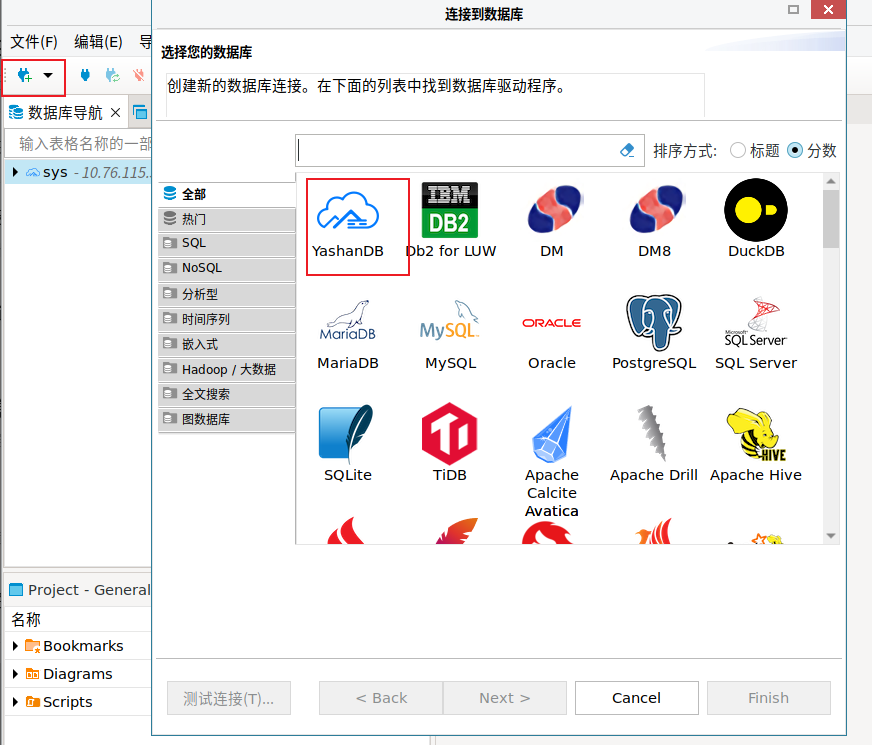
新建数据库连接,选择YashanDB

填写主机,端口,用户,密码。验证
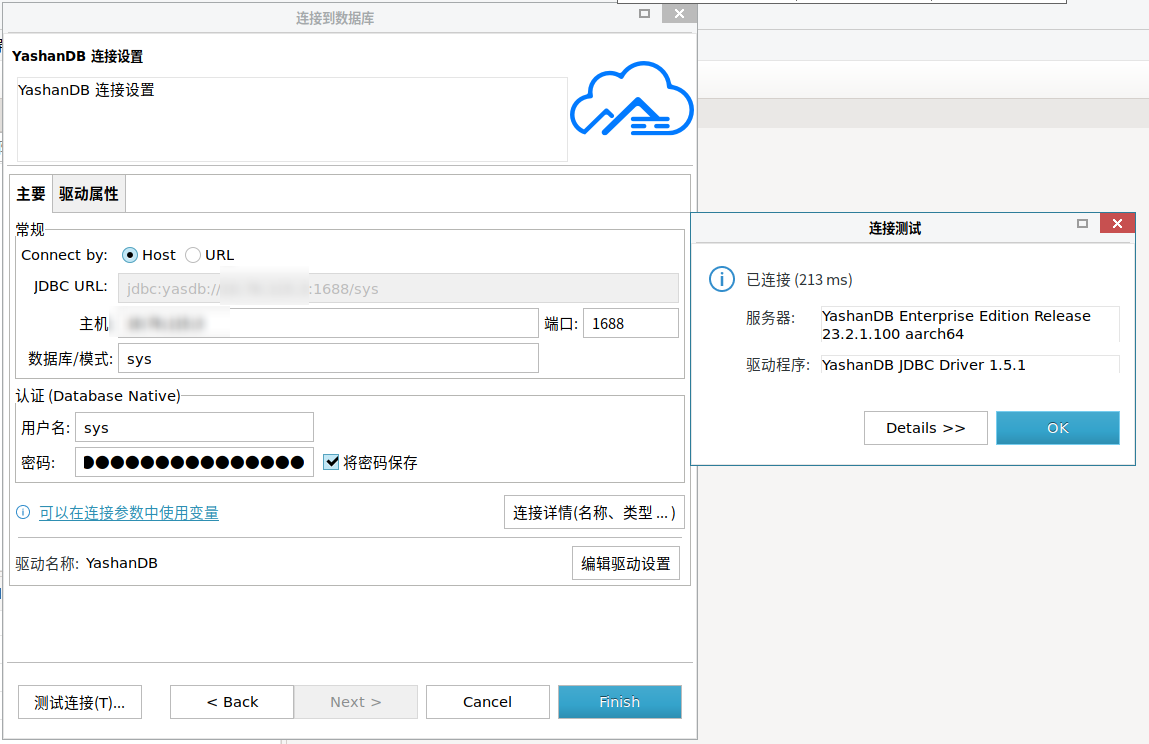

安装完毕,可以开始使用
