


openGauss 6.0.0 LTS 版本已于2024年9月30日正式发布,我在之前体验过RC1版本的安装过程,6.0版本在安装过程中推出了一些优化特性,比如preinstall过程不再需要root用户执行等,参见前文。本文如实记录我体验openGauss 6.0.0 LTS一站式安装特性(单机版)的过程,供大家参考指正。
体验环境:openEuler 22.03 LTS /x86
操作过程:
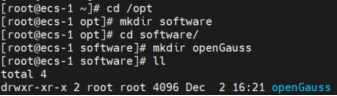
1. 创建文件夹:创建需要下载安装包,以及安装数据库的文件夹,一般放在/opt/software下:
[root@ecs-1 ~]# cd /opt
[root@ecs-1 opt]# mkdir software
[root@ecs-1 opt]# cd software/
[root@ecs-1 software]# mkdir openGauss
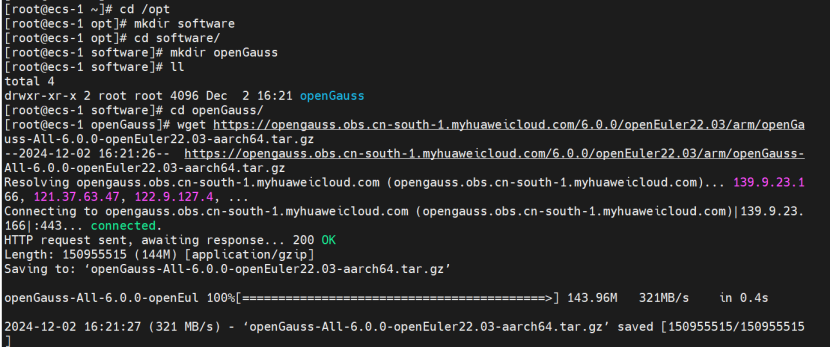
下载安装包:需要提醒的是,下载安装包的时候,一定要确认好操作系统和CPU架构,我在这里就大意了。
2. 安装依赖软件:安装的依赖软件不太多,通过yum命令安装,当然前提是有网络。
yum install libaio-devel readline-devel expect
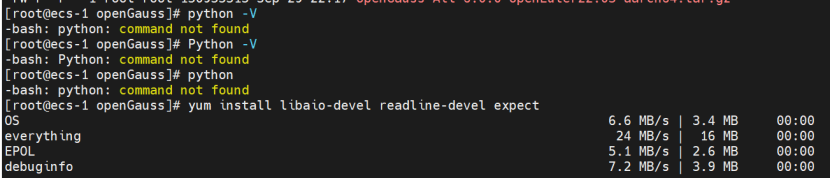
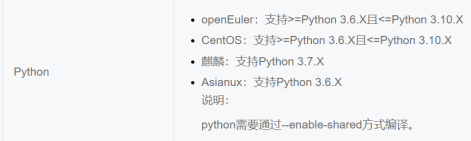
3. 安装python:奇怪的是,华为云上面openeuler22.04的镜像竟然没有自带python,参见上图,执行:
yum install python
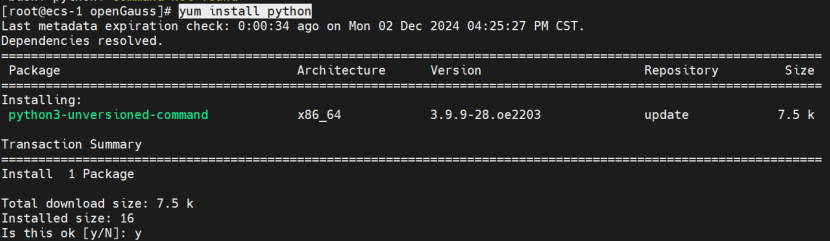
安装完成。
说明:openEuler支持3.6.x到3.10.x之间,我们安装的是3.9.x。
4. 检查防火墙是否关闭:
systemctl status firewalld
如未关闭则需要关闭并重启系统,openEuler 22.03的镜像默认关闭。

5. 设置字符集,修改/etc/profile文件。
vim /etc/profile,修改为en-US。
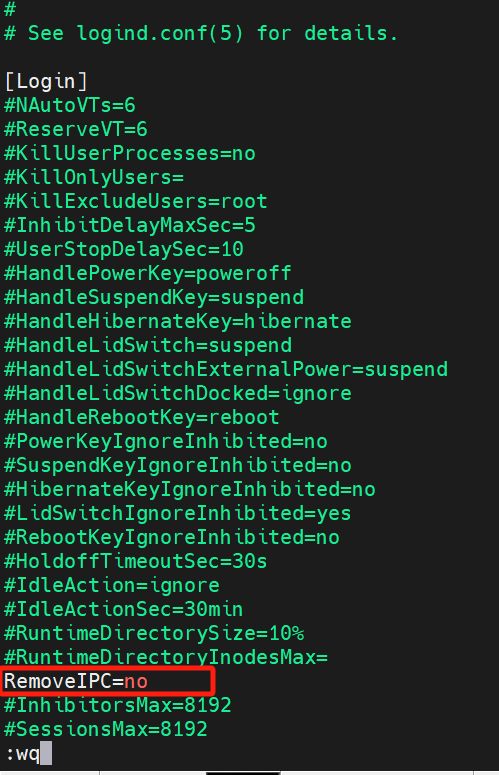
6. 关闭removeIPC
vim /etc/systemd/logind.conf
vim /usr/lib/systemd/system/systemd-logind.service
loginctl show-session | grep RemoveIPC
@font-face{ font-family:"Times New Roman"; } @font-face{ font-family:"宋体"; } @font-face{ font-family:"Calibri"; } @list l0:level1{ mso-level-number-format:decimal; mso-level-suffix:space; mso-level-text:"%1."; mso-level-tab-stop:none; mso-level-number-position:left; margin-left:10.5000pt;text-indent:0.0000pt; font-family:'Times New Roman';} p.MsoNormal{ mso-style-name:正文; mso-style-parent:""; margin:0pt; margin-bottom:.0001pt; mso-pagination:none; text-align:justify; text-justify:inter-ideograph; font-family:Calibri; mso-fareast-font-family:宋体; mso-bidi-font-family:'Times New Roman'; font-size:10.5000pt; mso-font-kerning:1.0000pt; } span.msoIns{ mso-style-type:export-only; mso-style-name:""; text-decoration:underline; text-underline:single; color:blue; } span.msoDel{ mso-style-type:export-only; mso-style-name:""; text-decoration:line-through; color:red; } @page{mso-page-border-surround-header:no; mso-page-border-surround-footer:no;}@page Section0{ } div.Section0{page:Section0;}
下面是一些执行的命令:
[root@ecs-1 openGauss]# vi /etc/systemd/logind.conf
[root@ecs-1 openGauss]# vim /usr/lib/systemd/system/systemd-logind.service
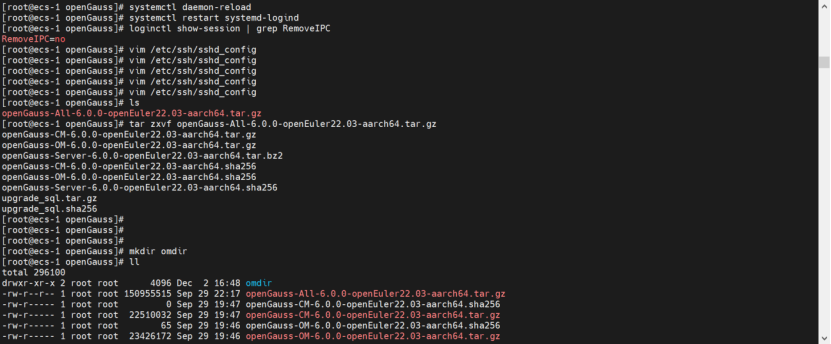
[root@ecs-1 openGauss]# systemctl daemon-reload
[root@ecs-1 openGauss]# systemctl restart systemd-logind
[root@ecs-1 openGauss]# loginctl show-session | grep RemoveIPC
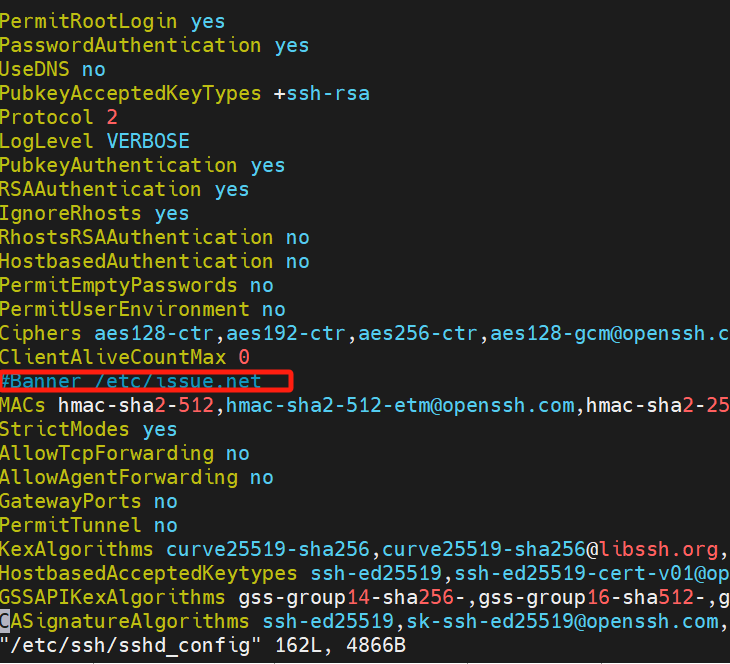
7. 注释掉banner
vim /etc/ssh/sshd_config
8. 解压安装包:
tar zxvf openGauss-All-6.0.0-openEuler22.03-aarch64.tar.gz
8.1 创建omdir文件夹:
mkdir omdir
8.2 解压OM压缩包到omdir文件夹:
tar -zxvf openGauss-OM-6.0.0-openEuler22.03-aarch64.tar.gz -C ./omdir

9. 采用一站式安装方法,不用预先创建及编辑xml文件。
cd omdir/ && cd script
然而执行preinstall的时候,发现下错包了,大写的尴尬:
./gs_preinstall -U omm -G dbgroup --one-stop-install

好在现在报错提示很准确:
Exception: System and software package architecture mismatch.
Error: os architecture is x86_64, package architecture is aarch64
浪费了宝贵的时间,只能重新下载。
10. 重新下载和解压
tar zxvf openGauss-All-6.0.0-openEuler22.03-x86_64.tar.gz
tar -zxvf openGauss-OM-6.0.0-openEuler22.03-x86_64.tar.gz -C ./omdir
但安装的时候报错:

于是咨询opengauss专家,得到的答复是,6.0版本的安装文档有错误,已在latest版本中修复,让参考Latest文档进行操作。
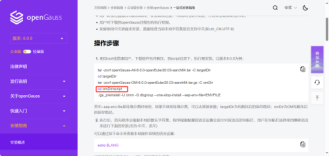

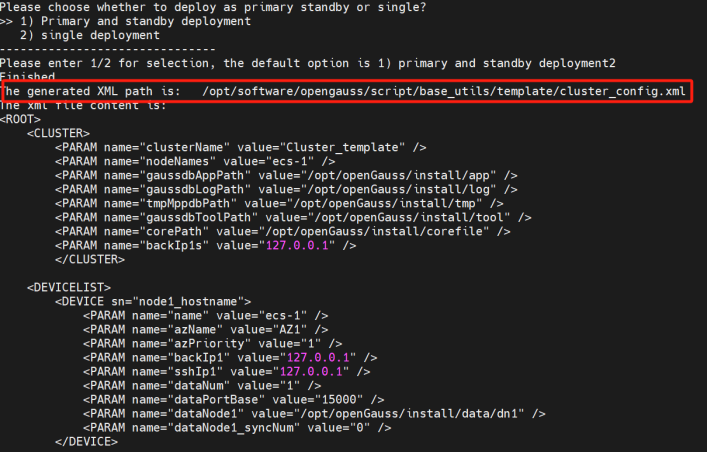
二者的差别在于,Latest版本中om包不解压在omdir文件夹中。于是重新执行后,即可进行安装。一站式安装的preinstall过程中,需要输入一些信息来自动生成xml文件,生成xml文件的路径可以配置,我按照默认的生成的路径:
/opt/software/opengauss/script/base_utils/template/cluster_config.xml。
记录已备install时用。
11. 安装:
gs_install -X /opt/software/opengauss/script/base_utils/template/cluster_config.xml

安装过程中会生成ssl证书,证书存放路径为{gaussdbAppPath}/share/sslcert/om,其中{gaussdbAppPath}为openGauss配置文件中指定的程序安装目录。
[omm@ecs-1 script]$ vi /opt/software/opengauss/script/base_utils/template/cluster_config.xml
[omm@ecs-1 script]$ cd /opt/openGauss/install/app
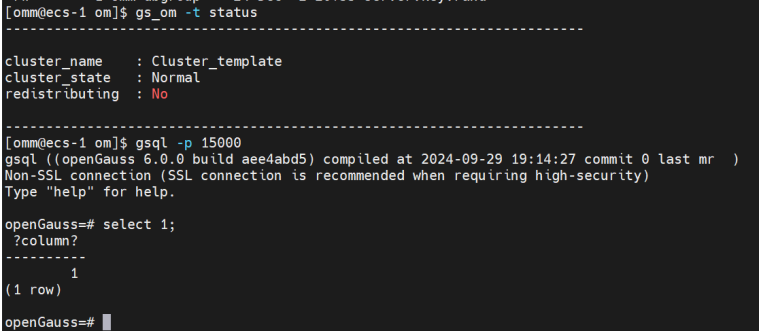
12. 安装成功,查询数据库状态,登录数据库,并做简单查询。
总结:本文记录了体验opengauss 6.0版本新推出的一站式安装过。一站式安装通过界面交互的方式收集xml文件需要的信息,如端口等,通过用户输入/选择,自动生成xml文件,在操作上更加友好和方便,也大大降低了出错概率。体验过程中遇到下载版本不一致的问题,后续还需仔细避免。另外6.0 TS版本增加了omdir,相信也是希望能够单独归拢om相关的文件,因为功能刚推出,还有点问题,但社区已经在最新版本中修复,还是很棒的,期待7.0版本更强大。
