


最近报名了gbase8c的培训课程,跟着课程体验了gbase8c的安装过程。安装过程不是一气呵成,特此记录。
首先准备了3台centos7.9版本的8c16g虚拟机作为服务器。
1.服务器配置
检查cpu,建议虚拟机CPU 2.4GHz以上(在model name中)
lscpu
–查看内存(在mentotal)
cat /proc/meminfo
–查看硬盘信息(挂载硬盘在100G以上)
fdisk -l |grep Disk
–软件配置。检查操作系统
cat /etc/redhat-release
2.检查端口,避免安装的时候冲突
常用的默认端口 20001、2379、6666、5432、15432、20010等
netstat -ntlp
3.关闭防火墙
–首先检查防火墙状态:
systemctl status firewalld
–若处于关闭状态,不用操作。
–若处于开启状态,需要手动关闭防火墙:
systemctl stop firewalld
禁止开机自启动
systemctl disable firewalld
关闭SELINUX
–检查服务状态
genenforce
若处于关闭状态,不用操作。
若处于开启状态,需要关闭
reboot
4.主机名
检查并修改主机hostname。
hostnamectl set-hostname gbase8c-01
修改hostname
vi /etc/hostname
5.检查依赖
libaio-devel、ncurses-devel顺利通过yum安装。在安装lsb_release时出现问题。
yum install lsb_release报错
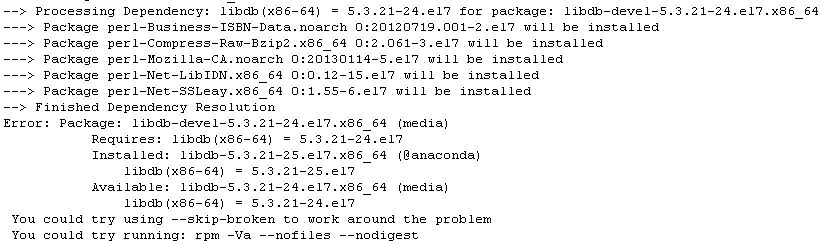
检查lsb具体的安装包
yum provides */lsb_release
重新安装成功
yum install redhat-lsb-core
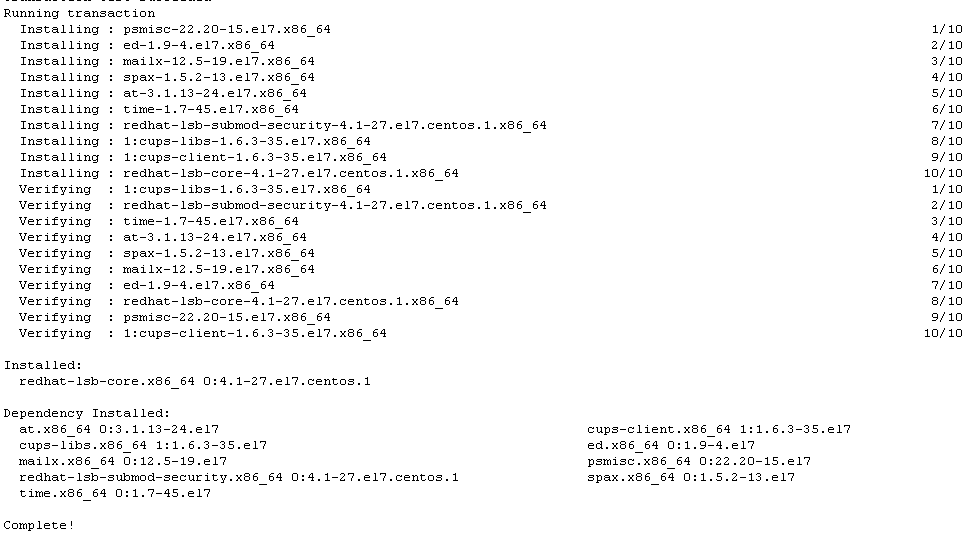
安装其余必须rpm包bison flex patch bzip2
------检查是否支持rdtscp指令集
cat /proc/cpuinfo | grep rdtscp
6.配置NTP同步
vi /etc/ntp.conf
添加内容:
restrict xxx.xxx.xxx.xxx nomodify notrap nopeer noquery
restrict 子网掩码 mask 255.255.255.0 nomodify notrap
server 127.127.1.0
Fudge 127.127.1.0 stratum 10
7.配置gbase用户权限
在所有节点创建gbase用户组和用户。
groupadd gbase
useradd -m -d /home/gbase gbase -g gbase
配置gbase用户的密码
passwd gbase
编辑sudo配置文件
echo ‘gbase ALL=(ALL) NOPASSWD:ALL’>> /etc/sudoers
切换gbase用户。
后续操作均以gbase身份进行。
8.配置gbase免密互信
创建ssh目录并授权
mkdir ~/.ssh
chmod 700 ~/.ssh
生成密钥文件
ssh-keygen -t rsa
将密钥上传至所有节点,包括本节点
ssh-copy-id gbase@hostip
检验是否完成互信免密(不需要输入密码,就是配置成功)
ssh gbase@hostip
9.解压软件配置yml文件
分布式情况下一般选GTM主节点作为部署服务器
安装包两级解压
tar -xvf GBase8cV5_S3.0.0B52_xx_x86_64.tar.gz
tar -xvf GBase8cV5_S3.0.0B52_xx_x86_64_om.tar.gz
编辑配置文件,按规划配置,分别替换对应主机名,文件目录,端口
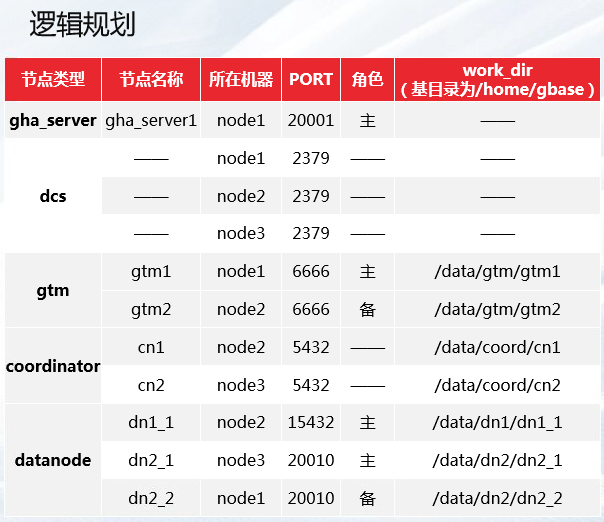
vim /home/gbase/Server(解压路径)/gbase.yml
然后放到安装script目录之上一层。
10.执行安装
cd script/
./gha_ctl install -c gbase -p /home/gbase/
这里连续出现了几次问题。
第一次安装未设TMOUT时间,不久后窗口断开,命令没有任何回显
再次执行,直接通过nohup后台执行,仍未正常返回安装成功

查看安装日志发现在3节点出现一些命令执行报错
/tmp/gha_ctl/gha_ctl.log
在三节点手动执行报错命令

再次执行安装命令,报错gbase in use.

验证集群情况发现集群已经安装完成。
$ gha_ctl monitor all -H -l http://xxx.xxx.xxx.xxx:2379
