在上一篇文章中我们安装了pod的调试工具kubectl-debug,在这里我们安装示例nginx application,包括deployment,service,ingress等。对于这个示例application我们安装在default namespace里,然后再用上一篇文章中介绍的kubectl-debug调试一下这个application。
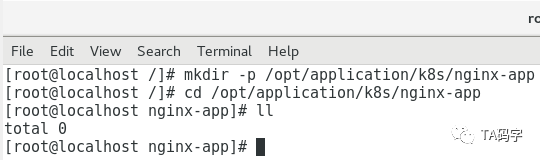
创建配置文件目录:
由于nginx application是以deployment的方式部署在k8s集群里的,一般都会有yaml部署文件,目前都放在此目录里。
mkdir -p /opt/application/k8s/nginx-appcd /opt/application/k8s/nginx-app
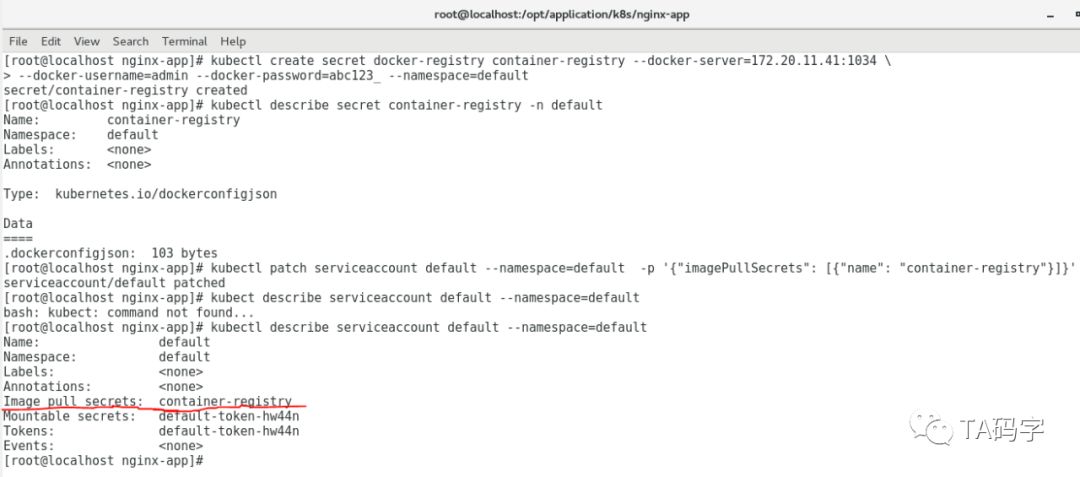
patch service account:
k8s需要把image pull下来,我们这里用的是private repo(以前文章介绍过的harbor),需要得到private repo的认证才可以pull private project的image。对于k8s来说把private repo的认证信息存储在secret对象里。一般每个pod都属于一个namespace,每个namesapce都有一个默认的service account(即在声明的yaml中不指定service-account就会用这个默认的service-account)。我们可以把这个pull image的secret关联到这个默认的service-account,那么在声明的时候就不需要指定image pull secret了。
kubectl create secret docker-registry container-registry --docker-server=172.20.11.41:1034 \--docker-username=admin --docker-password=abc123_ --namespace=defaultkubectl describe secret container-registry -n defaultkubectl patch serviceaccount default --namespace=default -p '{"imagePullSecrets": [{"name": "container-registry"}]}'
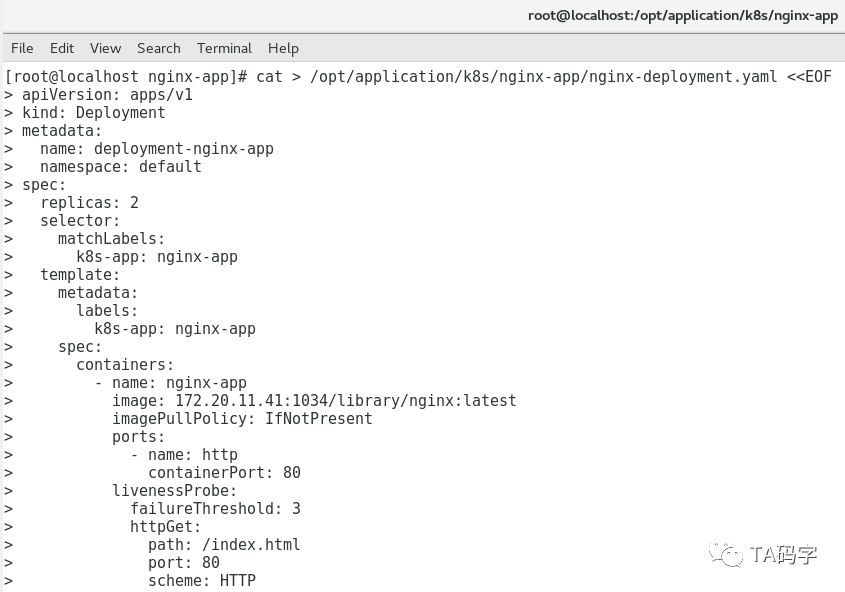
创建nginx application的deployment:
cat > /opt/application/k8s/nginx-app/nginx-deployment.yaml <<EOFapiVersion: apps/v1kind: Deploymentmetadata:name: deployment-nginx-appnamespace: defaultspec:replicas: 2selector:matchLabels:k8s-app: nginx-apptemplate:metadata:labels:k8s-app: nginx-appspec:containers:- name: nginx-appimage: 172.20.11.41:1034/library/nginx:latestimagePullPolicy: IfNotPresentports:- name: httpcontainerPort: 80livenessProbe:failureThreshold: 3httpGet:path: /index.htmlport: 80scheme: HTTPinitialDelaySeconds: 60periodSeconds: 10successThreshold: 1timeoutSeconds: 15readinessProbe:failureThreshold: 3httpGet:path: /index.htmlport: 80scheme: HTTPperiodSeconds: 10successThreshold: 1timeoutSeconds: 15EOFkubectl create -f /opt/application/k8s/nginx-app/nginx-deployment.yamlkubectl describe deployment deployment-nginx-app -n default

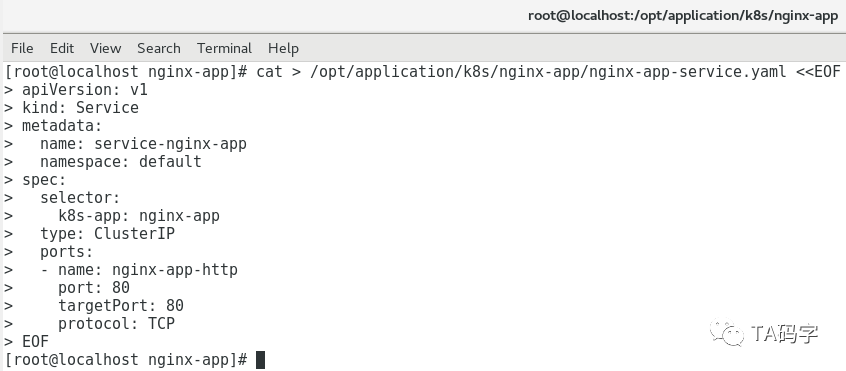
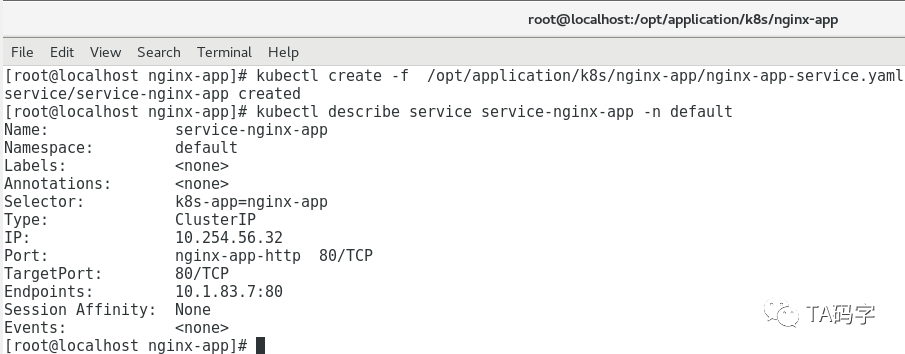
创建nginx application的service:
这里把service定义成cluster-ip类型,后面通过定义ingress rule来把这个服务暴露给外部调用。
cat > /opt/application/k8s/nginx-app/nginx-app-service.yaml <<EOFapiVersion: v1kind: Servicemetadata:name: service-nginx-appnamespace: defaultspec:selector:k8s-app: nginx-apptype: ClusterIPports:- name: nginx-app-httpport: 80targetPort: 80protocol: TCPEOFkubectl create -f /opt/application/k8s/nginx-app/nginx-app-service.yamlkubectl describe service service-nginx-app -n default
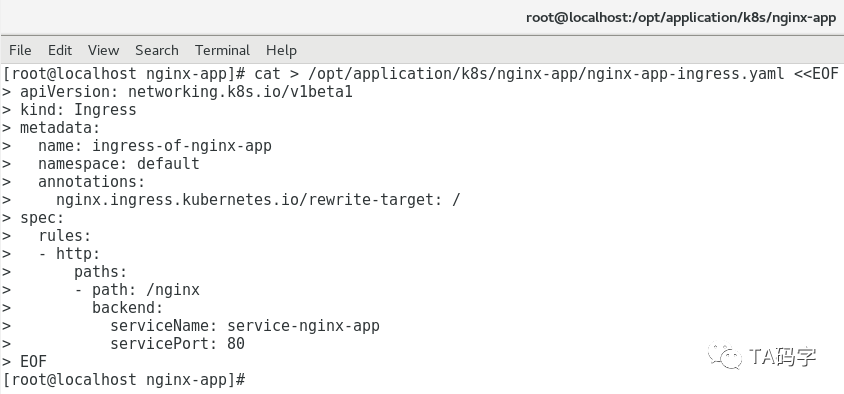
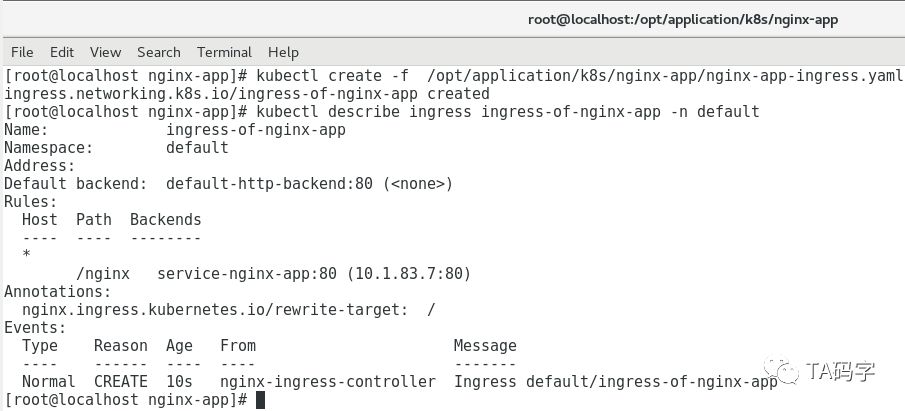
创建nginx application的ingress规则:
cat > /opt/application/k8s/nginx-app/nginx-app-ingress.yaml <<EOFapiVersion: networking.k8s.io/v1beta1kind: Ingressmetadata:name: ingress-of-nginx-appnamespace: defaultannotations:nginx.ingress.kubernetes.io/rewrite-target: /spec:rules:- http:paths:- path: /nginxbackend:serviceName: service-nginx-appservicePort: 80EOFkubectl create -f /opt/application/k8s/nginx-app/nginx-app-ingress.yamlkubectl describe ingress ingress-of-nginx-app -n default
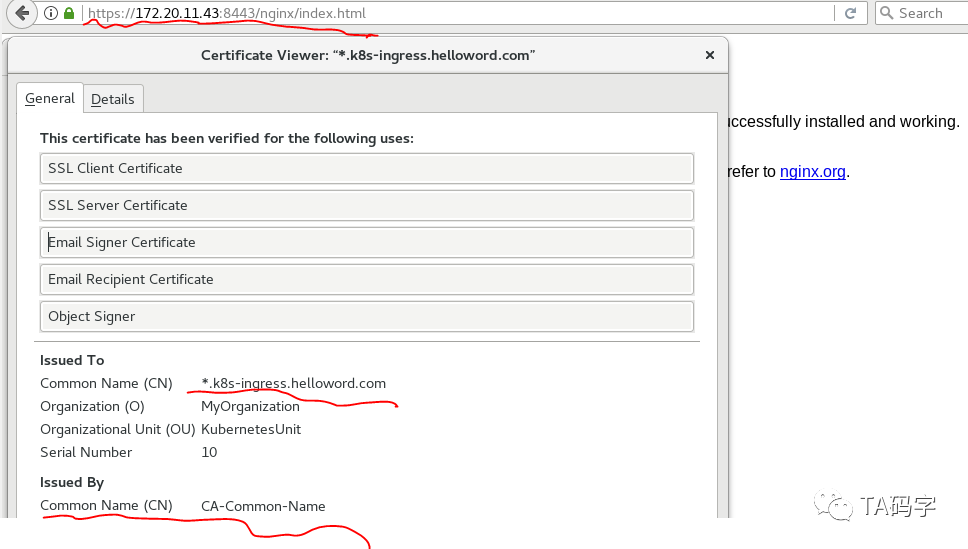
外部访问nginx application:
这里我们在创建nginx-ingress-controller的时候,这个nginx-ingress-controller会默认有http到https的跳转,所以虽然我们在container里面没有声明https,我们依然可以访问到。另外在证书详情里我们也可以看到这个证书就是我们以前文章中给nginx-ingress-controller配置的默认ssl证书。
查看nginx application的pods开启并调试:
这里我们看到nginx application一共2个pod,分别是10.1.79.4(在node 172.20.11.43上)和10.1.27.2(在node 172.20.11.42上)
kubectl get pods -n default
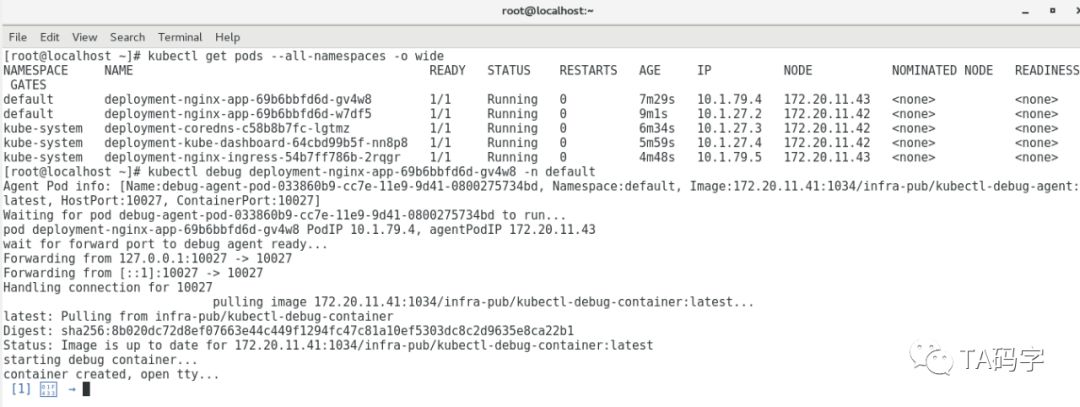
调试nginx pod:
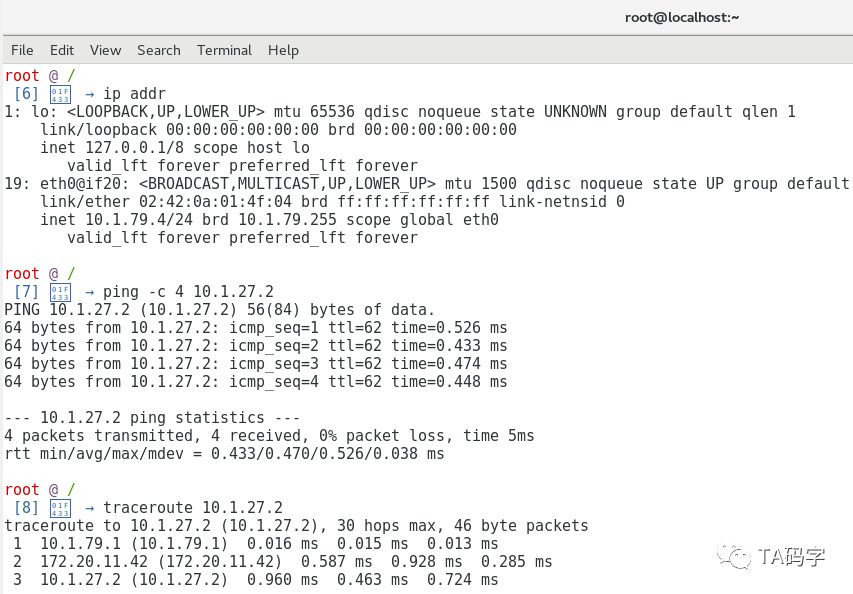
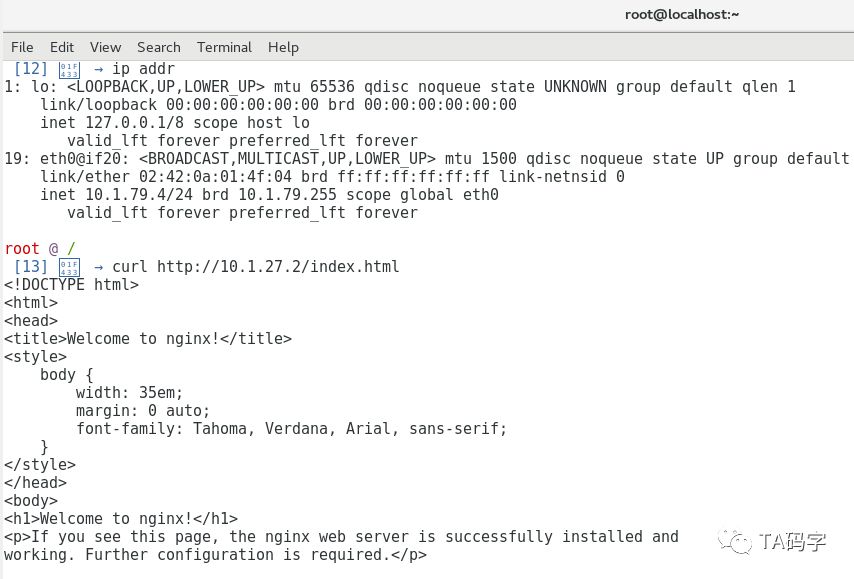
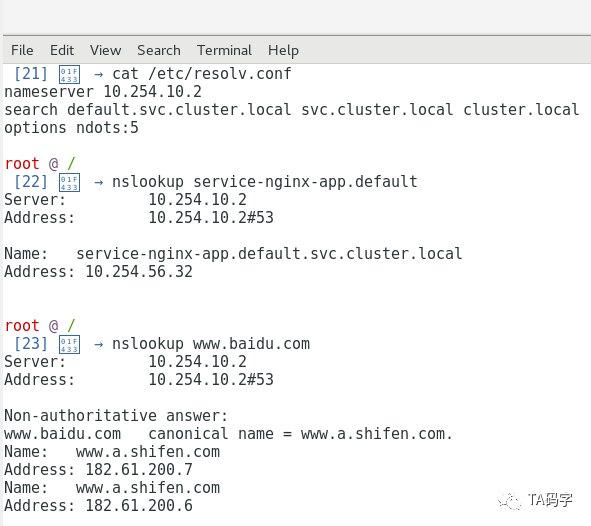
这里我们debug进入10.1.79.4(在node 172.20.11.43上)中,分别用ping去ping 10.1.27.2(在node 172.20.11.42上)。用curl访问10.1.27.2(在node 172.20.11.42上)的nginx application,用tracroute去跟踪10.1.27.2(在node 172.20.11.42上),用nslookup去查询内部service的fqdn和外部域名的fqdn。
目前先写到这里,下一篇文章里我们继续介绍k8s应用安装管理工具helm。