在上一篇文章中我们安装了nginx application,在这个安装过程中我们部署了deployment文件,service文件,ingress文件。当然有的application还不只这些,还可能有service account,role,rolebinding,configmap,secret等等,这些资源对象构成了完整的application。那么很自然的就想到有没有办法把这些资源当作一个完整的应用包,我们只需要简单的命令就可以完成对于应用的安装升级等操作呢。可以想象一下,我们需要的是类似yum这样的工具来完成k8s应用的安装升级管理,在k8s里helm正是扮演了这样的角色。
对于helm有这些概念:
chart:这个就相当于k8s的应用包,我们可以理解成是yaml配置文件的集合,只不过chart有自己的目录结构罢了。可以对比想象yum中所依赖的rpm的集合。
release:对于chart在k8s里的安装称之为release,这个也不难理解,可以对比想象是yum中的一个版本的安装。
chart repo:存储chart的仓库,可以对比想象yum repo。
helm client:可以查找应用,安装应用,提供命令行工具,可以对比想象yum命令行。
tiller server:真正负责将chart安装到k8s集群里,helm与tiller交互,由tiller完成最终的部署。tiller可以是独立的服务,也可以作为deployment运行在k8s集群里。
接下来我们介绍heml client和tiller的安装,这里我们helm和tiller都采用2.14.3版本,tiller以deployment的形式运行在k8s集群里。
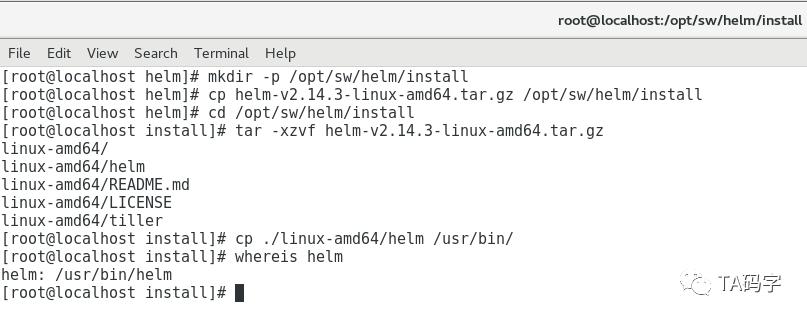
安装helm client
请提前下载安装包(2.14.3版本),这里在github下载有时候会很慢,甚至断掉,要科学上网或者搭个梯子。
mkdir -p /opt/sw/helm/installcp helm-v2.14.3-linux-amd64.tar.gz /opt/sw/helm/installcd /opt/sw/helm/installtar -xzvf helm-v2.14.3-linux-amd64.tar.gzcp ./linux-amd64/helm /usr/bin/whereis helm
安装tiller server
这里有两件事情需要做,第一,tiller是以deployment的方式运行在k8s集群里,我们会将其部署到kube-system这个namespace里,所以请提前将tiller(2.14.3版本)的image push到我们的private repo里(可以参考以前文章关于harbor private repo的 介绍)。另外会把tiller server开启双向ssl认证,请提前制作tiller server和client的ssl证书,这里的client就是helm,因为helm会和tiller交互完成部署。关于证书的制作可以参考以前文章制作docker server ssl证书的文章。
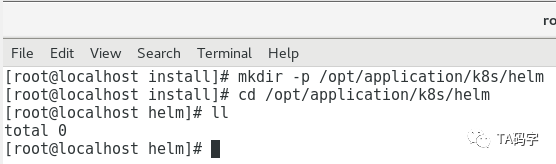
创建配置文件目录:
由于tiller是以deployment的方式部署在k8s集群里的,一般都会有yaml部署文件,目前都放在此目录里。
mkdir -p /opt/application/k8s/helmcd /opt/application/k8s/helm
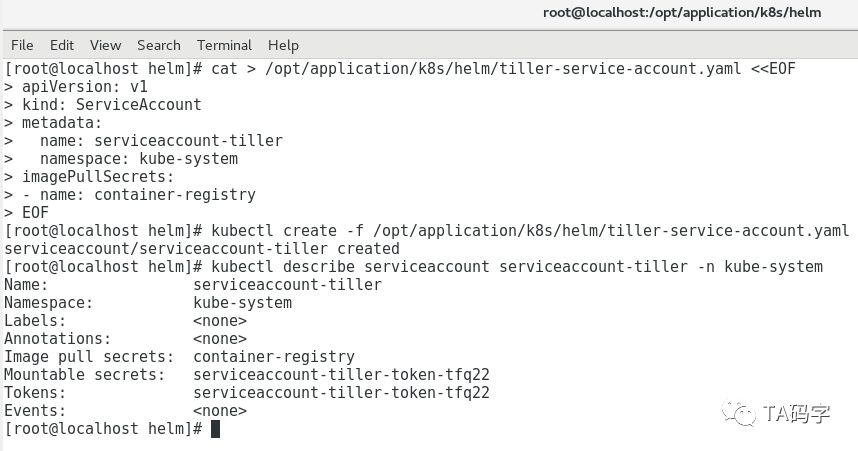
创建tiller的service-account
cat > /opt/application/k8s/helm/tiller-service-account.yaml <<EOFapiVersion: v1kind: ServiceAccountmetadata:name: serviceaccount-tillernamespace: kube-systemimagePullSecrets:- name: container-registryEOFkubectl create -f /opt/application/k8s/helm/tiller-service-account.yamlkubectl describe serviceaccount serviceaccount-tiller -n kube-system
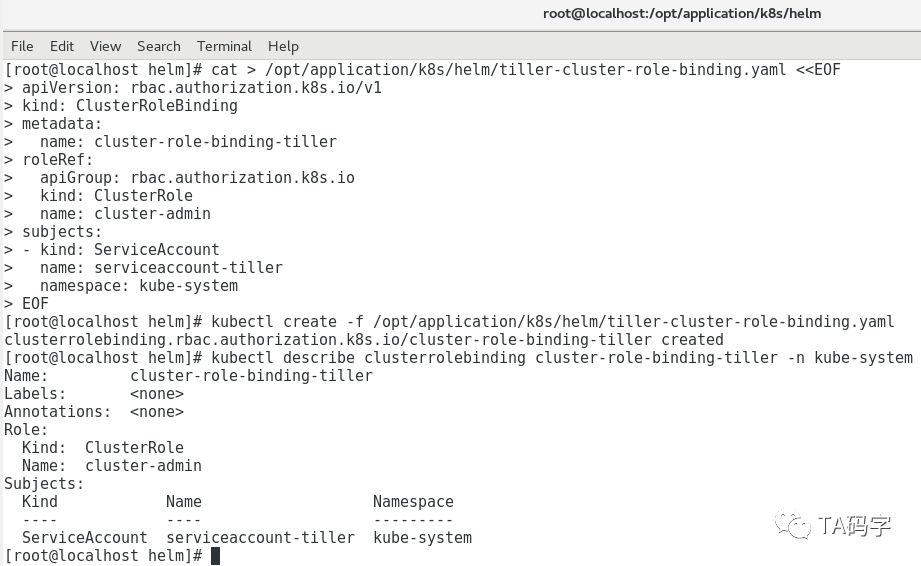
创建tiller的cluster-role-binding:
这里为了方便,我们绑定k8s集群内置的cluster-admin角色。
cat > /opt/application/k8s/helm/tiller-cluster-role-binding.yaml <<EOFapiVersion: rbac.authorization.k8s.io/v1kind: ClusterRoleBindingmetadata:name: cluster-role-binding-tillerroleRef:apiGroup: rbac.authorization.k8s.iokind: ClusterRolename: cluster-adminsubjects:- kind: ServiceAccountname: serviceaccount-tillernamespace: kube-systemEOFkubectl create -f /opt/application/k8s/helm/tiller-cluster-role-binding.yamlkubectl describe clusterrolebinding cluster-role-binding-tiller -n kube-system
运行命令查看部署tiller yaml的output:
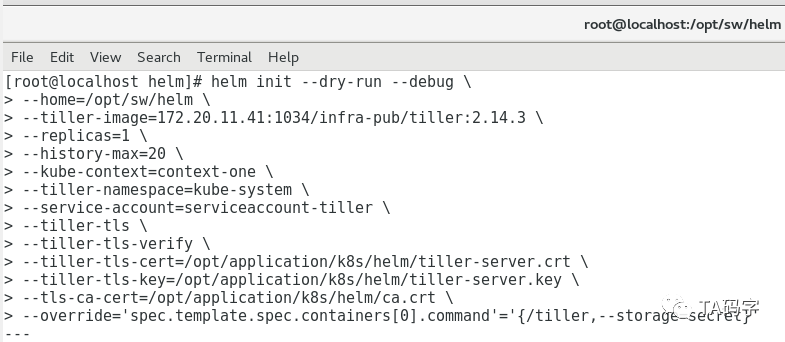
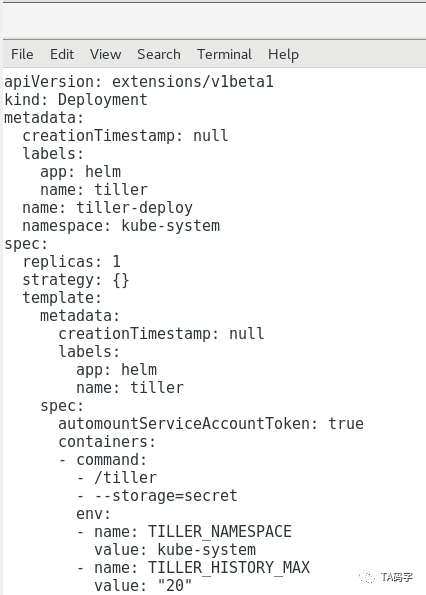
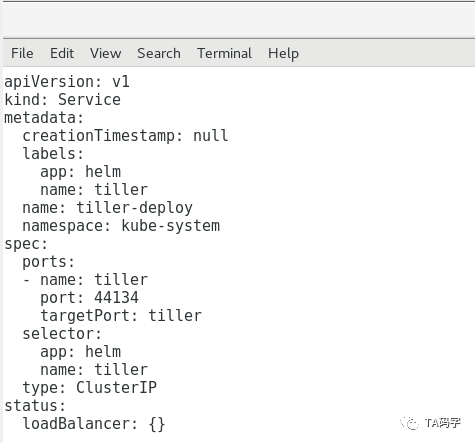
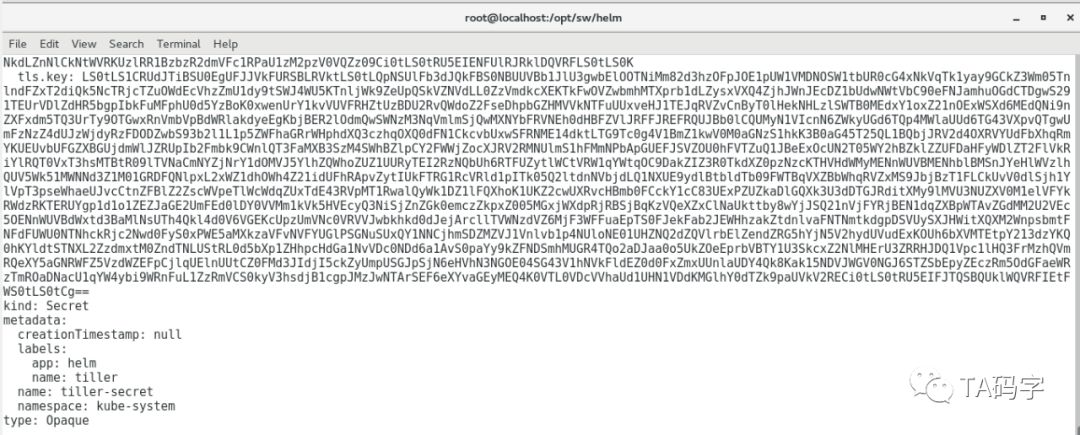
这里我们用helm init --dry-run --debug命令,它的本质是生成tiller server需要的yaml文件,我们可以预览内容。如果觉得没有问题就可以把--dry-run参数去掉,这样就真正的部署tiller到k8s集群中了。其中有几个参数如下
kube-contex:因为helm部署tiller的时候需要和k8s集群交互,那么就避免不了需要用的kubeconfig文件,这个context就kubeconfig的context,可以用命令kubectl config view来查看的到
override:可以覆盖yaml里的field定义,这里我们把tiller的storage用k8s的secret对象。实际也可以支持postgres sql数据库存储,在实际应用中可以根据自己的需求做合理选择。
更多的配置说明可以参考:
https://helm.sh/docs/using_helm/#installing-helm
helm init --dry-run --debug \--home=/opt/sw/helm \--tiller-image=172.20.11.41:1034/infra-pub/tiller:2.14.3 \--replicas=1 \--history-max=20 \--kube-context=context-one \--tiller-namespace=kube-system \--service-account=serviceaccount-tiller \--tiller-tls \--tiller-tls-verify \--tiller-tls-cert=/opt/application/k8s/helm/tiller-server.crt \--tiller-tls-key=/opt/application/k8s/helm/tiller-server.key \--tls-ca-cert=/opt/application/k8s/helm/ca.crt \--override='spec.template.spec.containers[0].command'='{/tiller,--storage=secret}'
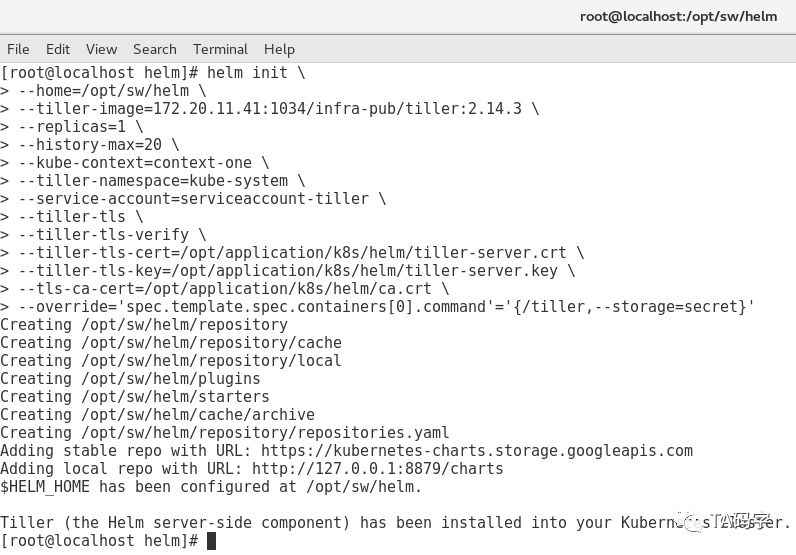
安装tiller server
helm init --debug \--home=/opt/sw/helm \--tiller-image=172.20.11.41:1034/infra-pub/tiller:2.14.3 \--replicas=1 \--history-max=20 \--kube-context=context-one \--tiller-namespace=kube-system \--service-account=serviceaccount-tiller \--tiller-tls \--tiller-tls-verify \--tiller-tls-cert=/opt/application/k8s/helm/tiller-server.crt \--tiller-tls-key=/opt/application/k8s/helm/tiller-server.key \--tls-ca-cert=/opt/application/k8s/helm/ca.crt \--override='spec.template.spec.containers[0].command'='{/tiller,--storage=secret}'
查看tiller在集群中的deployment和service
kubectl get deployment -n kube-system|grep tillerkubectl get service -n kube-system|grep tiller

配置helm client
这里helm client虽然是binary文件直接可以用,但是它需要和tiller server交互,而我们的tiller server开启了双向ssl认证,所以我们这里要把相关证书配置好。默认helm使用环境变量$HELM_HOME下的ca.pem来认证server端,使用$HELM_HOME下的cert.pem和key.pem作为client端的证书和key。所以我们这里设置好环境变量,把相关证书文件放在默认路径下。当然不做这一步也可以,那就需要我们在命令里手动指定相应的ca,cert,key文件了,输入命令就比较麻烦。
配置环境变量:
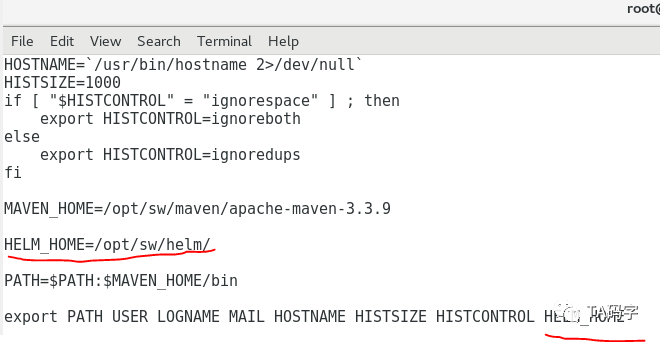
将$HELM_HOME配置在/etc/profile中,这样就都可以加载了,这里我们设置$HELM_HOME为/opt/sw/helm
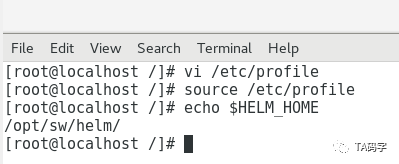
vi /etc/profilesource /etc/profileecho $HELM_HOME
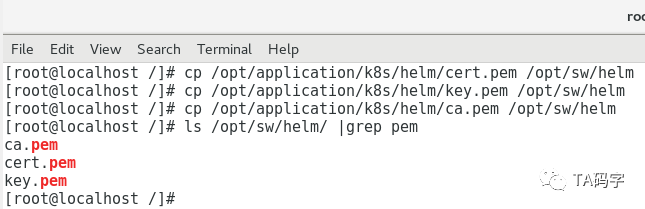
复制ca,cert,key文件到$HELM_HOME
cp /opt/application/k8s/helm/cert.pem /opt/sw/helmcp /opt/application/k8s/helm/key.pem /opt/sw/helmcp /opt/application/k8s/helm/ca.pem /opt/sw/helmls /opt/sw/helm/ |grep pem
测试helm与tiller交互命令:
helm version --tlshelm list --all --tls --debug

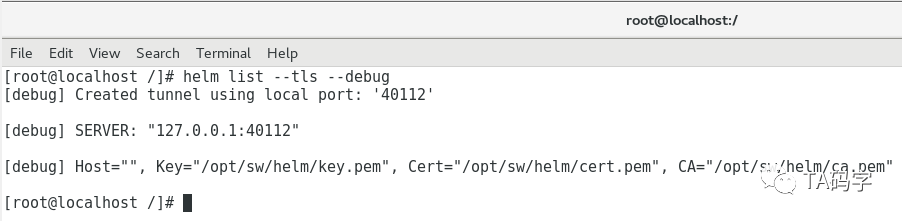
这里我们可以看到对于tiller的service是默认的。也就是cluster ip,并没有暴露出来,然而helm却是访问到了tiller。这里是用了隧道机制可以访问到k8s的service,每次隧道的port都不一样,上面的是40112端口,当再次运行时,隧道端口就会改变。
目前先写到这里,下一篇文章里我们继续介绍私有chart仓库chartmuseum。