


项目源码地址
项目源码已发布到GitCode平台, 方便开发者进行下载和使用。
harmonyOSAvatar
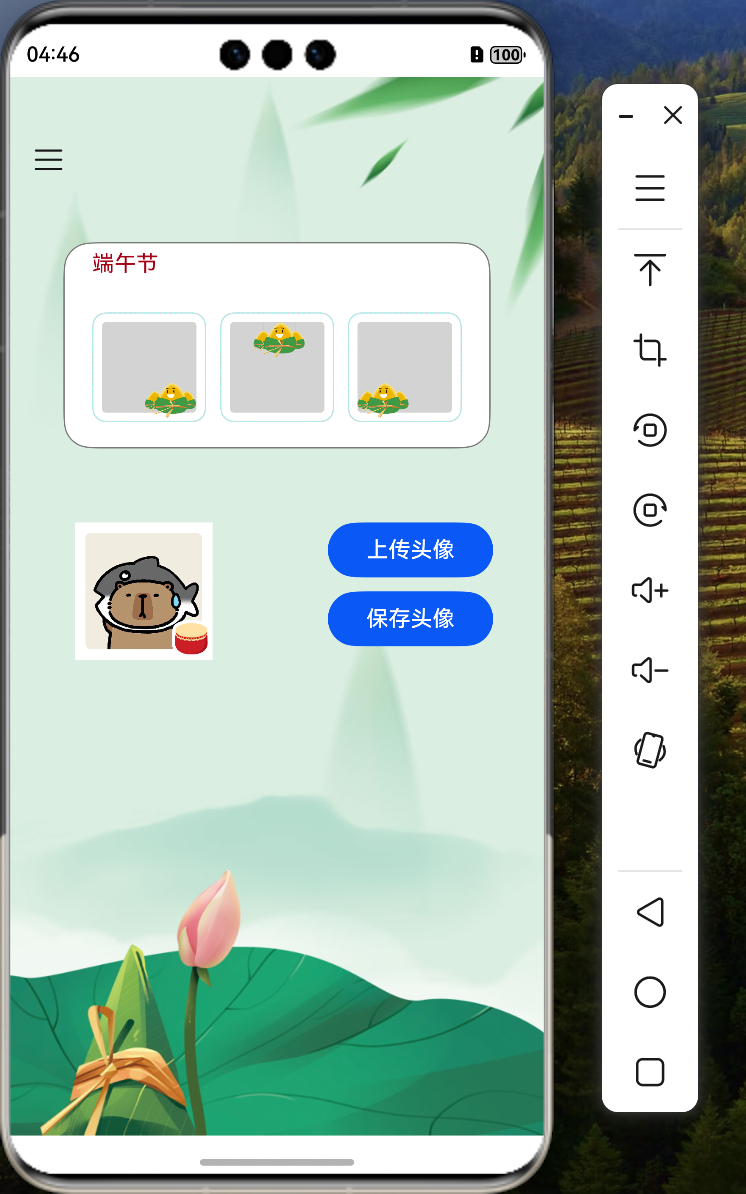
项目效果演示
主页面效果如下:
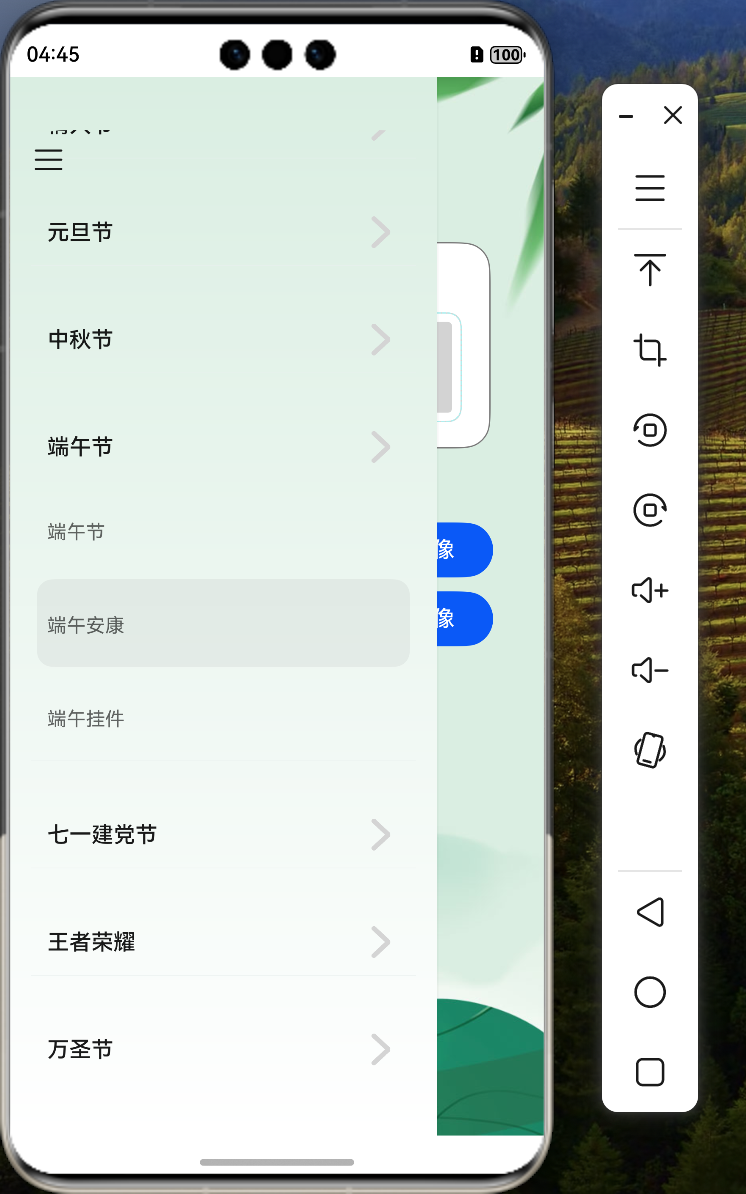
侧边栏效果如下
1. 概述
在HarmonyOS应用开发中,有时需要将界面上的组件保存为图片,例如制作头像、分享截图等场景。本教程将详细介绍如何使用HarmonyOS提供的API实现组件快照获取和图片保存功能,包括组件快照捕获、图像处理和文件系统操作。
2. 技术要点
本教程涵盖以下关键技术点:
- 使用
componentSnapshot获取组件快照 - 使用
image模块处理图像数据 - 使用
fs文件系统模块保存图像 - 使用
photoAccessHelper将图像保存到系统相册 - 生成基于时间戳的唯一文件名
- 异步操作与Promise链式调用
- 错误处理与用户反馈
3. 环境准备
3.1 导入必要模块
import componentSnapshot from '@ohos.arkui.componentSnapshot'
import image from '@ohos.multimedia.image'
import fs from '@ohos.file.fs';
import photoAccessHelper from "@ohos.file.photoAccessHelper";
import { promptAction } from "@kit.ArkUI";
3.2 模块功能说明
- componentSnapshot:提供获取组件快照的能力
- image:提供图像处理功能,如图像编码、解码等
- fs:提供文件系统操作能力,如文件读写
- photoAccessHelper:提供访问和管理系统相册的能力
- promptAction:提供轻量级的用户提示功能
4. 生成时间戳文件名
为了确保每次保存的图片文件名唯一,我们可以使用时间戳作为文件名的一部分:
/**
 * 获取当前时间的拼接字符串,用于图片命名
 */
function getTimeStr(): string {
    const now: Date = new Date();
    const year: number = now.getFullYear();
    const month: number = now.getMonth() + 1;
    const day: number = now.getDate();
    const hours: number = now.getHours();
    const minutes: number = now.getMinutes();
    const seconds: number = now.getSeconds();
    return `${year}${month}${day}_${hours}${minutes}${seconds}`;
}
这个函数返回格式为YYYYMMDD_HHMMSS的字符串,例如20230915_143022,确保每次生成的文件名都是唯一的。
5. 组件快照获取
5.1 组件标识
首先,需要为要截图的组件设置一个唯一的ID:
Stack() {
    // 组件内容...
}.width(100)
.height(100)
.id('stack') // 设置组件ID为'stack'
5.2 获取组件快照
使用componentSnapshot.get方法获取指定ID组件的快照:
componentSnapshot.get("stack")
    .then(async (pixmap: image.PixelMap) => {
        if (pixmap !== null) {
            // 处理获取到的快照
            this.filePath = await this.saveFile(getContext(), pixmap);
            console.log('保存路径', this.filePath);
        }
    }).catch((err: Error) => {
        console.log("错误: " + err);
    })
6. 图像保存实现
6.1 图像处理与保存
/**
 * packing获取图片的ArrayBuffer数据,再使用fs库将图片写入文件
 */
async saveFile(context: Context, pixelMap: PixelMap): Promise<string> {
    // 创建图像编码ImagePacker对象
    const imagePackerApi = image.createImagePacker();
    // 设置编码输出流和编码参数。format为图像的编码格式;quality为图像质量,范围从0-100,100为最佳质量
    const options: image.PackingOption = { format: 'image/jpeg', quality: 100 };
    // 图片写入的沙箱路径
    const filePath: string = `${context.filesDir}/${getTimeStr()}.jpg`;
    // 使用packing打包获取图片的ArrayBuffer
    const data: ArrayBuffer = await imagePackerApi.packing(pixelMap, options);

    let helper = photoAccessHelper.getPhotoAccessHelper(context);
    let uri = await helper.createAsset(photoAccessHelper.PhotoType.IMAGE, 'jpg');
    let file = await fs.open(uri, fs.OpenMode.READ_WRITE | fs.OpenMode.CREATE);
    await fs.write(file.fd, data);
    await fs.close(file.fd);
    promptAction.showToast({ message: '已保存至相册!' });
    return filePath;
}
6.2 关键步骤解析
- 创建图像编码器:使用
image.createImagePacker()创建图像编码器 - 设置编码参数:指定输出格式为JPEG,质量为100%
- 生成文件路径:使用应用沙箱路径和时间戳生成唯一文件名
- 图像编码:将PixelMap编码为ArrayBuffer
- 获取相册助手:使用
photoAccessHelper.getPhotoAccessHelper获取相册访问助手 - 创建资源:在相册中创建新的图像资源
- 打开文件:使用
fs.open打开文件,设置为读写和创建模式 - 写入数据:将图像数据写入文件
- 关闭文件:完成写入后关闭文件
- 用户提示:使用
promptAction.showToast提示用户保存成功
7. 完整实现
以下是组件快照获取和保存功能的完整实现:
// 导入必要模块
import componentSnapshot from '@ohos.arkui.componentSnapshot'
import image from '@ohos.multimedia.image'
import fs from '@ohos.file.fs';
import photoAccessHelper from "@ohos.file.photoAccessHelper";
import { promptAction } from "@kit.ArkUI";

/**
 * 获取当前时间的拼接字符串,用于图片命名
 */
function getTimeStr(): string {
    const now: Date = new Date();
    const year: number = now.getFullYear();
    const month: number = now.getMonth() + 1;
    const day: number = now.getDate();
    const hours: number = now.getHours();
    const minutes: number = now.getMinutes();
    const seconds: number = now.getSeconds();
    return `${year}${month}${day}_${hours}${minutes}${seconds}`;
}

@Component
export struct MainPage {
    // 组件状态和属性...
    @State filePath: string = ''; // 保存图片后的文件路径

    /**
     * packing获取图片的ArrayBuffer数据,再使用fs库将图片写入文件
     */
    async saveFile(context: Context, pixelMap: PixelMap): Promise<string> {
        // 创建图像编码ImagePacker对象
        const imagePackerApi = image.createImagePacker();
        // 设置编码输出流和编码参数。format为图像的编码格式;quality为图像质量,范围从0-100,100为最佳质量
        const options: image.PackingOption = { format: 'image/jpeg', quality: 100 };
        // 图片写入的沙箱路径
        const filePath: string = `${context.filesDir}/${getTimeStr()}.jpg`;
        // 使用packing打包获取图片的ArrayBuffer
        const data: ArrayBuffer = await imagePackerApi.packing(pixelMap, options);

        let helper = photoAccessHelper.getPhotoAccessHelper(context);
        let uri = await helper.createAsset(photoAccessHelper.PhotoType.IMAGE, 'jpg');
        let file = await fs.open(uri, fs.OpenMode.READ_WRITE | fs.OpenMode.CREATE);
        await fs.write(file.fd, data);
        await fs.close(file.fd);
        promptAction.showToast({ message: '已保存至相册!' });
        return filePath;
    }

    build() {
        // 组件布局...
        Button('保存头像', { buttonStyle: ButtonStyleMode.EMPHASIZED })
            .width(120)
            .onClick(async () => {
                // 保存图片
                componentSnapshot.get("stack")
                    .then(async (pixmap: image.PixelMap) => {
                        if (pixmap !== null) {
                            // 图片写入文件
                            this.filePath = await this.saveFile(getContext(), pixmap);
                            console.log('保存路径', this.filePath, pixmap);
                        }
                    }).catch((err: Error) => {
                        console.log("错误: " + err);
                    });
            });
    }
}
8. 注意事项
- 权限配置:确保应用具有访问相册和文件系统的权限
- 错误处理:在实际应用中,应添加更完善的错误处理机制
- 内存管理:处理大图像时注意内存使用,可能需要进行图像压缩或分批处理
- 用户体验:添加加载指示器,提示用户操作正在进行
- 资源释放:确保所有打开的文件和资源在使用完毕后被正确关闭和释放
9. 总结
HarmonyOS提供了强大的组件快照和图像处理能力,通过componentSnapshot、image和fs等模块,可以轻松实现组件截图和保存功能。本教程详细介绍了从获取组件快照到保存图像的完整流程,希望能帮助开发者在实际应用中实现类似功能。
「喜欢这篇文章,您的关注和赞赏是给作者最好的鼓励」
关注作者
【版权声明】本文为墨天轮用户原创内容,转载时必须标注文章的来源(墨天轮),文章链接,文章作者等基本信息,否则作者和墨天轮有权追究责任。如果您发现墨天轮中有涉嫌抄袭或者侵权的内容,欢迎发送邮件至:contact@modb.pro进行举报,并提供相关证据,一经查实,墨天轮将立刻删除相关内容。
