
文章结构
安装并配置Cobbler
安装Ubuntu18、CentOS7测试
常用的操作及报错处理
部署前的准备
一台CentOS8的系统,作为cobbler服务端 待安装的测试机
详细步骤
Cobbler安装与配置
在准备好的CentOS8中,按如下步骤操作:
系统的相关优化配置
- 关闭selinux
vim /etc/selinux/config

SELINUX=disabled
调整后重启一下系统
- 关闭firewalld
systemctl stop firewalld && systemctl disable firewalld
安装Cobbler及相关的软件包
dnf install epel-release -y && dnf module enable cobbler -y && dnf install cobbler tftp dhcp-server cobbler-web yum-utils pykickstart debmirror fence-agents vim wget -y
生成一个加密密码,安装后的系统会将其作为root密码使用
# 按照提示输入两次想要设置的密码,并将生成的加密密码保存好
# 以下命令生成的加密密码的明文是 “password”
openssl passwd -1
Password:
Verifying - Password:
$1$rLza5zNH$xLKFqWoK32/IA/zslG3Up0
修改cobbler的主配置文件
/etc/cobbler/setting
# 将 server 和 next_server 修改为本机的IP地址
server: 10.1.1.1
next_server: 10.1.1.1

manage_tftpd: 1
manage_dhcp: 1

# 这里填写上一步生成的加密密码
default_password_crypted: $1$rLza5zNH$xLKFqWoK32/IA/zslG3Up0
修改DHCP的配置模板 /etc/cobbler/dhcp.template
dhcp的模板内容较多,仅修改下面设置中的部分内容即可
# 仅修改以下部分配置即可,根据自己的测试环境修改 网关与待分配的IP
subnet 10.1.1.0 netmask 255.255.255.0 {
     option routers             10.1.1.254;
     option domain-name-servers 223.5.5.5;
     option subnet-mask         255.255.255.0;
     range dynamic-bootp        10.1.1.100 10.1.1.200;
     filename   "/pxelinux.0";
     default-lease-time         21600;
     max-lease-time             43200;
     next-server                $next_server;
编辑 /etc/cobbler/tftpd.template
# default: off
# description: The tftp server serves files using the trivial file transfer \
#       protocol.  The tftp protocol is often used to boot diskless \
#       workstations, download configuration files to network-aware printers, \
#       and to start the installation process for some operating systems.
service tftp
{
        disable                 = no
        socket_type             = dgram
        protocol                = udp
        wait                    = yes
        user                    = $user
        server                  = $binary
        server_args             = -B 1380 -v -s $args
        per_source              = 11
        cps                     = 100 2
        flags                   = IPv4
}
开启相关的服务
systemctl restart cobblerd tftp dhcp && systemctl enable cobblerd tftp dhcpd
执行命令 cobbler get-loaders
下载相关的loader组件执行 cobbler check
检查配置,并解决出现的问题
vim /etc/debmirror.conf

# 注释掉以下两行
#@dists="sid";
#@arches="i386";
反复执行 cobbler check,将问题处理完成
执行 cobbler sync
生成配置文件并自动重启相关的服务
配置Ubuntu18与CentOS7的镜像
下载镜像
# 下载 ubuntu18 镜像
# 注意要从如下链接下载,不要在各大镜像源下载带 “live” 字样的系统,有 “live” 字样的操作系统不适用于 seed 文件安装
wget http://cdimage.ubuntu.com/ubuntu/releases/bionic/release/ubuntu-18.04.5-server-amd64.iso

# 下载 centos7镜像
wget http://mirrors.163.com/centos/7.9.2009/isos/x86_64/CentOS-7-x86_64-Minimal-2009.iso
挂载镜像到本地
mkdir -p /mnt/ubuntu18; mkdir -pv /mnt/centos7

mount -t iso9660 -o loop,ro /root/ubuntu-18.04.5-server-amd64.iso /mnt/ubuntu18
mount -t iso9660 -o loop,ro /root/CentOS-7-x86_64-Minimal-2009.iso /mnt/centos7
导入
cobbler import --name=ubuntu1804 --path=/mnt/ubuntu18
cobbler import --name=centos7 --path=/mnt/centos7
创建system
# 获取到profile的名称
cobbler profile list

# 上一步获取的 profile 名称填到 --profile 后面
cobbler system add --name=ubuntu1804 --profile=ubuntu1804-x86_64
cobbler system add --name=centos7 --profile=centos7-x86_64
编辑 ubuntu18的seed文件
打开cobbler的web控制台:https://ip/cobbler_web,用户名密码均为 cobbler
点击左侧的“Templates”,Edit 右侧的 sample.seed
,复制全部内容,并新建一个Template文件,可命名为 ubuntu1804.seed
这里仅列出需要修改的地方
# 我这里调整了文件系统格式为 ext4,分区为自动,也可根据自己的情况调整
d-i partman-auto/disk string /dev/sda
d-i partman-auto/choose_recipe select atomic
d-i partman-auto/method string regular
d-i partman-lvm/device_remove_lvm boolean true
d-i partman-md/device_remove_md boolean true
d-i partman-partitioning/confirm_write_new_label boolean true
d-i partman/choose_partition select finish
d-i partman/confirm boolean true
d-i partman/confirm_nooverwrite boolean true
d-i partman/default_filesystem string ext4
d-i partman/mount_style select uuid


# 该命令表示可以从 cobbler 的指定目录下载 os 初始化的脚本,该脚本用于配置 IP 地址或其他的操作
# 该脚本可以放到 /var/www/cobbler/pub/commands/ 内
d-i preseed/late_command string wget -P /target/root http://$http_server/cblr/pub/commands/ubuntu18_os_start.sh; \
   uname -a
编辑centos的kickstart文件
打开cobbler的web控制台:https://ip:cobbler_web,用户名密码均为 cobbler
点击左侧的“Templates”,Edit 右侧的 default.ks
,复制全部内容,并新建一个Template文件,可命名为 centos7.ks
这里仅列出需要修改的地方
# Partition clearing information
# xfs 文件系统,boot 分配1g,其余分给 / ,没有 swap分区
clearpart --all --initlabel
part /boot --asprimary --fstype="xfs" --ondisk=sda  --size=1024
part / --asprimary --fstype="xfs" --ondisk=sda  --grow --size=5000

# 下载 os 初始化的脚本
curl -o /root/centos7_os_start.sh http://$server/cblr/pub/commands/centos7_os_start.sh
其他配置
完成以上步骤后,cobbler sync
同步一下配置文件
ubuntu 18需要执行如下命令,否则 PXE启动时会报识别光驱的错误,每次 cobbler sync
后,都需要执行如下命令
cp /mnt/ubuntu18/install/netboot/ubuntu-installer/amd64/initrd.gz /var/lib/tftpboot/images/ubuntu1804-x86_64/
安装测试
创建一台虚机,注意网卡要和Cobbler在同一个VLAN或广播域,该网段内不要有其他的DHCP服务器
注意:内存要4G或以上,否则会安装不成功

开机启动

选择 ubuntu18或centos安装即可,ubuntu18的 hwe 版本的内核比较新,对硬件支持更好,可根据需求选择
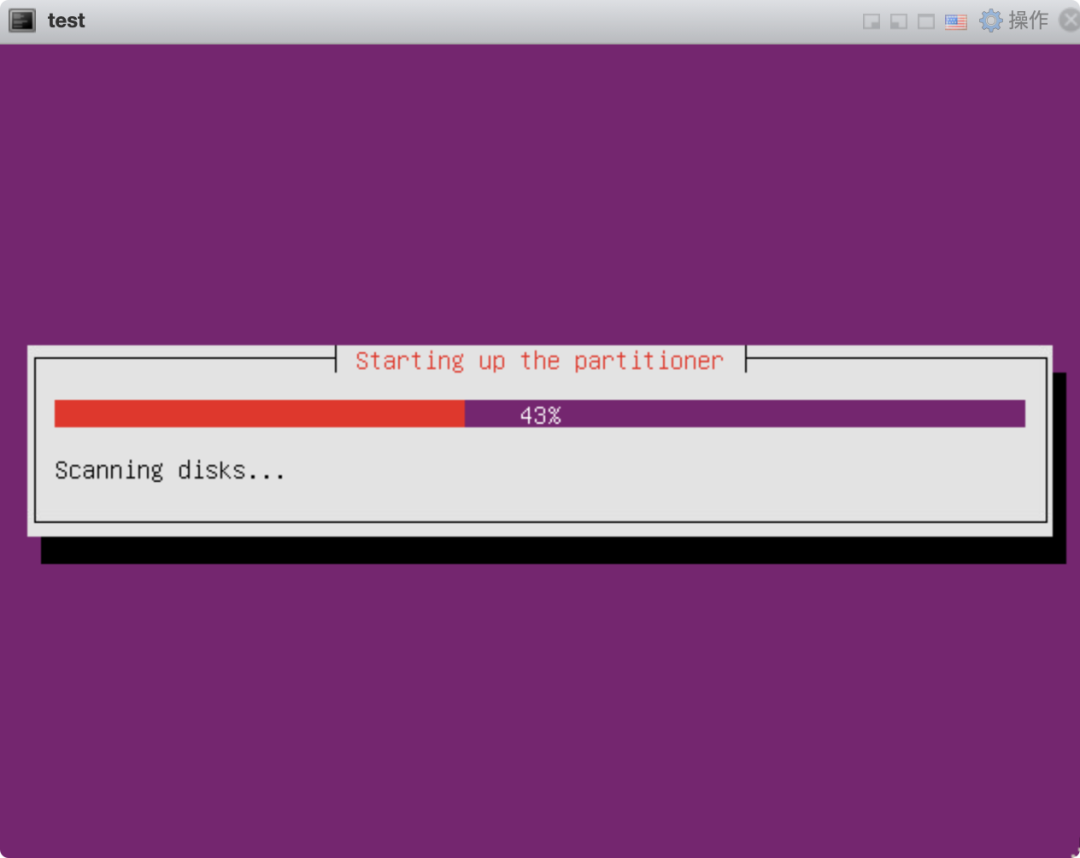
等待自动安装完成

日常操作与问题解决
cobbler sync 命令
该命令比较常用,很重要,执行后会将 /etc/cobbler/ 下的 xxx.template 文件解析后写到各自的配置文件或 tftp 根目录以及 /var/www/cobbler
中
执行后会重启部分服务,例如 dhcpd
centos8中安装cobbler和 centos7安装的差异
centos8 epel源中的cobbler是3.x版本比较新,建议使用
centos7安装cobbler在执行 get-loaders时会报错,但是多次执行可能会成功
PXE 启动时报 PXE-E3B TFTP Error

/var/lib/tftpboot/grub,可能没有 grub.0,如果没有的话,执行一下
/usr/share/cobbler/bin/mkgrub.sh,会有报错,但先不用管
/var/lib/cobbler/loaders/看一下,确认是否有 grub 文件夹,如果有的话,应该就没问题了,再 cobbler sync 一下就可以了
参考文档:
· 官方文档-Quickstart
· https://asciinema.org/a/351156
· https://askubuntu.com/questions/1235723/automated-20-04-server-installation-using-pxe-and-live-server-image
· https://wiki.ubuntu.com/UEFI/PXE-netboot-install
· https://ubuntu.com/server/docs/install/netboot-amd64
了解新钛云服
新钛云服荣膺第四届FMCG零售消费品行业CIO年会「年度数字化服务最值得信赖品牌奖」
新钛云服三周岁,公司月营收超600万元,定下百年新钛的发展目标
当IPFS遇见云服务|新钛云服与冰河分布式实验室达成战略协议
新钛云服正式获批工信部ISP/IDC(含互联网资源协作)牌照
新钛云服,打造最专业的Cloud MSP+,做企业业务和云之间的桥梁
往期技术干货
刚刚,OpenStack 第 19 个版本来了,附28项特性详细解读!
OpenStack与ZStack深度对比:架构、部署、计算存储与网络、运维监控等

点👇分享

戳👇在看


