


Spring Boot提供了大量的模板引擎,包含了FreeMarker,Groovy,Thymeleaf,Velocity和Mustache,Spring Boot中推荐使用Thymeleaf作为模板引擎,因为Thymeleaf提供了完美的Spring MVC的支持。Thymeleaf是一个java类库,它是一个xml/xhtml/html5的模板引擎,可以作为MVC的Web应用的View层。Thymeleaf还提供了额外的模块与Spring MVC集成,所以我们可以使用Thymeleaf完全替代JSP。
一. Thymeleaf简介
Thymeleaf是一个XML/XHTML/HTML5模板引擎,可用于Web与非Web环境中的应用开发。它是一个开源的Java库,基于Apache License 2.0许可,由Daniel Fernández创建,该作者还是Java加密库Jasypt的作者。
Thymeleaf提供了一个用于整合Spring MVC的可选模块,在应用开发中,你可以使用Thymeleaf来完全代替JSP或其他模板引擎,如Velocity、FreeMarker等。Thymeleaf的主要目标在于提供一种可被浏览器正确显示的、格式良好的模板创建方式,因此也可以用作静态建模。你可以使用它创建经过验证的XML与HTML模板。相对于编写逻辑或代码,开发者只需将标签属性添加到模板中即可。接下来,这些标签属性就会在DOM(文档对象模型)上执行预先制定好的逻辑。
二. Spring Boot静态资源路径
创建一个Spring Boot项目标准的结构应该为
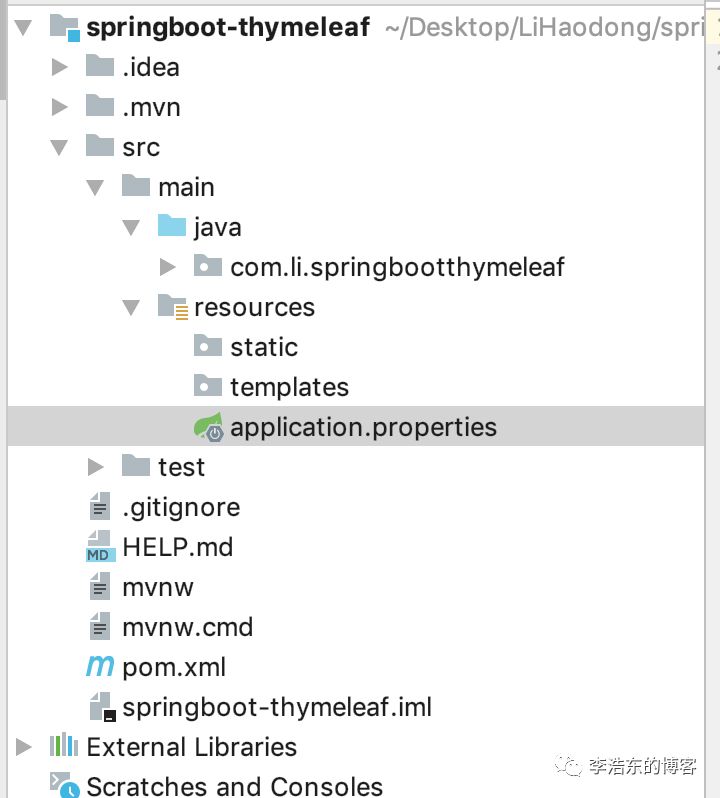
resources下
static静态资源路径 js/css等
templates 模板配置路径 html/ftl
三. 整合
在Spring Boot中使用Thymeleaf,只需要引入依赖,以及在配置文件application进行配置并在默认的模板路径src/main/resources/templates下编写模板文件即可完成
引入依赖
<dependency>
    <groupId>org.springframework.boot</groupId>
    <artifactId>spring-boot-starter-thymeleaf</artifactId>
</dependency>
application.properties
# 默认路径
spring.thymeleaf.prefix=classpath:/templates/
# 后缀
spring.thymeleaf.suffix=.html
# 模板格式
spring.thymeleaf.mode=HTML5
# 字符编码
spring.thymeleaf.encoding=UTF-8
# 内容格式
spring.thymeleaf.servlet.content-type=text/html
# 是否打开缓存 一般在开发过程中不建议打开
spring.thymeleaf.cache=false
在完成配置之后,在快速入门工程的基础上,举一个简单的示例来通过Thymeleaf渲染一个页面
package com.li.springbootthymeleaf;

import org.springframework.boot.SpringApplication;
import org.springframework.boot.autoconfigure.SpringBootApplication;
import org.springframework.ui.ModelMap;
import org.springframework.web.bind.annotation.RequestMapping;

@SpringBootApplication
public class SpringbootThymeleafApplication {

    public static void main(String[] args) {
        SpringApplication.run(SpringbootThymeleafApplication.class, args);
    }


    @RequestMapping("/index")
    public String index(ModelMap modelMap){
        // 加入一个属性,模板通过这个属性读取对应的值
        modelMap.addAttribute("host","www.lhdyx.cn");
        // return模板文件的名称,对应src/main/resources/templates/hello.html
        return "hello";
    }
}
hello.html
<!DOCTYPE html>
<html lang="en">
<html xmlns:th="http://www.thymeleaf.org">
<head>
    <meta charset="UTF-8">
    <title>我的博客</title>
</head>
<body>

<h1 th:text="${host}">我的博客地址</h1>
</body>
</html>
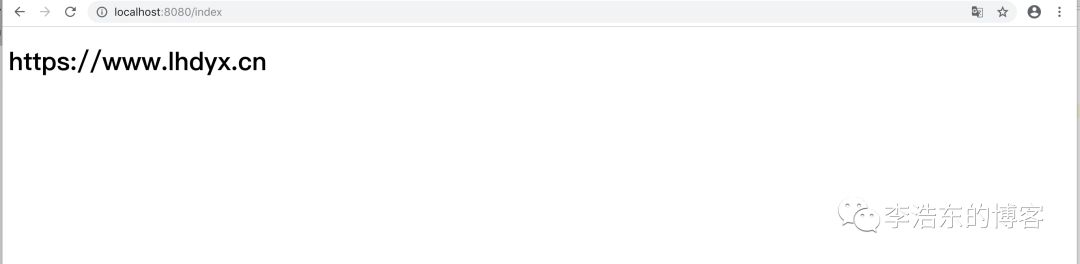
如上页面,直接打开html页面展现我的博客,但是启动程序后,访问http://localhost:8080/,则是展示Controller中host的值:https://www.lhdyx.cn
更多Thymeleaf的页面语法,还请访问Thymeleaf的官方文档查询使用。
有的人比较喜欢写JSP进行开发页面,官方不建议使用,我个人也是不建议的,但如果一定要使用,我下篇文章介绍
源码下载:https://github.com/LiHaodong888/SpringBootLearn
