


点击上方蓝字关注“汪宇杰博客”

导语
程序员鼓励猫对编程有很大帮助,但是只让人类吸还不够,得让电脑也吸,才能保证电脑心情好,编译出没有bug的代码。

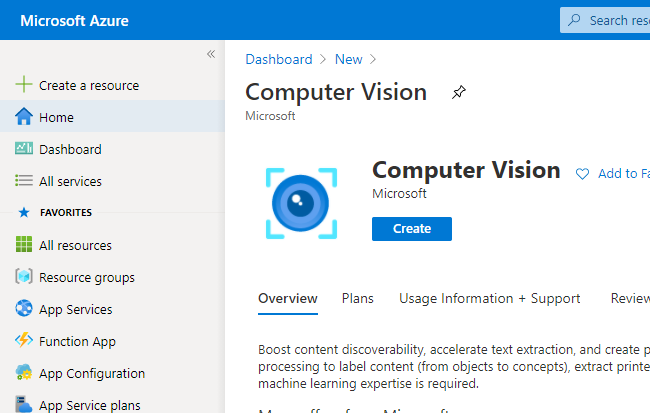
要识别猫猫就需要计算机视觉这个 AI 技术,而 Azure 认知服务就为我们提供了现成的计算机视觉 API。本篇就将使用 Azure Computer Vision(计算机视觉)结合.NET 5 的 Blazor 做一个识别猫猫的应用,喵。
进入 Azure Portal,点击 + Create a resource,搜索并创建 Computer Vision。
选择你的订阅(Subscription)、资源组(Resource group)、地区(Region),输入一个名字(Name),例如 catvision。计费模式(Pricing tier)可以根据自己的经济条件选择免费的F0和高富帅的 S1。
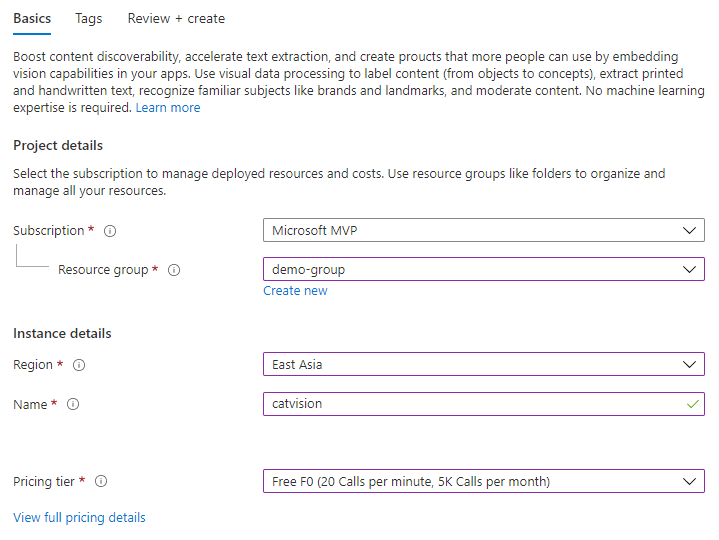
点击 Review + Create 完成Computer Vision资源的创建。
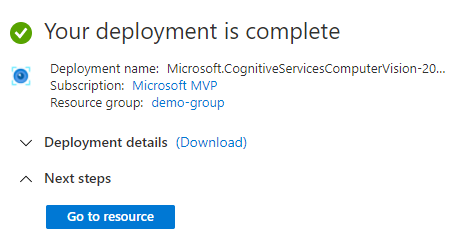
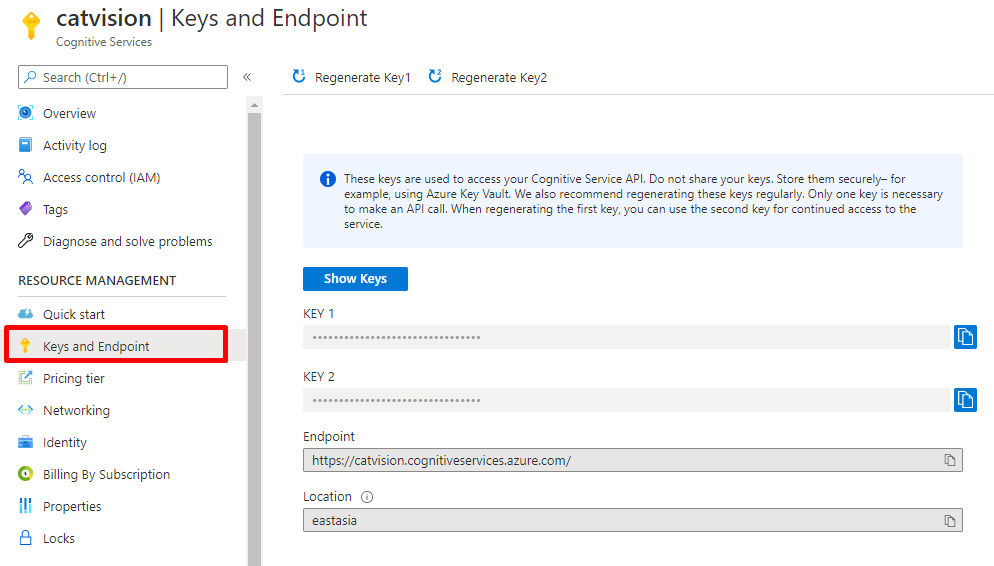
点击 Go to resource,进入创建完成的 Computer Vision。然后在 Keys and Endpoint 菜单里,复制Endpoint的链接以及任意一个 Key,我们在稍后会使用。

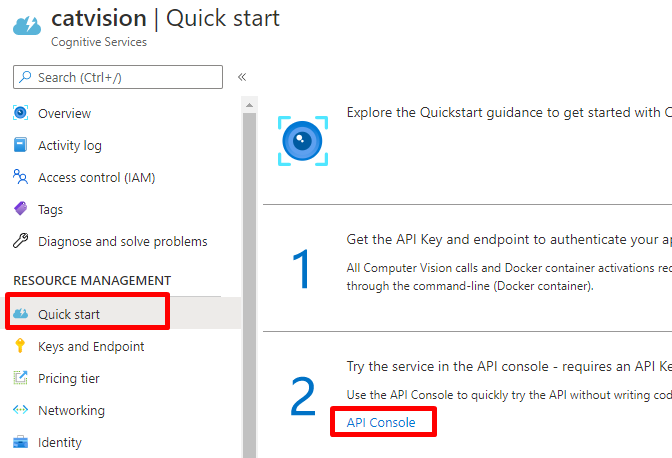
在编写应用之前,我们可以使用微软提供的测试平台试试 Computer Vision API 到底能不能识别猫猫。
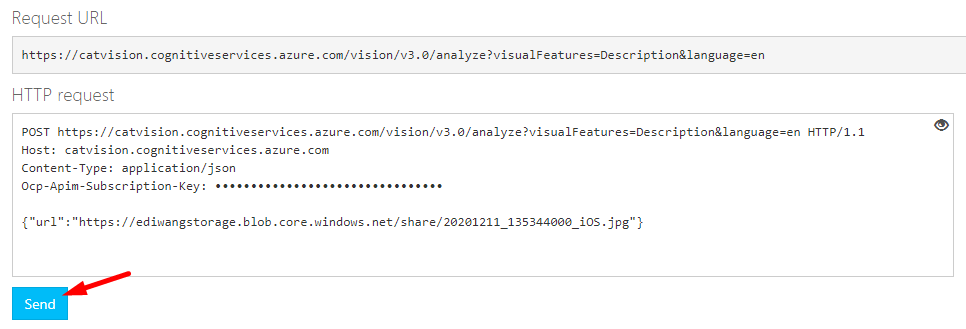
在 Quick start 菜单下点击进入 API Console。
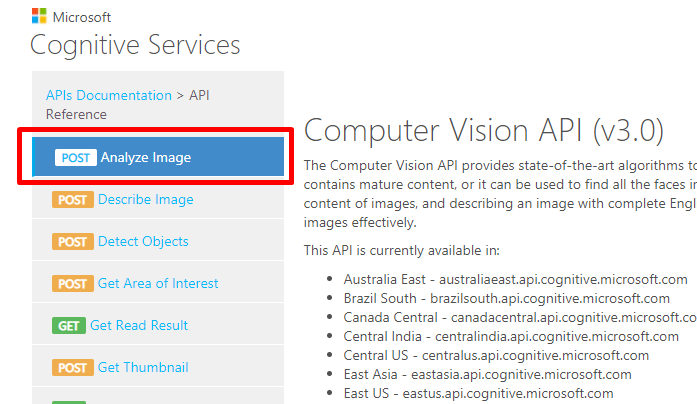
在弹出的页面里选择 Analyze Image。
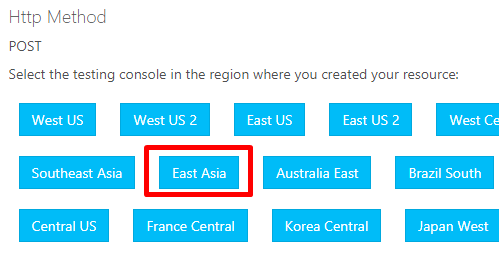
在页面中间选择 East Asia,即之前创建 Computer Vision资源的地区。
将 Host 选为 [resource name].cognitiveservices.azure.com,然后填写我们创建的资源名称,即 catvision。Query parameters 意思是要识别的元素类型,visualFeatures选择 Description,language为语言代码,默认en是英语,如果你需要中文结果,可以设置为 zh。最后填写 Ocp-Apim-Subscription-Key,即之前复制的 KEY1 或 KEY2的值。
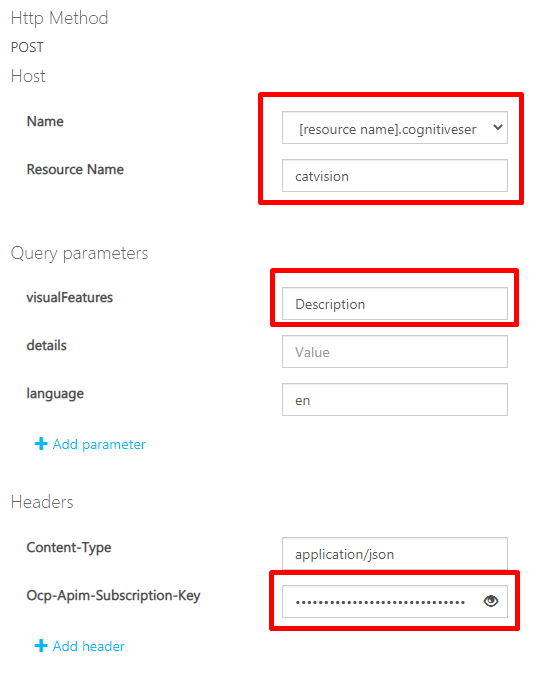
在页面下方的 Request body 里填写一个猫猫照片的URL,注意图片大小不能超过4MB。
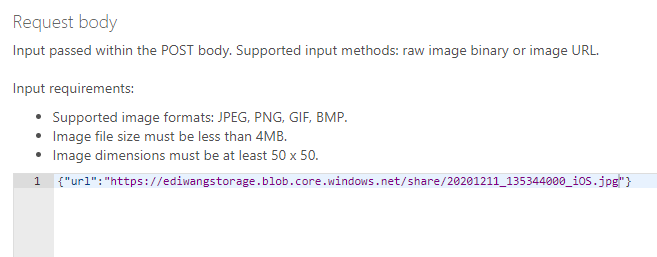
此处我填写的URL为我的小猫咪躺在沙发上的照片。

最后点击页面最下方的 Send 按钮,发送请求。
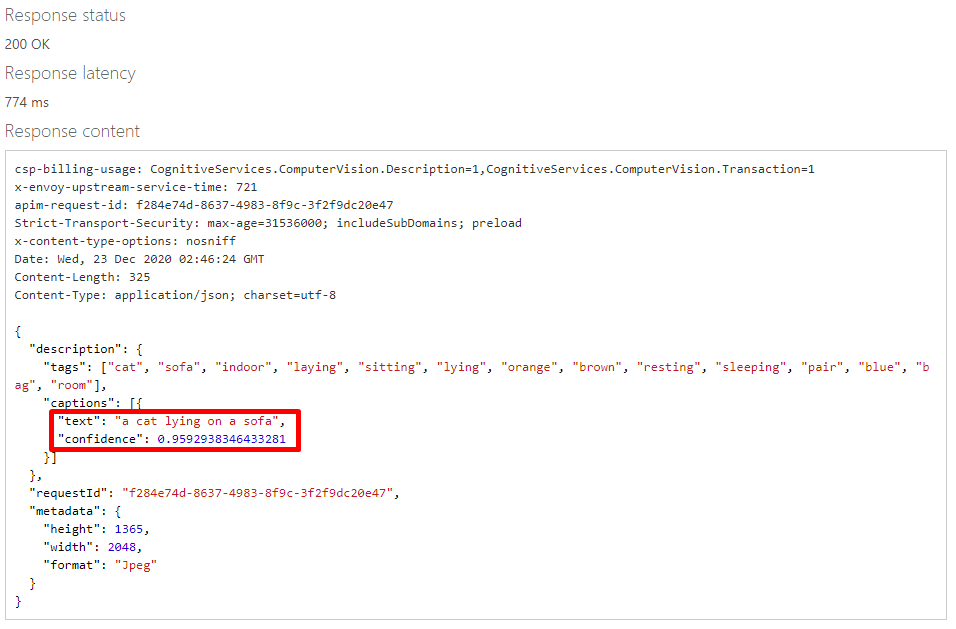
Azure 会给我们返回图片识别的结果。返回的JSON如下:
{
"description": {
"tags": ["cat", "sofa", "indoor", "laying", "sitting", "lying", "orange", "brown", "resting", "sleeping", "pair", "blue", "bag", "room"],
"captions": [{
"text": "a cat lying on a sofa",
"confidence": 0.9592938346433281
}]
},
"requestId": "f284e74d-8637-4983-8f9c-3f2f9dc20e47",
"metadata": {
"height": 1365,
"width": 2048,
"format": "Jpeg"
}
}
可以看到,Azure 准确识别了图片的内容,并以人类的自然语言描述了出来:a cat lying on a sofa。证明我们的Computer Vision有效。

真正给你的用户使用Azure 计算机视觉的时候,肯定不能让人去测试平台看JSON,所以我们需要自己编写一个用户友好的应用,让人点点鼠标就能识别猫猫。
Computer Vision给我们提供的是 REST API,这对浏览器来说太友好了,我选择开发一个 Web 应用,直接在浏览器里调用API并显示结果。
注意
在真实项目里,最好不要从浏览器直接调用API,而要使用一个服务器端应用。因为纯客户端会暴露你的API Key,让别人免费使用你的API,榨干你的Azure余额,导致你欠费无数,被微软追杀,落魄街头,蹲在垃圾桶旁边吃猫咪吃剩下的菜。
说到Web前端开发就头疼,我作为一个只会拖控件的.NET程序员,写不来JS/TS/Angular/Vue,在公司一写前端就加班,怎么办呢?
还好微软创造了 Blazor 这个革命性的框架,通过WASM标准,让.NET程序可以和JavaScript那样,原生运行在浏览器里,并可以使用.NET积累了20多年的上千万个库和组件,直接将后端开发的强大能力移植到了前端,就想当年Node.Js把前端技术带到后端那样,完成了逆袭。
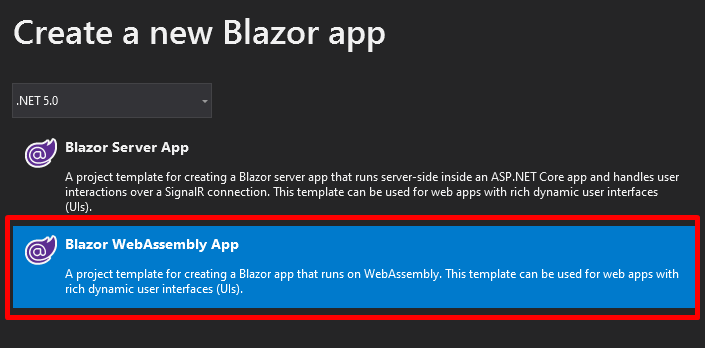
启动 Visual Studio 2019,创建一个Blazor App。
选择.NET 5.0,Blazor WebAssembly App,完成创建。
添加Azure计算机视觉的SDK:
<PackageReference Include="Microsoft.Azure.CognitiveServices.Vision.ComputerVision" Version="6.0.0" />
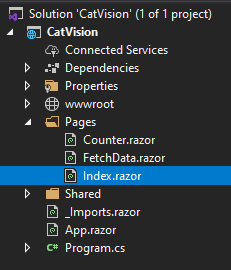
打开 Index.razor 开始写代码。
删光页面里原有的代码,但不要跑路。在页面顶端添加引用:
@page "/"
@using Microsoft.Azure.CognitiveServices.Vision.ComputerVision
@using Microsoft.Azure.CognitiveServices.Vision.ComputerVision.Models
@using Newtonsoft.Json
编写HTML代码。页面上有一个文本框,绑定到 ImageUrl 属性上,用来输入猫猫照片的 URL。一个按钮,用来发送请求给Azure,点击事件绑定到 ProcessImage 方法上。还有一个区域用来显示结果,绑定到 Description 以及 Tags 属性。
<h1>Azure Computer Vision in Blazor</h1>
<div>
Endpoint: @Endpoint
</div>
<div>
<input placeholder="Image URL" type="url" @bind="ImageUrl" />
</div>
<hr />
<div>
<div>
<div>
<img src="@ImageUrl" style="max-width: 640px; border: 1px solid #CECECE;" />
</div>
<div>
<button class="btn btn-primary" @onclick="ProcessImage">Let Azure See See</button>
</div>
</div>
<div>
<div style="border: 1px solid #CECECE; padding: 10px;">
@Description
<hr />
<code>
@Tags
</code>
</div>
</div>
</div>
在下面贴上熟悉的C#代码:
@code
{
public string Key => "<你的Key>";
public string Endpoint => "https://<你的资源名称>.cognitiveservices.azure.com/";
public string ImageUrl { get; set; }
public string Description { get; set; }
public string Tags { get; set; }
public async Task ProcessImage()
{
ComputerVisionClient client = Authenticate(Endpoint, Key);
var result = await AnalyzeImage(client, ImageUrl);
Description = result.Description.Captions[0].Text;
var tags = result.Tags.Select(p => p.Name);
Tags = JsonConvert.SerializeObject(tags, Formatting.Indented);
}
public static ComputerVisionClient Authenticate(string endpoint, string key)
{
ComputerVisionClient client =
new ComputerVisionClient(new ApiKeyServiceClientCredentials(key))
{ Endpoint = endpoint };
return client;
}
public static async Task<ImageAnalysis> AnalyzeImage(ComputerVisionClient client, string imageUrl)
{
var features = new List<VisualFeatureTypes?>
{
VisualFeatureTypes.Description,
VisualFeatureTypes.ImageType,
VisualFeatureTypes.Tags,
VisualFeatureTypes.Color,
VisualFeatureTypes.Objects
};
var result = await client.AnalyzeImageAsync(imageUrl, features);
return result;
}
}
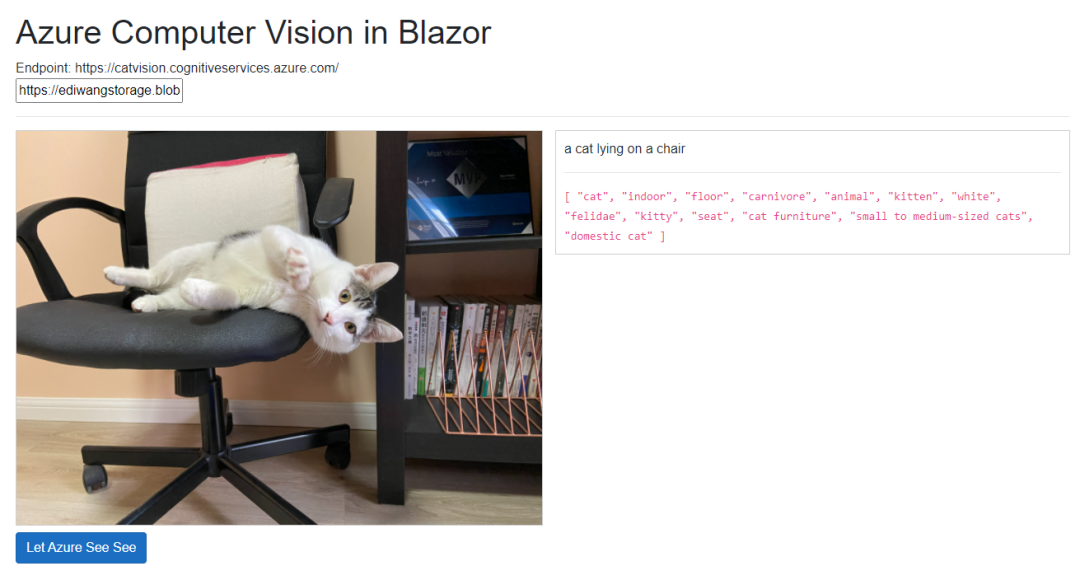
运行效果如下,可以正确识别和标签猫猫照片。而这一切都是C#原生运行在浏览器端调用.NET API,操作HTML,.NET程序员也可以轻松做前端!
另外,Computer Vision API 不仅支持传URL识别图片,也可以使用 AnalyzeImageInStreamAsync() 方法直接上传图片的数据流来识别。
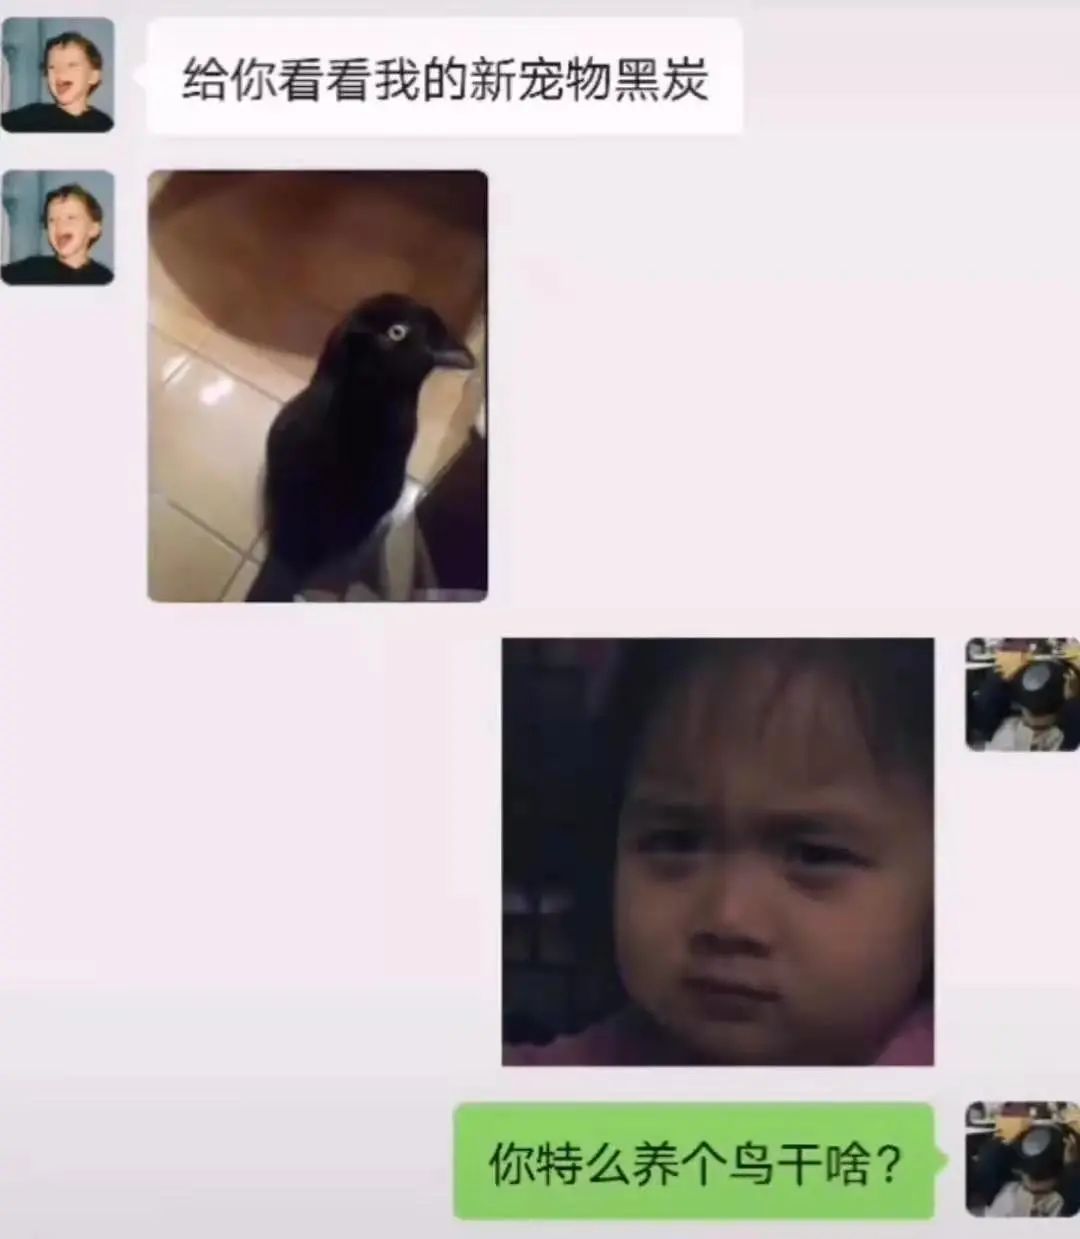
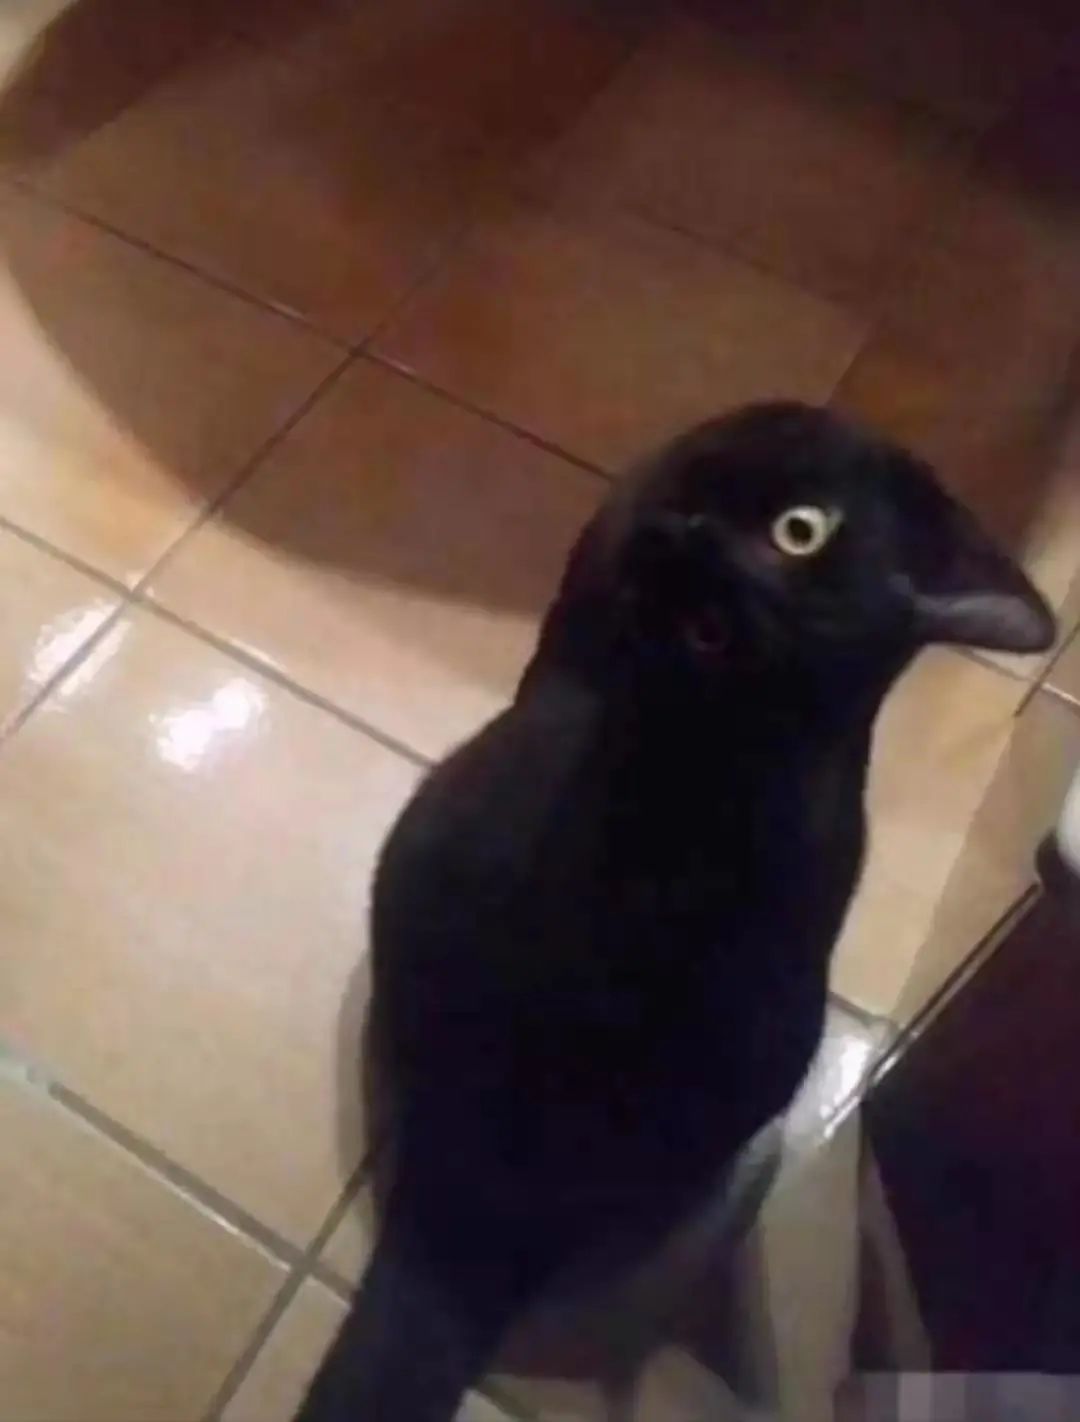
不要以为计算机视觉只是为了好玩,它在很多领域可以超越人类,例如这只“乌鸦”,其实是一只喵,而人类第一眼基本都看错:

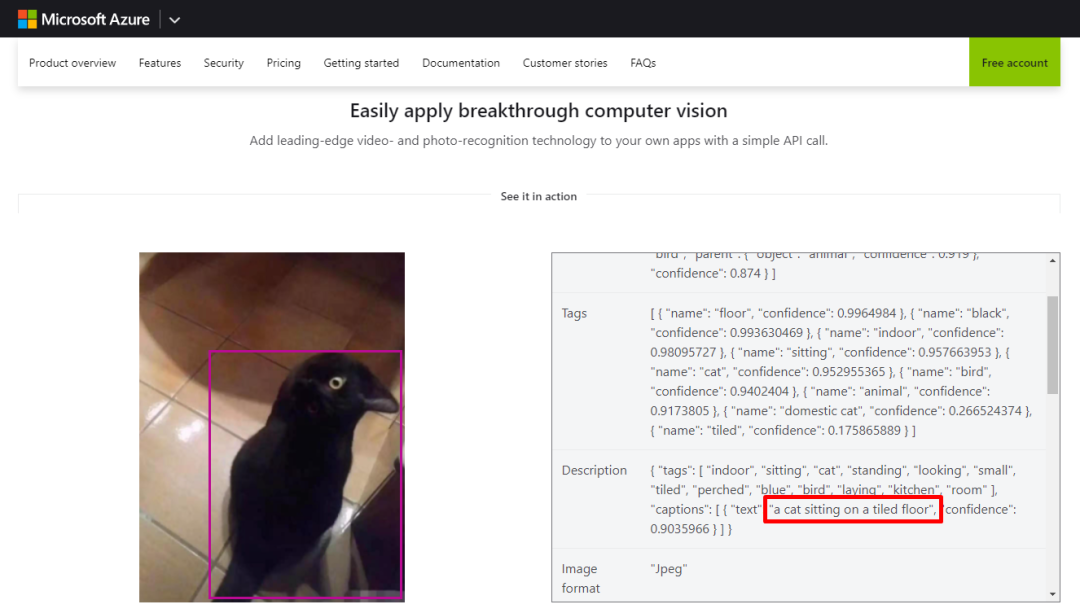
而Azure可以正确识别出来,惊人的准确性:
{ "tags": [ "indoor", "sitting", "cat", "standing", "looking", "small", "tiled", "perched", "blue", "bird", "laying", "kitchen", "room" ], "captions": [ { "text": "a cat sitting on a tiled floor", "confidence": 0.9035966 } ] }
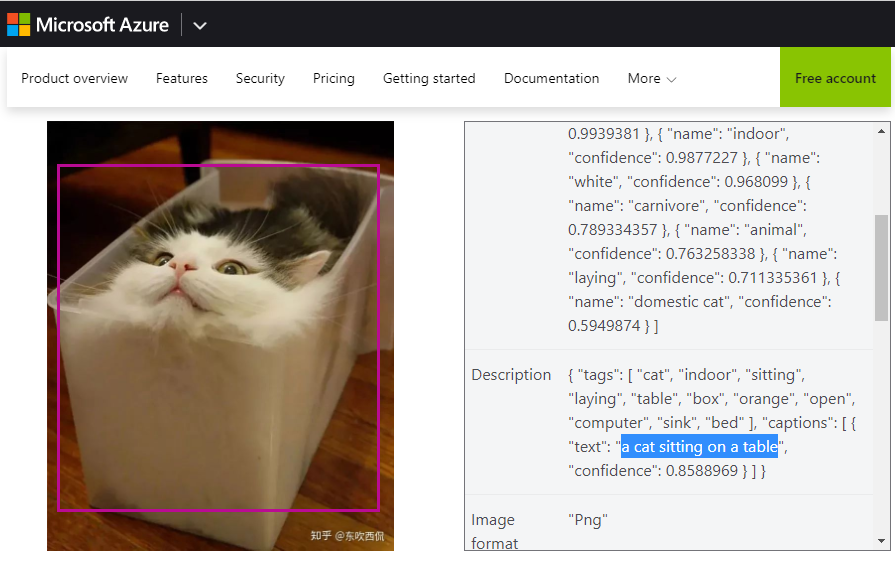
并且液体猫也是可以识别成功的:
在国外,Azure AI 已经运用在了分析卫星照片,识别、计数、追踪野濒危生动物上。在医疗领域,Azure AI也已经在COVID-19疫情期间使用帮助无数医生快速、批量、准确鉴定肺部X光片。在工业领域,Azure AI也用于识别工地上的危险状况,及时通知管理人员。微软曾经使用Azure AI取代导盲犬,识别路上的状况,帮助视力障碍者过马路。而在同样做云计算的亚马逊公司,AI被用来帮助资本家识别不努力的员工,并在予以开除。
https://baijiahao.baidu.com/s?id=1632178867853873738&wfr=spider&for=pc
在我国,秩序和管理非常重要,这也是为什么我们能成功控制住新冠疫情。因此, AI可以识别没戴口罩的人,并予以处罚。在学校里可以识别不认真听讲的学生,并自动拍照发给家长,回家予以毒打,人民日报也为之震撼。
https://baijiahao.baidu.com/s?id=1643561454495948759&wfr=spider&for=pc
人工智能应用广泛,但门槛很高,像我这种数学考40分的人不可能自己琢磨明白。好在微软Azure让复杂高端的AI一下子亲民,点点鼠标10分钟就能用,而不需要程序员先成为数学家。
配合.NET 5的Blazor技术,可以让懒惰的.NET程序员不用学JavaScript,不用学TypeScript,不用学Angular、Vue、React,直接用C#开发浏览器里原生运行的.NET程序,并且利用现成的.NET库提高生产效率,丝毫没有加班的机会。
微软技术,就是这样,让最复杂的东西平民化,帮助每个人成就不凡。先进的Azure云加上高效的.NET平台,就是这么简单粗暴且有效。

汪宇杰博客
Azure | .NET | 微软 MVP
无广告,不卖课,做纯粹的技术公众号
喜欢本篇内容请点个在看

