


1. guava cache的实现
这里我们主要介绍LoadingCache,对于LoadingCache主要有:
ForwardingLoadingCache 需要自己设置一个代理的LoadingCache
LocalLoadingCache 用的是LocalCache来处理
2. 关于LocalCache
它本身继承自AbstractMap,实现了ConcurrentMap。是根据jdk1.7中的ConcurrentHashMap中的分段锁的原理来实现的,构造方法为:
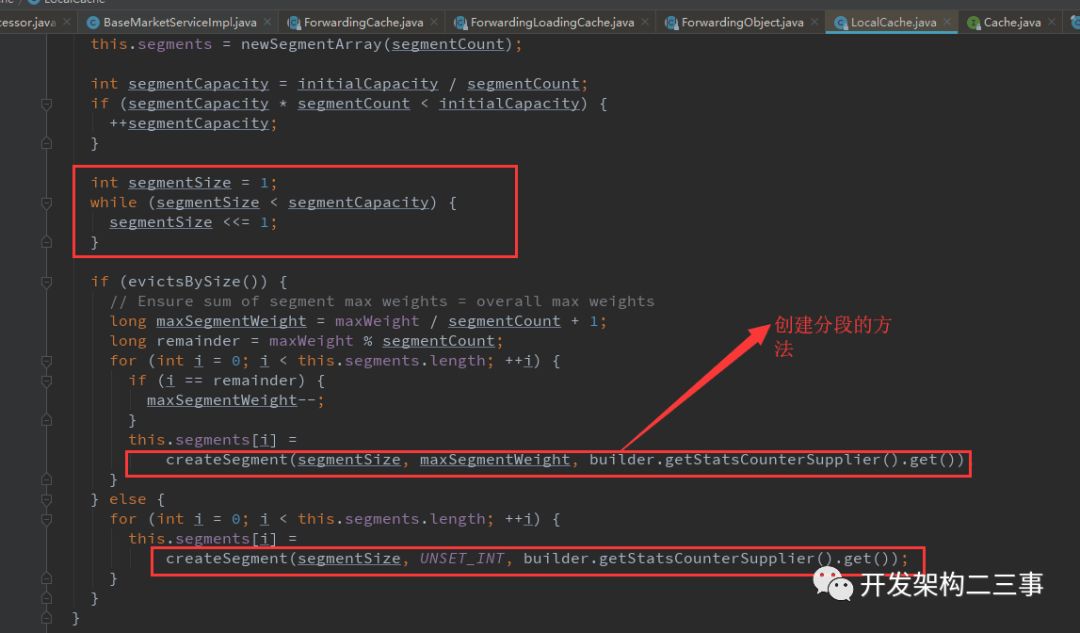
先分N个Segment加锁,Segment下面才是HashMap。这样就把原本一个锁,打散成N个锁。但和ConcurrentHashMap默认16个锁不一样,GuavaCache默认是4个锁。下面的concurrencyLevel是根据这个来设置的。
3. 使用cache
1. Cache<Object, Object> realTimeCache = CacheBuilder.newBuilder().maximumSize(2000).maximumWeight(2000).
            //并发级别,即锁粒度
            .concurrencyLevel(16).
                    expireAfterWrite(7, TimeUnit.DAYS).build();

2. CacheBuilder.newBuilder()
                .expireAfterWrite(time, TimeUnit.MINUTES)
                .build(new CacheLoader<Long, Object>() {
                    @Override
                    public Object load(Long key) throws Exception {
                        return new Object();
                    }
                });
缓存控制主要有根据大小和时间还有缓存引用这几种方式。根据大小:
maximumSize :该缓存的最大存储单位(key)个数。
maximumWeight:设定缓存数据的最大值。根据时间:
expireAfterWrite:缓存写入后多久过期。
expireAfterAccess:缓存读取后多久过期。
refreshAfterWrite:缓存写入后多久更新。根据引用:weakKeys,weakValues,softValues三种方式都是应用java的弱引用(WeakReference)和软引用(SoftReference)在内存不足时会自动触发gc,被回收。
4. 缓存加载
构建com.google.common.cache.CacheBuilder#build(com.google.common.cache.CacheLoader):

根据key获取缓存中的值:
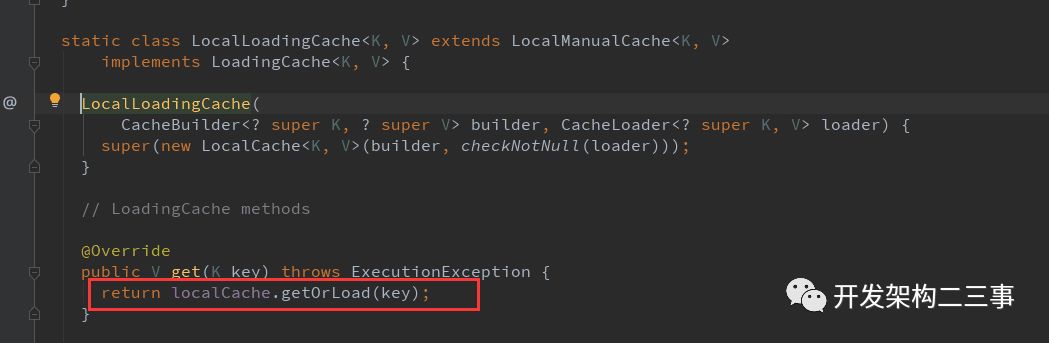
V getOrLoad(K key) throws ExecutionException {
return get(key, defaultLoader);
}
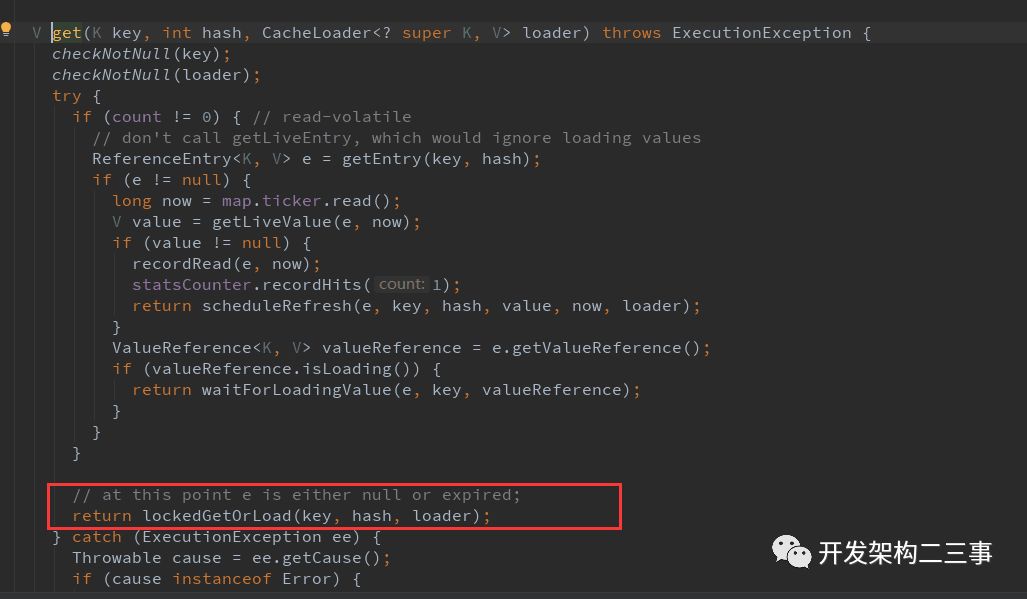
V get(K key, CacheLoader<? super K, V> loader) throws ExecutionException {
int hash = hash(checkNotNull(key));
return segmentFor(hash).get(key, hash, loader);
}
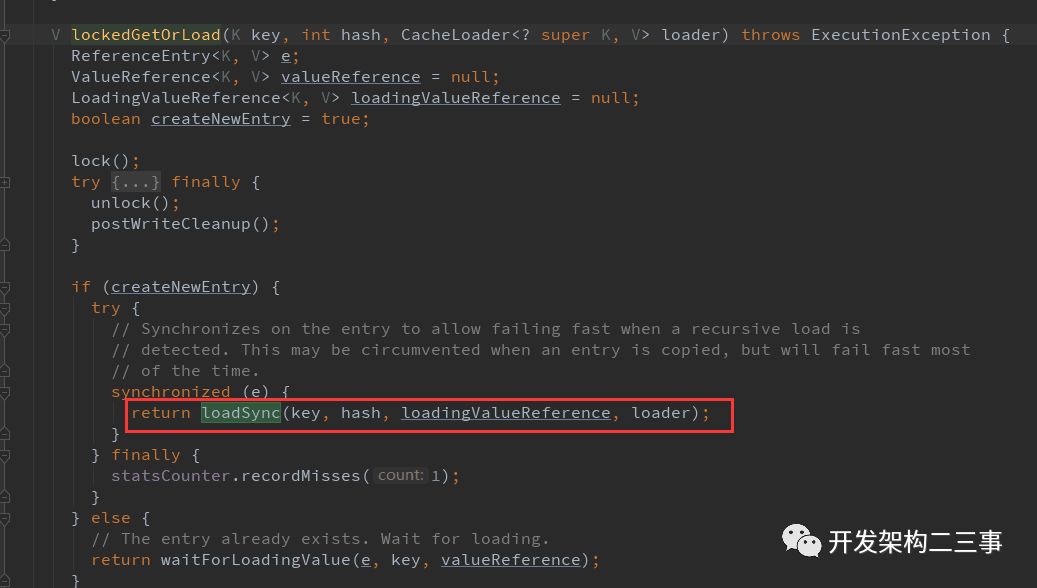
创建新段的时候是通过loadSync去加载的:
实际加载的过程为:
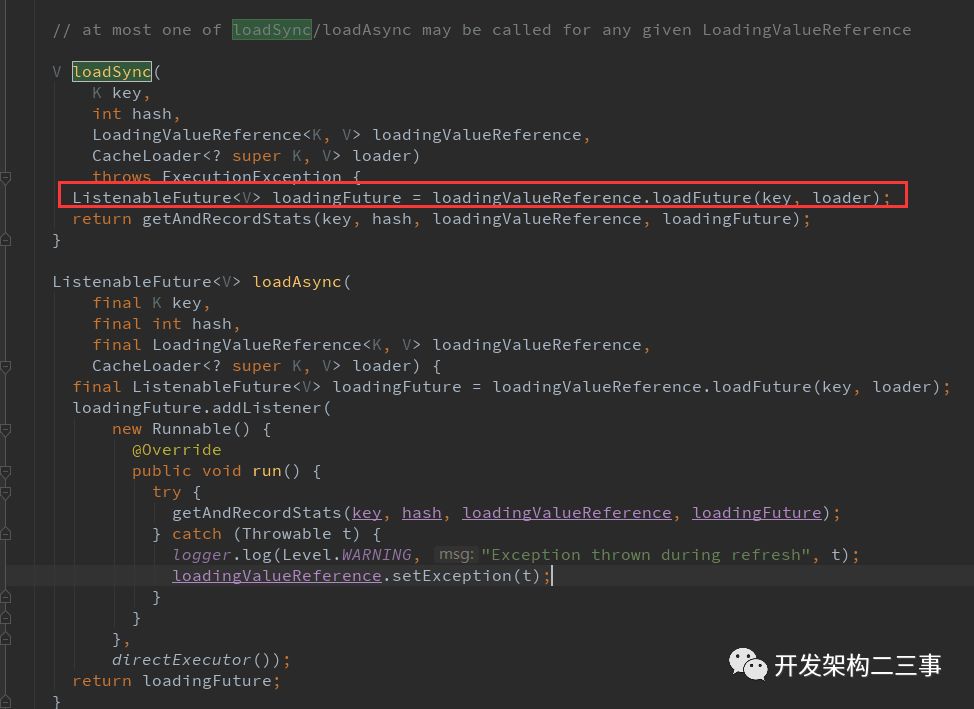
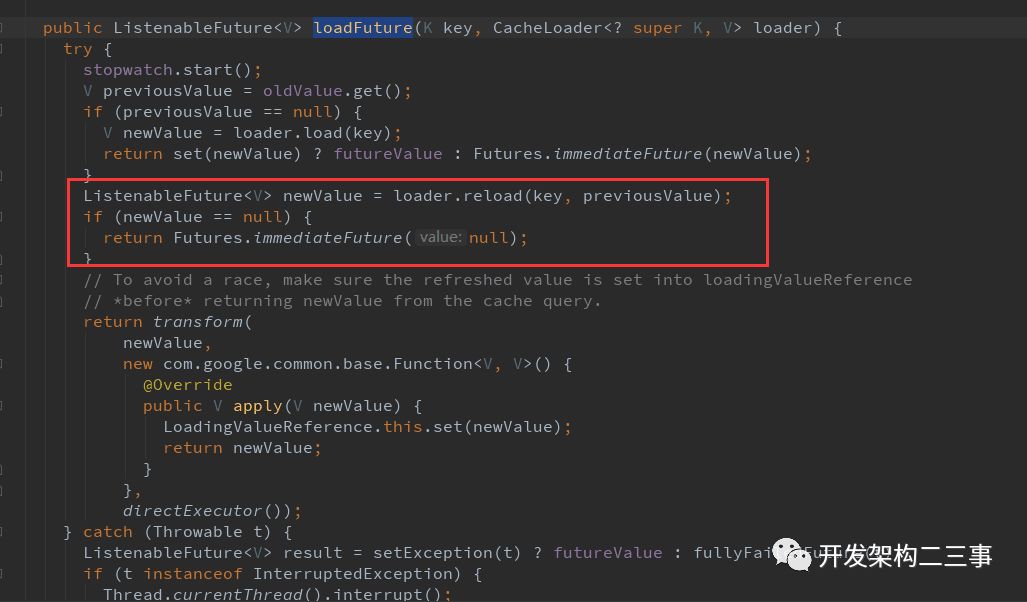
可以看到在com.google.common.cache.LocalCache.Segment#loadSync和com.google.common.cache.LocalCache.Segment#loadAsync方法中都有ListenableFuture
5. 设置缓存的后台刷新
使用com.google.common.cache.CacheLoader#asyncReloading方法创建CacheLoader:
public static <K, V> CacheLoader<K, V> asyncReloading(
      final CacheLoader<K, V> loader, final Executor executor)
可以传入一个Executor。
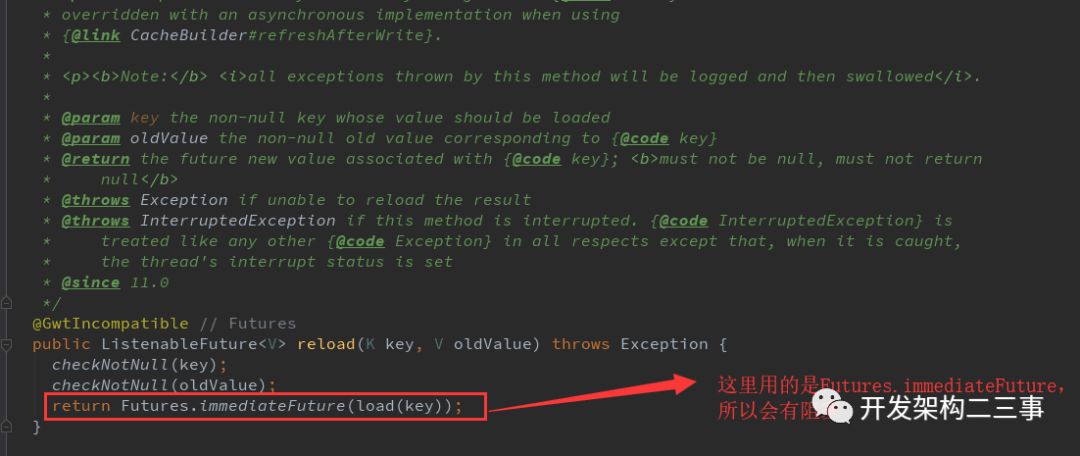
自己实现CacheLoader的时候,同时实现reload方法,给这个reload方法一个Executor线程(如果多处使用,可以使用只有一个线程的池)。
上述两种方法哪种更好,一般建议使用后一种,因为前一种包装类的方式可能会不内联。
参考江南白衣的博客:http://calvin1978.blogcn.com/articles/guava-cache%E5%B0%8F%E8%AE%B0.html
