


部署环境
1、资源要求:
- 机器可用内存不少于 10G 。 注意,是剩余可用内存。
- 机器磁盘目录空间不少于 10G 。少于 10G 后面使用可能会不是很方便。如遭遇空间目录问题。
- CPU 建议至少有 2个 逻辑 CPU 。
2、系统要求,目前仅支持如下系统:
- Redhat / CentOS 7.x/8.x
- SUSE / OpenSUSE 15.x
- Anlios 7.x/8.x
- Debian 9.x
- Ubuntu 20.x
宿主机信息
1、操作系统版本:
[root@localhost ~]# cat /etc/redhat-release
CentOS Linux release 7.9.2009 (Core)
2、系统内存大小:
[root@localhost ~]# free -m
              total        used        free      shared  buff/cache   available
Mem:          16046        1208       13083          21        1755       14521
Swap:         16383           0       16383
3、系统存储空间:
[root@localhost ~]# df -h
Filesystem               Size  Used Avail Use% Mounted on
devtmpfs                 7.9G     0  7.9G   0% /dev
tmpfs                    7.9G     0  7.9G   0% /dev/shm
tmpfs                    7.9G  9.7M  7.9G   1% /run
tmpfs                    7.9G     0  7.9G   0% /sys/fs/cgroup
/dev/mapper/centos-root   34G  4.9G   29G  15% /
/dev/sda1                197M  150M   48M  76% /boot
tmpfs                    1.6G   52K  1.6G   1% /run/user/0
Docker安装
安装docker软件,按如下步骤,具体可参考docker官网(Install Docker Engine on CentOS | Docker Documentation):
1、卸载旧版本docker及其依赖包(如果安装过):
yum remove docker \
                  docker-client \
                  docker-client-latest \
                  docker-common \
                  docker-latest \
                  docker-latest-logrotate \
                  docker-logrotate \
                  docker-engine
2、配置yum源(官方提供的是国外的镜像源,为了提升镜像下载速度,建议更换成国内源):
yum install -y yum-utils
yum-config-manager \
    --add-repo \
    http://mirrors.aliyun.com/docker-ce/linux/centos/docker-ce.repo
3、更新yum软件包索引:
[root@localhost ~]# yum makecache fast
Loaded plugins: fastestmirror, langpacks
Loading mirror speeds from cached hostfile
 * base: ftp.sjtu.edu.cn
 * extras: mirrors.aliyun.com
 * updates: ftp.sjtu.edu.cn
base                                                         | 3.6 kB  00:00:00
docker-ce-stable                                             | 3.5 kB  00:00:00
extras                                                       | 2.9 kB  00:00:00
updates                                                      | 2.9 kB  00:00:00
Metadata Cache Created
4、配置阿里云镜像加速(需要注册阿里云账号):
[root@localhost ~]# mkdir -p /etc/docker
> {
>   "registry-mirrors": ["输入自己阿里云控制台此处的地址"]
> }
> EOF
[root@localhost ~]# systemctl daemon-reload(导入操作)
5、安装docker:
yum -y install docker-ce docker-ce-cli containerd.io
6、启动docker:
systemctl start docker
7、使用docker version检查是否安装成功:
Client: Docker Engine - Community
 Version:           20.10.12
 API version:       1.41
 Go version:        go1.16.12
 Git commit:        e91ed57
 Built:             Mon Dec 13 11:45:41 2021
 OS/Arch:           linux/amd64
 Context:           default
 Experimental:      true

Server: Docker Engine - Community
 Engine:
  Version:          20.10.12
  API version:      1.41 (minimum version 1.12)
  Go version:       go1.16.12
  Git commit:       459d0df
  Built:            Mon Dec 13 11:44:05 2021
  OS/Arch:          linux/amd64
  Experimental:     false
 containerd:
  Version:          1.4.12
  GitCommit:        7b11cfaabd73bb80907dd23182b9347b4245eb5d
 runc:
  Version:          1.0.2
  GitCommit:        v1.0.2-0-g52b36a2
 docker-init:
  Version:          0.19.0
  GitCommit:        de40ad0
下载OceanBase镜像并安装
1、查找OceanBase镜像:
[root@localhost ~]# docker search oceanbase
NAME                             DESCRIPTION                                     STARS     OFFICIAL   AUTOMATED
oceanbase/oceanbase-xe           OceanBase Database 2.2 Express Edition          3
oceanbase/obce-mini              obce-mini is a mini standalone test image fo…   2
obpilot/oceanbase-ce             3 steps to run an OceanBase-CE docker in you…   2
zibuyu886/oceanbase-ce-cluster   OceanBase ce cluster                            1
oceanbase/oceanbase-ce           OceanBase is open source now. This is the do…   1
huweijie/oceanbase-ce-deploy                                                     0
oceanbase/centos7                                                                0
oceanbase/obce-operator          obce-operator                                   0
superbigfu/oceanbase                                                             0
hongweiqin/anolisos-oceanbase    A tentative deploy of oceanbase.                0
stutiredboy/centos_ob            Build environment for OceanBase 3.1 CE. Crea…   0
2、拉取OceanBase相关镜像:
[root@localhost ~]# docker pull obpilot/oceanbase-ce
[root@localhost ~]# docker images
REPOSITORY             TAG       IMAGE ID       CREATED        SIZE
obpilot/oceanbase-ce   latest    943379e0b05b   6 weeks ago    2.25GB
3、启动OceanBase容器:
[root@localhost ~]# docker run -itd -m 10G --name oceanbase-ce obpilot/oceanbase-ce
9f27ca2e2fea87074ca9b8da9a18c518c960779c9f85282c3645fc7093ae0aab
[root@localhost ~]#
[root@localhost ~]# docker ps
CONTAINER ID   IMAGE                  COMMAND       CREATED         STATUS         PORTS                NAMES
9f27ca2e2fea   obpilot/oceanbase-ce   "/bin/bash"   7 seconds ago   Up 6 seconds   2881/tcp, 2883/tcp   oceanbase-ce
OceanBase集群配置
1、以bash方式进入容器,查看OceanBase集群信息:
[root@localhost ~]# docker exec -it df624f1264dd /bin/bash
[admin@df624f1264dd ~]$ obd cluster list
+------------------------------------------------------------+
|                        Cluster List                        |
+--------+---------------------------------+-----------------+
| Name   | Configuration Path              | Status (Cached) |
+--------+---------------------------------+-----------------+
| obdemo | /home/admin/.obd/cluster/obdemo | deployed        |
+--------+---------------------------------+-----------------+
2、启动集群:
[admin@df624f1264dd ~]$ obd cluster start obdemo
Get local repositories and plugins ok
Open ssh connection ok
Cluster param config check ok
Check before start observer ok
Check before start obproxy ok
Start observer ok
observer program health check ok
Connect to observer ok
Initialize cluster
Cluster bootstrap ok
Wait for observer init ok
+---------------------------------------------+
|                   observer                  |
+-----------+---------+------+-------+--------+
| ip        | version | port | zone  | status |
+-----------+---------+------+-------+--------+
| 127.0.0.1 | 3.1.1   | 2881 | zone1 | active |
+-----------+---------+------+-------+--------+

Start obproxy ok
obproxy program health check ok
Connect to obproxy ok
Initialize cluster
+---------------------------------------------+
|                   obproxy                   |
+-----------+------+-----------------+--------+
| ip        | port | prometheus_port | status |
+-----------+------+-----------------+--------+
| 127.0.0.1 | 2883 | 2884            | active |
+-----------+------+-----------------+--------+
obdemo running
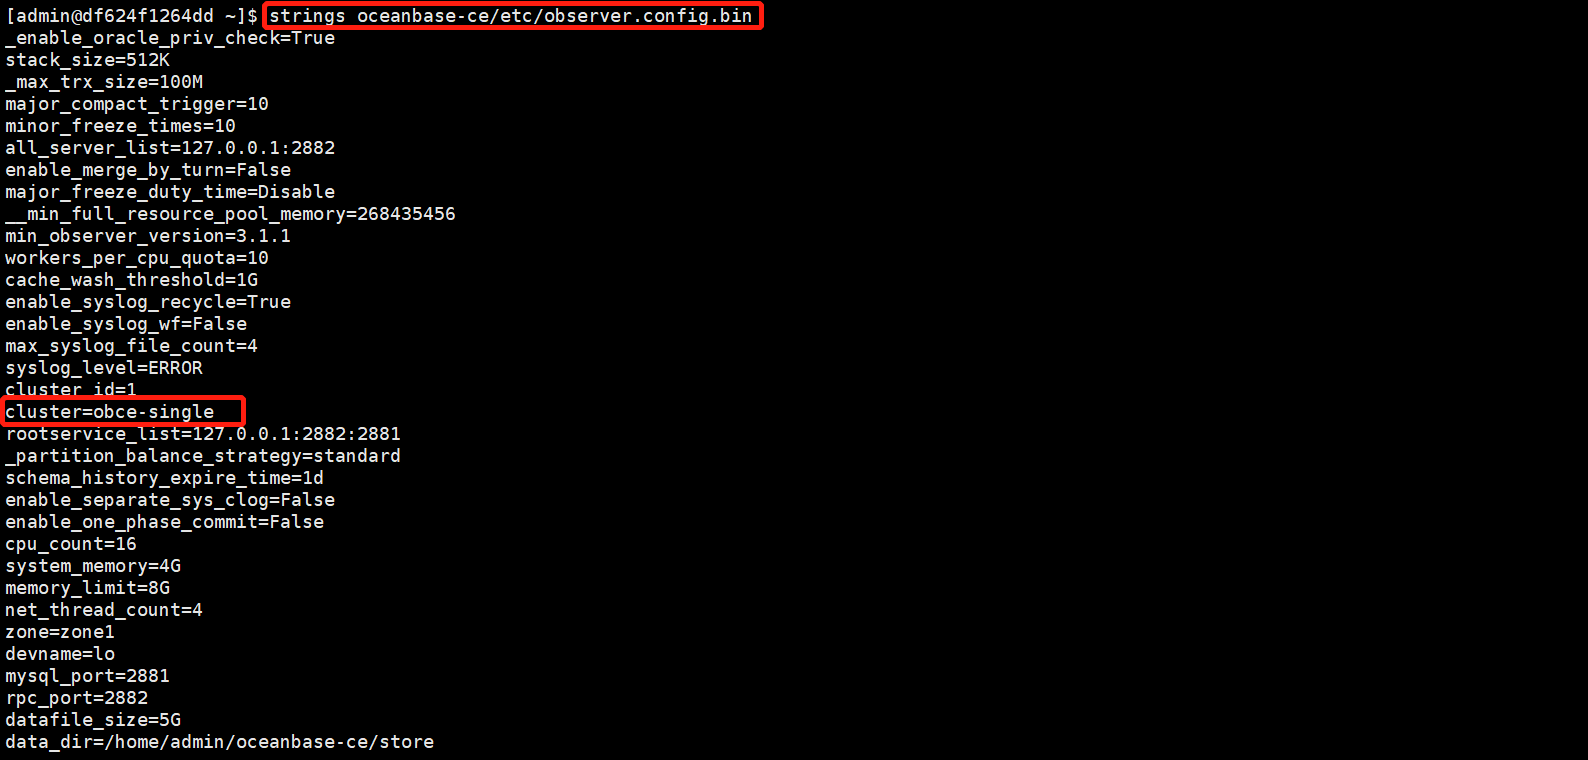
3、查询集群名称:
4、使用OBClient连接租户:
[admin@df624f1264dd store]$ obclient -h 127.0.0.1 -uroot@sys -P2881 -prootPWD123 -c -A  oceanbase
Welcome to the OceanBase.  Commands end with ; or \g.
Your MySQL connection id is 3221488626
Server version: 5.7.25 OceanBase 3.1.1 (r4-8c615943cbd25a6f7b8bdfd8677a13a21709a05e) (Built Oct 21 2021 10:52:05)

Copyright (c) 2000, 2018, Oracle, MariaDB Corporation Ab and others.

Type 'help;' or '\h' for help. Type '\c' to clear the current input statement.

MySQL [oceanbase]>
5、查看数据库信息:
MySQL [oceanbase]> show databases;
+--------------------+
| Database           |
+--------------------+
| oceanbase          |
| information_schema |
| mysql              |
| SYS                |
| LBACSYS            |
| ORAAUDITOR         |
| test               |
+--------------------+
7 rows in set (0.005 sec)
6、创建租户:
1)创建资源单元:
MySQL [oceanbase]> CREATE resource unit unit1 max_cpu=4, min_cpu=4, max_memory='1G', min_memory='1G', max_iops=10000, min_iops=1000, max_session_num=1000000,max_disk_size='1024G';
Query OK, 0 rows affected (0.011 sec)
2)创建资源池:
MySQL [oceanbase]> CREATE resource pool my_pool unit = 'unit1', unit_num = 1;
Query OK, 0 rows affected (0.014 sec)
3)创建租户:
MySQL [oceanbase]> create tenant obmysql resource_pool_list=('my_pool'), charset='utf8' set ob_tcp_invited_nodes='%', ob_compatibility_mode='mysql';
Query OK, 0 rows affected (1.598 sec)
4)查询租户信息:
MySQL [oceanbase]> SELECT * FROM oceanbase.gv$tenant;
+-----------+-------------+-----------+--------------+----------------+---------------+-----------+---------------+
| tenant_id | tenant_name | zone_list | primary_zone | collation_type | info          | read_only | locality      |
+-----------+-------------+-----------+--------------+----------------+---------------+-----------+---------------+
|         1 | sys         | zone1     | zone1        |              0 | system tenant |         0 | FULL{1}@zone1 |
|      1001 | obmysql     | zone1     | RANDOM       |              0 |               |         0 | FULL{1}@zone1 |
+-----------+-------------+-----------+--------------+----------------+---------------+-----------+---------------+
2 rows in set (0.005 sec)
5)连接租户:
[admin@df624f1264dd ~]$ obclient -h127.1 -uroot@obmysql#obce-single -P2883 -p -c -A test
Enter password:
Welcome to the OceanBase.  Commands end with ; or \g.
Your MySQL connection id is 8
Server version: 5.6.25 OceanBase 3.1.1 (r4-8c615943cbd25a6f7b8bdfd8677a13a21709a05e) (Built Oct 21 2021 10:52:05)

Copyright (c) 2000, 2018, Oracle, MariaDB Corporation Ab and others.

Type 'help;' or '\h' for help. Type '\c' to clear the current input statement.

MySQL [test]> show databases;
+--------------------+
| Database           |
+--------------------+
| oceanbase          |
| information_schema |
| mysql              |
| test               |
+--------------------+
4 rows in set (0.004 sec)
6)创建数据库:
MySQL [test]> create database yaya;
Query OK, 1 row affected (0.022 sec)

MySQL [test]> show databases;
+--------------------+
| Database           |
+--------------------+
| oceanbase          |
| information_schema |
| mysql              |
| test               |
| yaya               |
+--------------------+
5 rows in set (0.005 sec)
7)创建用户并授权:
MySQL [test]> grant all privileges on yaya.* to yaya1 identified by '123456';
Query OK, 0 rows affected (0.076 sec)

MySQL [test]> select user from mysql.user;
+------------+
| user       |
+------------+
| root       |
| ORAAUDITOR |
| yaya1       |
+------------+
3 rows in set (0.008 sec)

MySQL [test]> show grants for yaya1;
+--------------------------------------------+
| Grants for yaya@%                          |
+--------------------------------------------+
| GRANT USAGE ON *.* TO 'yaya1'               |
| GRANT ALL PRIVILEGES ON `yaya`.* TO 'yaya1' |
+--------------------------------------------+
2 rows in set (0.005 sec)
8)创建数据表:
[admin@df624f1264dd ~]$ obclient -h127.1 -uyaya1@obmysql#obce-single -P2883 -p -c -A yaya
Enter password:
Welcome to the OceanBase.  Commands end with ; or \g.
Your MySQL connection id is 10
Server version: 5.6.25 OceanBase 3.1.1 (r4-8c615943cbd25a6f7b8bdfd8677a13a21709a05e) (Built Oct 21 2021 10:52:05)

Copyright (c) 2000, 2018, Oracle, MariaDB Corporation Ab and others.

Type 'help;' or '\h' for help. Type '\c' to clear the current input statement.

MySQL [yaya]>create table yayatb(name varchar(10),age number);
Query OK, 0 rows affected (0.141 sec)

MySQL [yaya]> insert yayatb values('zhangsan',17),('lisi',18);
Query OK, 2 rows affected (0.019 sec)
Records: 2  Duplicates: 0  Warnings: 0

MySQL [yaya]> select * from yayatb;
+----------+------+
| name     | age  |
+----------+------+
| zhangsan |   17 |
| lisi     |   18 |
+----------+------+
2 rows in set (0.003 sec)
最后修改时间:2022-01-20 16:37:17
「喜欢这篇文章,您的关注和赞赏是给作者最好的鼓励」
关注作者
【版权声明】本文为墨天轮用户原创内容,转载时必须标注文章的来源(墨天轮),文章链接,文章作者等基本信息,否则作者和墨天轮有权追究责任。如果您发现墨天轮中有涉嫌抄袭或者侵权的内容,欢迎发送邮件至:contact@modb.pro进行举报,并提供相关证据,一经查实,墨天轮将立刻删除相关内容。
