


11.1 当前系统环境
[root@localhost site-packages]# python

[root@localhost yum.repos.d]# more /etc/redhat-release

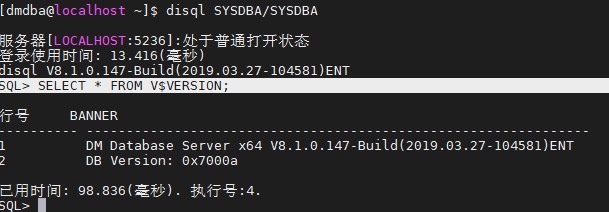
SQL> SELECT * FROM V$VERSION;
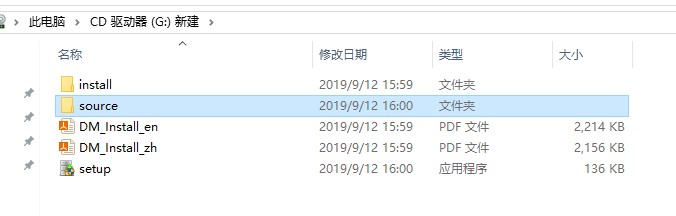
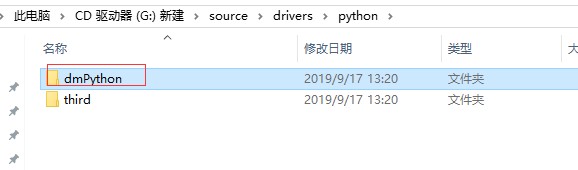
11.2 上传dmPython
11.3 安装dmPython
[root@localhost python]# cd /xiaoke/dmPython
[root@localhost dmPython]# python setup.py install

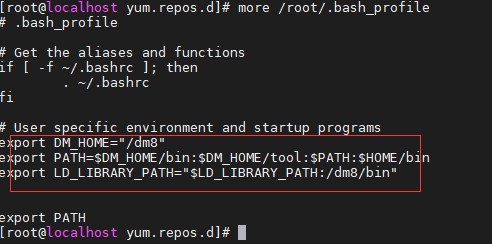
[root@localhost yum.repos.d]# more /root/.bash_profile
[root@localhost dmPython]# source /root/.bash_profile
[root@localhost dmPython]# python setup.py install
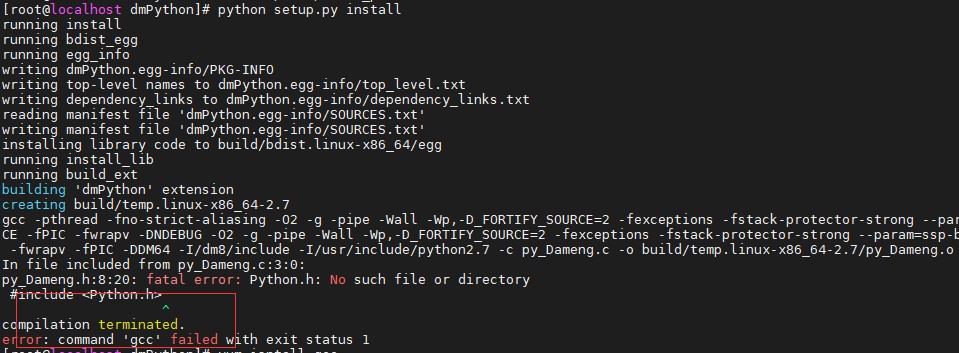
[root@localhost dmPython]# yum install gcc
[root@localhost dmPython]# yum install python-devel
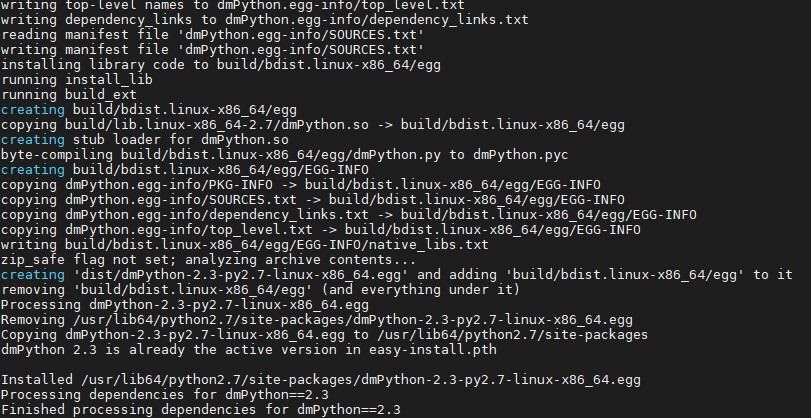
[root@localhost dmPython]# python setup.py install
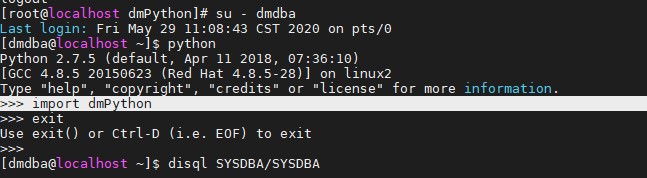
11.4 验证
import dmPython
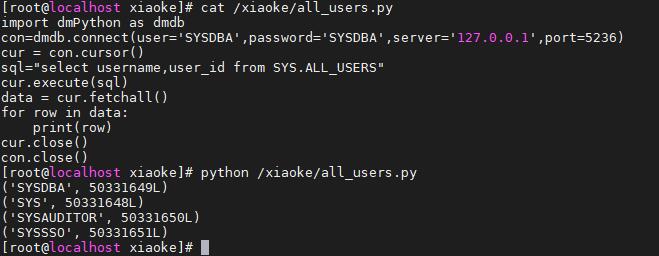
[root@localhost xiaoke]# cat /xiaoke/all_users.py
import dmPython as dmdb
con=dmdb.connect(user='SYSDBA',password='SYSDBA',server='127.0.0.1',port=5236)
cur = con.cursor()
sql="select username,user_id from SYS.ALL_USERS"
cur.execute(sql)
data = cur.fetchall()
for row in data:
    print(row)
cur.close()
con.close()
[root@localhost xiaoke]# python /xiaoke/all_users.py
最后修改时间:2020-06-03 17:28:37
「喜欢这篇文章,您的关注和赞赏是给作者最好的鼓励」
关注作者
【版权声明】本文为墨天轮用户原创内容,转载时必须标注文章的来源(墨天轮),文章链接,文章作者等基本信息,否则作者和墨天轮有权追究责任。如果您发现墨天轮中有涉嫌抄袭或者侵权的内容,欢迎发送邮件至:contact@modb.pro进行举报,并提供相关证据,一经查实,墨天轮将立刻删除相关内容。
