


安装前准备:GBase 8sV8.8数据库已正常安装,实例已完成初始化。
实例名为gbaseserver
1、建gbasedbt用户(如果已设置,则跳过)
groupadd gbasedbt
useradd -g gbasedbt -d /home/gbasedbt -s /bin/bash -m gbasedbt
root用户
将csdk压缩包上传(本次使用的是clientsdk_3.3.0_2_36477d_RHEL6_x86_64.tar),解压
安装csdk330,全部回车缺省安装,本次安装目录:/home/gbasedbt/gbase8s(可自由设置)
2、切换账号,配置环境变量profile.gbaseserver
su - gbasedbt
设置
/home/gbasedbt/gbase8s/etc/sqlhosts.gbaseserver(如果已设置,则跳过)
注意:路径可能不同,sqlhosts名称与实例名称相关,已安装的数据库是已设置状态
sqlhosts.gbaseserver文件内容:
gbaseserver onsoctcp ip地址 端口
3、配置环境变量profile.gbaseserver(添加odbc.ini等变量到profile.gbaseserver,文件可自由命名,如果已设置,则跳过)
export GBASEDBTSQLHOSTS=/home/gbasedbt/gbase8s/etc/sqlhosts.gbaseserver
export PATH=/home/gbasedbt/gbase8s/bin:$PATH
export DBACCESS_SHOW_TIME=1
export DB_LOCALE=zh_CN.utf8
export CLIENT_LOCALE=zh_CN.utf8
export GL_USEGLU=1
export LD_LIBRARY_PATH=${GBASEDBTDIR}/lib:${GBASEDBTDIR}/lib/esql:${GBASEDBTDIR}/lib/cli
export GBASEDBTSERVER=gbaseserver
export ODBCINI=/home/gbasedbt/gbase8s/etc/odbc.ini
配置账户自动切换:gbasedbt账户.bash_profile(如果已设置,则跳过)
添加
source /home/gbasedbt/profile.gbaseserver
如果程序用root启动的,则在root也设置一下,root账户.bash_profile
添加
source /home/gbasedbt/profile.gbaseserver
4、配置/home/gbasedbt/gbase8s/etc/odbc.ini
;---------------------------------------------------------------------------
; GBase ODBC Sample File
;
; File: odbc.ini
;
;---------------------------------------------------------------------------
[ODBC Data Sources]
GB8=GBase ODBC DRIVER
;
; Define ODBC Database Driver’s Below - Driver Configuration Section
;
[GB8](可自主命名)
Driver=/home/gbasedbt/gbase8s/lib/cli/iclit09b.so
Description=GBase ODBC DRIVER
Database=gbasedb
LogonID=gbasedbt
pwd=GBase8s
Servername=gbaseserver
CursorBehavior=0
DB_LOCALE=zh_CN.utf8
CLIENT_LOCALE=zh_CN.utf8
TRANSLATIONDLL=/home/gbasedbt/gbase8s/lib/esql/igo4a304.so
;
; UNICODE connection Section
;
[ODBC]
;uncomment the below line for UNICODE connection
UNICODE=UCS-2
;
; Trace file Section
;
Trace=0–(是否开启日志。如果不看日志,日志特别大可以改为0关闭日志)
TraceFile=/home/gbasedbt/gbase8s/odbc/odbctrace.out
InstallDir=/home/gbasedbt/gbase8s/odbc
TRACEDLL=idmrs09a.so
;
; UNICODE connection Section
;
[ODBC]
;uncomment the below line for UNICODE connection
UNICODE=UCS-2
;
; Trace file Section
;
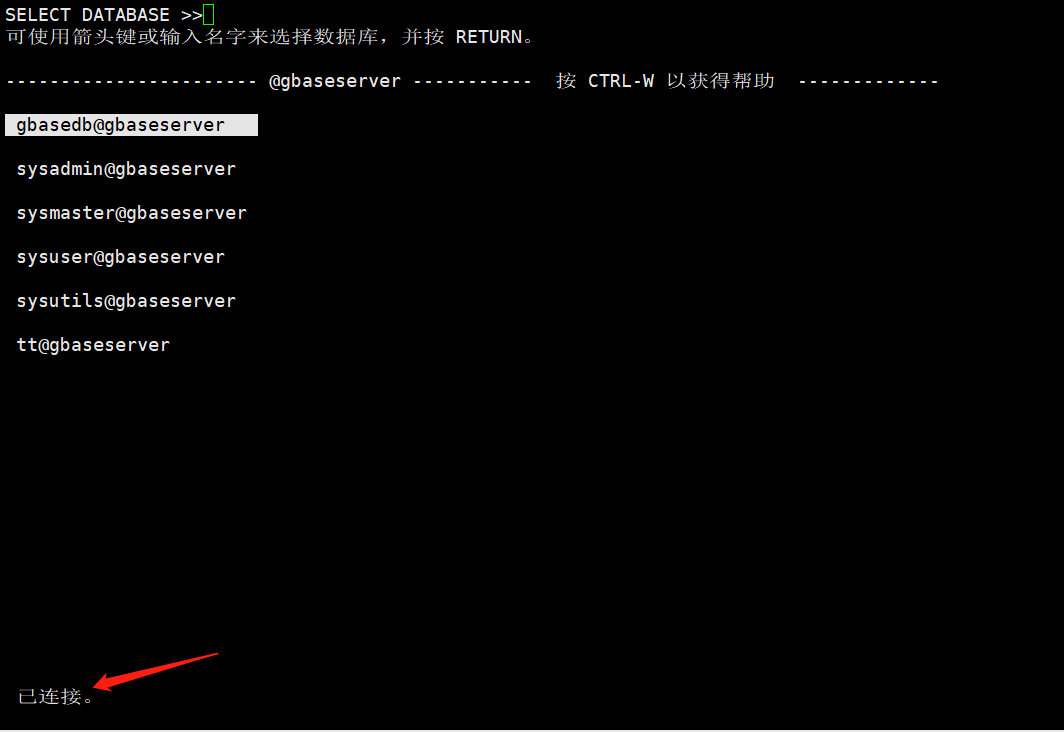
方法一:
命令行执行dbaccess


方法二:
如果没有unixODBC,则先进行安装:
查询:
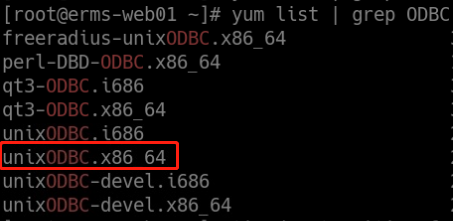
安装:
yum -y install unixODBC.x86_64
安装和配置完成后,用gbasedbt账号在终端运行
isql -v GB8
返回如下信息,则证明 ODBC 配置成功(手动输入命令,不建议粘贴)。
±--------------------------------------+
| Connected! |
| |
| sql-statement |
| help [tablename] |
| quit |
| |
±--------------------------------------+
引申:
Django也可操作GBase 8s数据库配置(Linux),可以之后再了解。
简介:
Django 是一个由 Python 编写的一个开放源代码的 Web 应用框架。
使用 Django,只要很少的代码,Python 的程序开发人员就可以轻松地完成一个正式网站所需要的大部分内容,并进一步开发出全功能的 Web 服务 Django 本身基于 MVC 模型,即 Model(模型)+ View(视图)+ Controller(控制器)设计模式,MVC 模式使后续对程序的修改和扩展简化,并且使程序某一部分的重复利用成为可能。
