



点击上方“IT那活儿”公众号,关注后了解更多内容,不管IT什么活儿,干就完了!!!
01
rpm -qa | grep nfs

rpm -qa | grep rpcbind

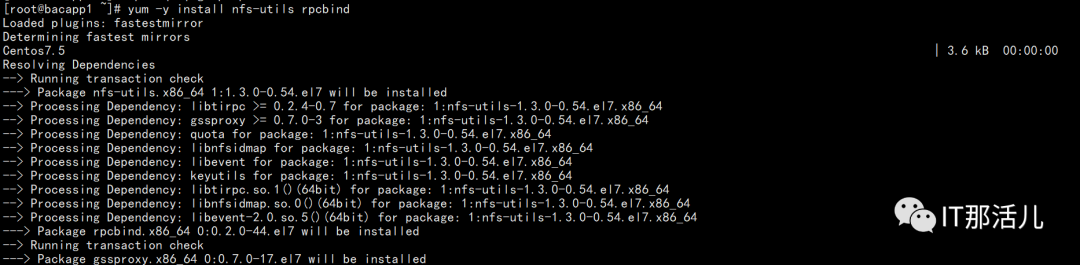
yum -y install nfs-utils rpcbind
vim /etc/exports

/NFS XX.XXX.34.0(rw,sync,no_root_squash)

共享目录选项说明详解:
ro 目录可读 rw 目录可读可写 sync 将数据同步写入内存缓冲区与磁盘中 async 将数据先写入内存缓冲区,有必要时才写入磁盘 all_squash 将远程访问用户及组全映射成默认用户或用户组nfsnobody(或nobody) no_all_squash 与all_squash配置相反 root_squash 将root用户及所属组映射成默认用户或用户组 no_root_squash 与root_squash配置相反 anonuid 将远程访问用户映射成指定用户及ID的用户 anongid 将远程访问用户组映射成指定用户组ID的用户组
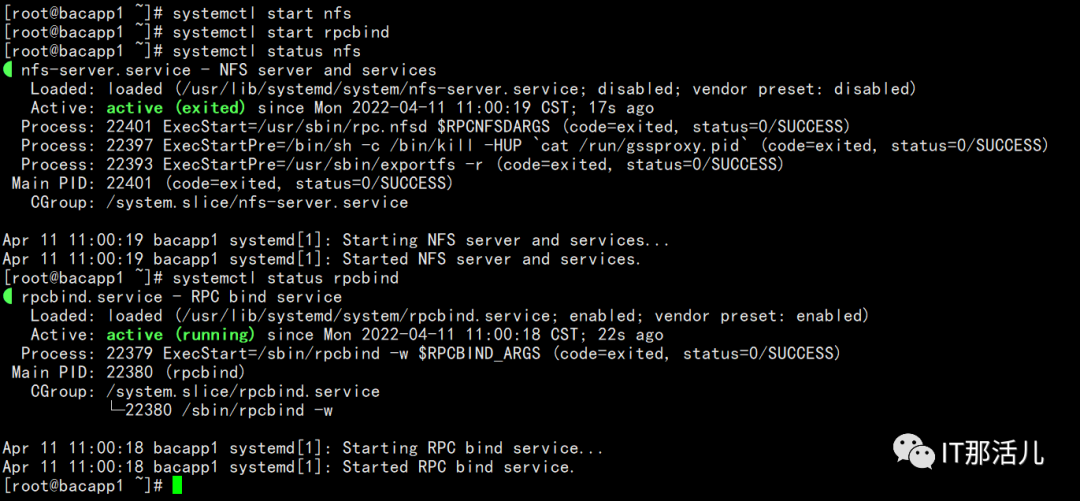
4. 启动NFS与RPCbind
systemctl start rpcbind
systemctl start nfs
showmount -e

02
yum -y install nfs-utils rpcbind
systemctl start rpcbind
systemctl start nfs

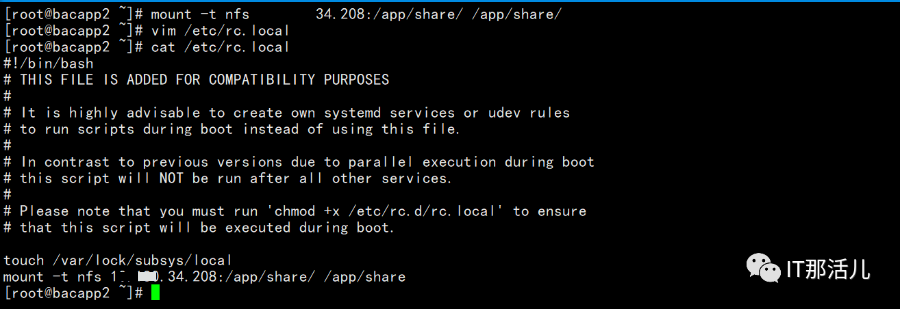
mount -t nfs XX.XXX.34.208:/app/share/ /app/share
vim etc/rc.local
mount -t nfs XX.XXX.34.208:/app/share/ /app/share
或:
写入/etc/fstab
XX.XXX.34.208:/app/share/ /app/share nfs defaults 0 0

本文作者:杨泽鹏(上海新炬王翦团队)
本文来源:“IT那活儿”公众号

文章转载自IT那活儿,如果涉嫌侵权,请发送邮件至:contact@modb.pro进行举报,并提供相关证据,一经查实,墨天轮将立刻删除相关内容。
