本系列总的专栏:一步一步学习OceanBase系列
上一篇文章已记录了 oms1.4.3安装失败,创建oms 元数据租户时报ERROR 4179 (HY000) at line 1: Operation not allowed now 的问题排查过程和最后解决方法。
本篇记录下整个oms1.4.3安装部署过程。
1、OMS功能介绍
OMS 是 OceanBase 提供的一种支持同构或异构 RDBMS 与 OceanBase 之间进行数据交互的服务,它提供了数据的在线迁移和实时增量同步的数据复制能力。
v2.0.0版本开始支持OB数据实时增量同步到kafka,实现 OceanBase 和自建 Kafka 数据源之间的数据实时同步。
V2.1.0版本开始支持OB数据实时增量同步到RocketMQ。
2、OMS安装说明
本文介绍通过antman脚本安装部署oms1.4.3版本。
OMS 只支持部署在 Linux 系统的主机中。
安装OMS 前提得有 OB 集群和 OCP 。OCP 和 OB 的安装部署,这里就不重复了。
由于部署oms 会使用 80 、8080 和 8088 端口。其中 8080 跟 OCP 端口冲突,所以 oms 不要跟 ocp 部署在一起,oms需要单独一台服务器部署。
安装镜像文件、参数文件都在ocp主机的 /root/t-oceanbase-antman/目录下,oms 配置的是另外一台服务器 IP,需要打通 ocp 机器到 oms 机器的 ssh 信任关系。
安装OMS前,确保源OB集群各个节点、OMS 部署机、目标集群的各个节点 NTP 服务同步。
安装OMS前,确保 OMS 部署机器的 /etc/hosts 文件配置与实际主机 IP 地址相符。
另外,确保 OMS 部署机可以通过网络访问 OBProxy 的 2883 端口、各台 Observer 的2881/2882 端口、OCP 节点的 80 端口,以及异构数据库服务端口,例如 Oracle 的 1521 端口。
否则oms添加数据源时,无法连接数据源。
3、开始OMS安装
ocp主机地址: ocp201  10.10.10.33
oms主机地址: obnfs201  10.10.10.145
oms是单独的主机安装,由于资源有限,就用nfs所在的主机来安装oms。

3.1、OMS主机配置/etc/hosts
[root@obnfs201 ~]# cat /etc/hosts
127.0.0.1   localhost localhost.localdomain localhost4 localhost4.localdomain4
::1         localhost localhost.localdomain localhost6 localhost6.localdomain6

10.10.10.145  obnfs201
10.10.10.33 ocp201
10.10.10.91 ob211
10.10.10.202 ob221
10.10.10.131 ob231
[root@obnfs201 ~]#

3.2、OMS主机配置NTP client
ocp主机是ntp server端,其它主机是ntp client端
[root@obnfs201 ~]# yum -y install ntp ntpdate
[root@obnfs201 ~]# echo server 10.10.10.33 iburst >> /etc/ntp.conf
[root@obnfs201 ~]# echo restrict 10.10.10.0 nomodify notrap >> /etc/ntp.conf
[root@obnfs201 ~]# ntpdate -u 10.10.10.33
[root@obnfs201 ~]# hwclock -w
[root@obnfs201 ~]# systemctl restart ntpd
[root@obnfs201 ~]# systemctl enable ntpd
[root@obnfs201 ~]# ntpq -p
     remote           refid      st t when poll reach   delay   offset  jitter
==============================================================================
*ocp201          LOCAL(0)         6 u   27   64  377    0.221   -2.837   1.974
[root@obnfs201 ~]#

3.3、OMS主机安装docker

通过 Docker 镜像方式安装 OMS,需要提前在oms部署机安装 Docker 软件,最低版本1.13。
可以通过yum安装docker,也可以通过antman 脚本来安装docker
# cd /root/t-oceanbase-antman/clonescripts
# ./clone.sh -i

这里我用yum安装,注意根目录空间要足够,否则后面安装oms时会报空间不足。
[root@obnfs201 ~]# yum install -y docker
[root@obnfs201 ~]# docker -v
Docker version 1.13.1, build cccb291/1.13.1
[root@obnfs201 ~]#
[root@obnfs201 ~]# systemctl start docker
[root@obnfs201 ~]# systemctl status docker
[root@obnfs201 ~]#

3.3、上传oms镜像包到ocp主机
oms镜像必须放在ocp主机的 /root/t-oceanbase-antman/目录下
[root@ocp201 ~]# cd /root/t-oceanbase-antman/
[root@ocp201 t-oceanbase-antman]# ls -l oms_oms.feature_1.4.3.202012041419.tar.gz
-rw-r--r-- 1 root root 3476032345 Jan  5 13:57 oms_oms.feature_1.4.3.202012041419.tar.gz
[root@ocp201 t-oceanbase-antman]#
[root@ocp201 t-oceanbase-antman]# docker load < oms_oms.feature_1.4.3.202012041419.tar.gz
[root@ocp201 t-oceanbase-antman]#
[root@ocp201 t-oceanbase-antman]# docker images
REPOSITORY                                            TAG                    IMAGE ID            CREATED             SIZE
reg.docker.alibaba-inc.com/antman/ob-docker           OB2273_x86_20201214    4da7b6c59465        3 weeks ago         2.89GB
reg.docker.alibaba-inc.com/oceanbase/ocp-all-in-one   2.5.0-1915642          71284772a47f        3 weeks ago         1.55GB
acs-reg.alipay.com/oceanbase/oms-all-in-one           feature_1.4.3          2fb7e7908d78        4 weeks ago         7.86GB
reg.docker.alibaba-inc.com/antman/obproxy             OBP173_20200603_1923   781b6520e237        7 months ago        1.15GB
[root@ocp201 t-oceanbase-antman]#

3.4、修改参数文件obcluster.conf
用 antman 部署过 ocp 后,在ocp 机器的 antman 的软件目录 /root/t-oceanbase-antman/ 下会有个配置文件 obcluster.conf 。在配置里设置 oms 的相关参数即可。

vi /root/t-oceanbase-antman/obcluster.conf

###################   OMS 基本配置 / MUST CHANGE ACCORDING ENVIRONMENT / 根据环境必须修改  ############################
OMS_IP=10.10.10.145
oms_docker_image_package=oms_oms.feature_1.4.3.202012041419.tar.gz
oms_image_REPO=acs-reg.alipay.com/oceanbase/oms-all-in-one
oms_image_TAG=feature_1.4.3


###################   OMS ADVANCED SETTINGS / 基本不用修改   ########################
OMS_PORT=8088
OMS_METADB_USER=root
OMS_METADB_TENANT=oms_tenant
OMS_METADB_DBNAME=oms_meta
oms_container_name=oms
oms_docker_cpus=12
oms_docker_memory=24G
oms_docker_image_package=oms.tar.gz

这个参数文件里有 ocp 的配置信息(不需要修改)。通过antman安装OMS,会自动在 ocp 元数据库集群里创建一个OMS Meta 的租户(先确保 ocp 元数据库集群里的资源足够: 2c5g)

3.5、开始安装oms容器
使用 install.sh 脚本
[root@ocp201 t-oceanbase-antman]# ./install.sh -h
NOTE: Please generate config file with init_obcluster_conf.sh before run this program

Usage:  ./install.sh [OPTIONS]

Options:
  -h, --help                   Print help and exit
  -d, --debug                  Print debug information
  -V, --version                Print version
  -i, --install-steps string   For example 1,3-5,7-
  -c, --clear-steps string     For example 1,3-5,7-
  -f, --config-file string     Read in a config file
  -l, --load-balance           Load balance mode

Steps:
    1. ssh authorization
    2. install load balancer (default: dns for clustered ocp, none for single ocp)
    3. install ob server
    4. init ocp metadb
    5. install temp OCP
    6. install obproxy
    7. install OCP
    8. POSTCHECK
    9. install OMS (optional)
    10. install ODC (optional)

[root@ocp201 t-oceanbase-antman]#

# 安装 oms
[root@ocp201 t-oceanbase-antman]# ./install.sh -i 9
# 删除 oms
[root@ocp201 t-oceanbase-antman]# ./install.sh -c 9
# 删除并再次安装 oms
[root@ocp201 t-oceanbase-antman]# ./install.sh -c 9 -i 9

oms容器安装示例:
[root@ocp201 t-oceanbase-antman]# ./install.sh -i 9
run install.sh with DEBUG=FALSE, INSTALL_STEPS=9 CLEAR_STEPS= CONFIG_FILE=/root/t-oceanbase-antman/obcluster.conf
[2021-02-24 10:58:57.454925] INFO [start antman API service]
LB_MODE=none
The authenticity of host '10.10.10.145 (10.10.10.145)' can't be established.
ECDSA key fingerprint is SHA256:h9s9biBpyZVneNmhV0NsOgw+3vkQ9yObX4cuykiGO68.
ECDSA key fingerprint is MD5:12:0a:4e:8d:be:e6:fb:aa:cb:62:2e:ae:b1:db:e8:52.
Are you sure you want to continue connecting (yes/no)? yes
Warning: Permanently added '10.10.10.145' (ECDSA) to the list of known hosts.
Permission denied (publickey,gssapi-keyex,gssapi-with-mic,password).
[2021-02-24 10:59:36.290020] INFO [ssh to 10.10.10.145 failed, need to config public key login]
/usr/bin/ssh-copy-id: INFO: Source of key(s) to be installed: "/root/.ssh/id_rsa.pub"
/usr/bin/ssh-copy-id: INFO: attempting to log in with the new key(s), to filter out any that are already installed
/usr/bin/ssh-copy-id: INFO: 1 key(s) remain to be installed -- if you are prompted now it is to install the new keys
root@10.10.10.145's password:

Number of key(s) added: 1

Now try logging into the machine, with:   "ssh -p '22' '10.10.10.145'"
and check to make sure that only the key(s) you wanted were added.

[2021-02-24 10:59:36.260715] INFO [step9: check whether OMS port 8088 is in use or not on 10.10.10.145]
[2021-02-24 10:59:36.428460] INFO [step9: OMS port 8088 is idle on 10.10.10.145]
[2021-02-24 10:59:37.977057] INFO [step9: installing oms, logfile: /root/t-oceanbase-antman/logs/install_oms.log]
[2021-02-24 10:59:37.985888] INFO [installing oms on 10.10.10.145, pid=26296 log: /root/t-oceanbase-antman/logs/install_oms_10.10.10.145.log]
[2021-02-24 10:59:38.093717] INFO [create OMS meta tenant]
[2021-02-24 10:59:43.777075] INFO [replace params in /root/t-oceanbase-antman/config/oms_conf.yaml]
[2021-02-24 10:59:43.953287] INFO [start container: docker run -d -it     --name oms     --net=host     --cpu-period 100000     --cpu-quota 1200000     --memory=24G     -v /etc/oms_conf.yaml:/home/admin/conf/co
nfig.yaml     --restart on-failure:5     --privileged=true     acs-reg.alipay.com/oceanbase/oms-all-in-one:feature_1.4.3]a97982661aa15f80a5150bdd2a150a21ed79454bba55f0db33153ee84ebbc1b2
[2021-02-24 10:59:49.757523] INFO [docker init: docker exec oms /bin/bash -c "bash /root/docker_init.sh"]
。。。。。。
。。。。。。
[2021-02-24 11:03:41.161704] INFO [restart container: docker restart oms]
oms
[2021-02-24 11:06:17.249586] INFO [install_oms.sh finished and acs-reg.alipay.com/oceanbase/oms-all-in-one:feature_1.4.3 started on 10.10.10.145]
[2021-02-24 11:06:17.253838] INFO [oms docker on 10.10.10.145 is started]
[2021-02-24 11:06:17.265374] INFO [oms installation on all hosts done]
[2021-02-24 11:06:17.270298] INFO [step9: installation of oms done]
[root@ocp201 t-oceanbase-antman]#

安装完成后,到 oms 主机上查看 oms 容器镜像,容器已启动,并且能进入容器:
[root@obnfs201 ~]# docker images
REPOSITORY                                    TAG                 IMAGE ID            CREATED             SIZE
acs-reg.alipay.com/oceanbase/oms-all-in-one   feature_1.4.3       2fb7e7908d78        2 months ago        7.86GB
[root@obnfs201 ~]#
[root@obnfs201 ~]# docker ps
CONTAINER ID        IMAGE                                                       COMMAND                  CREATED             STATUS              PORTS               NAMES
a7b7db364869        acs-reg.alipay.com/oceanbase/oms-all-in-one:feature_1.4.3   "/bin/sh -c '/usr/bi…"   48 seconds ago      Up 45 seconds                           oms
[root@obnfs201 ~]#
[root@obnfs201 ~]# docker exec -it oms bash

[root@obnfs201 /root]
#exit
exit
[root@obnfs201 ~]#

[root@observer04 /root]
#
到此oms安装已完成。
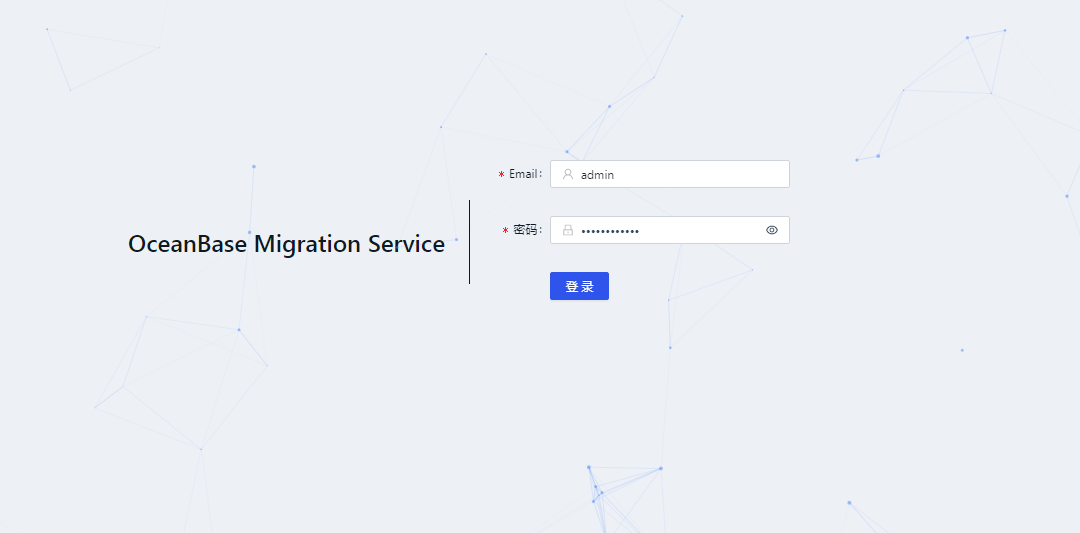
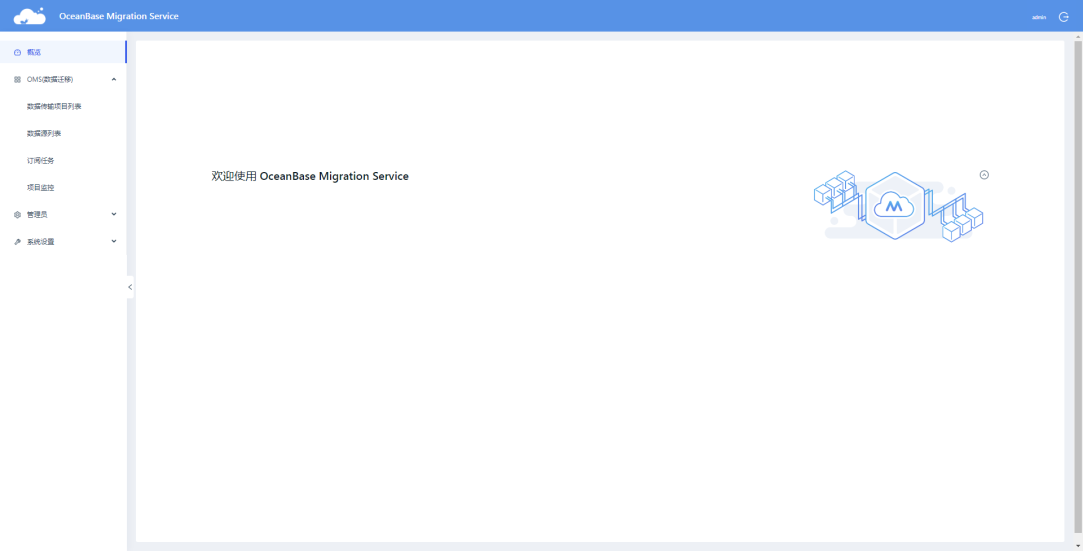
打开浏览器,访问 OMS 应用地址: http://xxx.xxx.xxx.xxx:8080/ ,能出现 OMS 登录界面,并能使用 admin用户登录,说明 OMS 安装就成功了。
可以开始 oms 的使用了。
一步一步学习OceanBase系列