


介绍
Oracle数据库是甲骨文公司的一款关系数据库管理系统。
环境
Oracle Linux 6.5_64 Mini Desktop
Oracle版本为112040_Linux-x86-64
硬件信息:CPU1核心 内存8G 磁盘40G
准备
系统安装参考Oracle Linux 6系统安装
开始部署
1.网卡设置
# vi etc/sysconfig/network-scripts/ifcfg-eth0
ONBOOT=yes
NM_CONTROLLED=yes
BOOTPROTO=static
IPADDR=192.168.100.203
NETMASK=255.255.255.0
GATEWAY=192.168.100.1
DNS1=114.114.114.114
:wq
重启网卡
#service network restart
2.安装工具
yum install zip unzip –y
3.设置hosts
#删除原内容,添加以下内容
#vi etc/hosts
127.0.0.1   localhost oracle.localdomain oracle
::1         localhost localhost.localdomain localhost6 localhost6.localdomain6
4.修改环境变量
#vi 1.sh
#!/bin/bash
#Purpose:Create 6 groups named 'oinstall','dba','asmadmin','asmdba','asmoper','oper', plus 2 users named 'oracle','grid'.
#Also setting the Environment
#variable for oracle user.
#variable for grid user.
#Usage:Log on as the superuser('root'),and then execute the command:#./1preusers.sh
#Author:Asher Huang
echo "Now create 6 groups named 'oinstall','dba','asmadmin','asmdba','asmoper','oper'"
echo "Plus 2 users named 'oracle','grid',Also setting the Environment"
groupadd -g 1000 oinstall
groupadd -g 1300 dba
groupadd -g 1301 oper
useradd -u 1101 -g oinstall -G dba,oper -d home/oracle -s bin/bash -c "Oracle Software Owner" oracle
echo "oracle" | passwd --stdin oracle
echo 'export PS1="`/bin/hostname -s`-> "'>> home/oracle/.bash_profile
echo "export TMP=/tmp">> home/oracle/.bash_profile
echo 'export TMPDIR=$TMP'>>/home/oracle/.bash_profile
echo "export ORACLE_HOSTNAME=oracle.localdomain">> home/oracle/.bash_profile
echo "export ORACLE_SID=devdb1">> home/oracle/.bash_profile
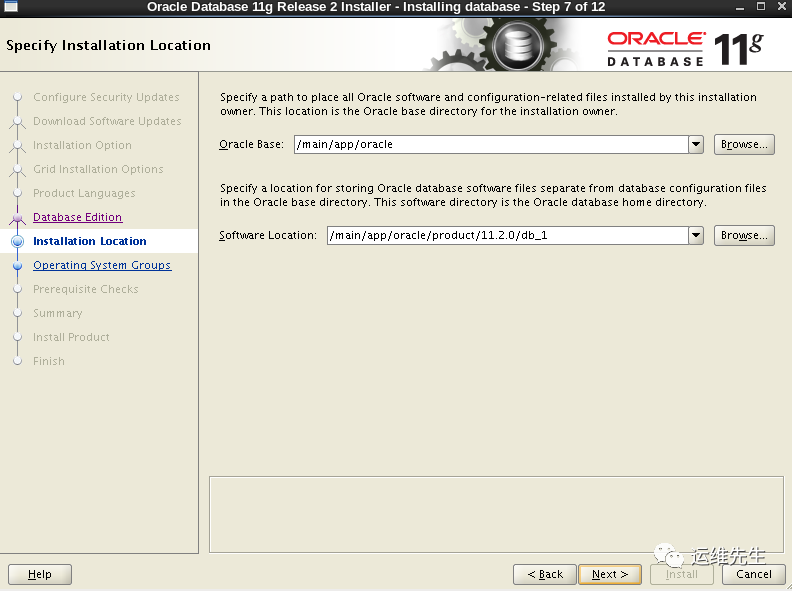
echo "export ORACLE_BASE=/main/app/oracle">> home/oracle/.bash_profile
echo 'export ORACLE_HOME=$ORACLE_BASE/product/11.2.0/db_1'>> home/oracle/.bash_profile
echo "export ORACLE_UNQNAME=devdb">> home/oracle/.bash_profile
echo 'export TNS_ADMIN=$ORACLE_HOME/network/admin' >> home/oracle/.bash_profile
echo "export ORACLE_TERM=xterm">> home/oracle/.bash_profile
echo 'export PATH=/usr/sbin:$PATH'>> home/oracle/.bash_profile
echo 'export PATH=$ORACLE_HOME/bin:$PATH'>> home/oracle/.bash_profile
echo 'export LD_LIBRARY_PATH=$ORACLE_HOME/lib:/lib:/usr/lib'>> home/oracle/.bash_profile
echo 'export CLASSPATH=$ORACLE_HOME/JRE:$ORACLE_HOME/jlib:$ORACLE_HOME/rdbms/jlib'>> home/oracle/.bash_profile
echo "export EDITOR=vi" >> home/oracle/.bash_profile
echo "export LANG=en_US" >> home/oracle/.bash_profile
echo "export NLS_LANG=AMERICAN_AMERICA.ZHS16GBK" >> home/oracle/.bash_profile
echo "export NLS_DATE_FORMAT='yyyy/mm/dd hh24:mi:ss'" >> home/oracle/.bash_profile
echo "umask 022">> home/oracle/.bash_profile
mkdir -p main/app/oracle
chown -R oracle:oinstall main
chmod -R 775 main
cp etc/security/limits.conf etc/security/limits.conf.bak
echo "oracle soft nproc 2047" >>/etc/security/limits.conf
echo "oracle hard nproc 16384" >>/etc/security/limits.conf
echo "oracle soft nofile 1024" >>/etc/security/limits.conf
echo "oracle hard nofile 65536" >>/etc/security/limits.conf
echo "grid soft nproc 2047" >>/etc/security/limits.conf
echo "grid hard nproc 16384" >>/etc/security/limits.conf
echo "grid soft nofile 1024" >>/etc/security/limits.conf
echo "grid hard nofile 65536" >>/etc/security/limits.conf
cp etc/pam.d/login etc/pam.d/login.bak
echo "session required lib/security/pam_limits.so" >>/etc/pam.d/login
echo "session required pam_limits.so" >>/etc/pam.d/login
echo "Now modify the etc/profile,but with a backup named etc/profile.bak"
cp etc/profile etc/profile.bak
echo 'if [ $USER = "oracle" ]||[ $USER = "grid" ]; then' >> etc/profile
echo 'if [ $SHELL = "/bin/ksh" ]; then' >> etc/profile
echo 'ulimit -p 16384' >> etc/profile
echo 'ulimit -n 65536' >> etc/profile
echo 'else' >> etc/profile
echo 'ulimit -u 16384 -n 65536' >> etc/profile
echo 'fi' >> etc/profile
echo 'fi' >> etc/profile
echo "Now modify the etc/sysctl.conf,but with a backup named etc/sysctl.bak"
cp etc/sysctl.conf etc/sysctl.conf.bak
echo "fs.aio-max-nr = 1048576" >> etc/sysctl.conf
echo "fs.file-max = 6815744" >> etc/sysctl.conf
echo "kernel.shmall = 2097152" >> etc/sysctl.conf
echo "kernel.shmmax = 4186771456" >> /etc/sysctl.conf
echo "kernel.shmmni = 4096" >> /etc/sysctl.conf
echo "kernel.sem = 250 32000 100 128" >> /etc/sysctl.conf
echo "net.ipv4.ip_local_port_range = 9000 65500" >> /etc/sysctl.conf
echo "net.core.rmem_default = 262144" >> /etc/sysctl.conf
echo "net.core.rmem_max = 4194304" >> /etc/sysctl.conf
echo "net.core.wmem_default = 262144" >> /etc/sysctl.conf
echo "net.core.wmem_max = 1048586" >> /etc/sysctl.conf
echo "net.ipv4.tcp_wmem = 262144 262144 262144" >> /etc/sysctl.conf
echo "net.ipv4.tcp_rmem = 4194304 4194304 4194304" >> /etc/sysctl.conf
echo "Modifing the /etc/sysctl.conf has been succeed."
echo "Now make the changes take effect....."
sysctl -p
[root@oracle ~]# sh 1.sh
[root@oracle ~]# vi /home/oracle/.bash_profile
把
export ORACLE_SID=devdb1改成export ORACLE_SID=devdb
5.安装依赖包
下载依赖包(依赖包放置在/home/oracle/rpm下)
compat-libcap1-1.10-1.x86_64.rpm
compat-libstdc++-33-3.2.3-69.el6.x86_64.rpm
gcc-c++-4.4.7-4.el6.x86_64.rpm
ksh-20120801-10.el6.x86_64.rpm
libaio-0.3.107-10.el6.x86_64.rpm
libaio-devel-0.3.107-10.el6.x86_64.rpm
libstdc++-devel-4.4.7-4.el6.x86_64.rpm
sysstat-9.0.4-22.el6.x86_64.rpm
[root@oracle rpm]# rpm -ivh *
6.关闭selinux
vi /etc/selinux/config
修改SELINUX=enforcing为SELINUX=disabled
然后执行
setenforce 0 生效
7.安装Oracle
进入系统

#把p13390677_112040_Linux-x86-64_1of7.zip和p13390677_112040_Linux-x86-64_2of7.zip软件上传至/home/oracle/下

#解压运行
oracle-> unzip p13390677_112040_Linux-x86-64_1of7.zip && unzip p13390677_112040_Linux-x86-64_2of7.zip
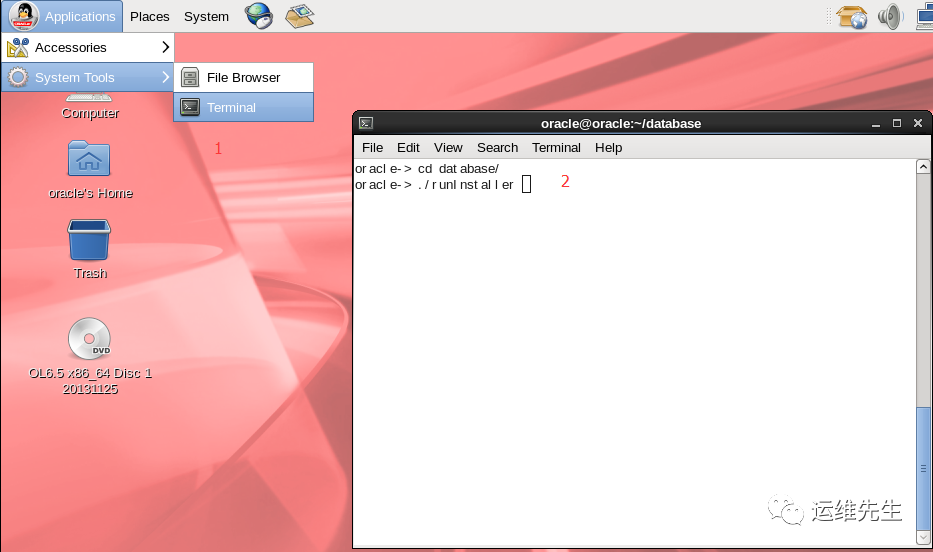
若是在root下切换到oralce时,在物理机上测试安装时提示check if the display variable is set
此步需要在root下执行:xhost +
建议直接以oralce用户登录执行一下命令
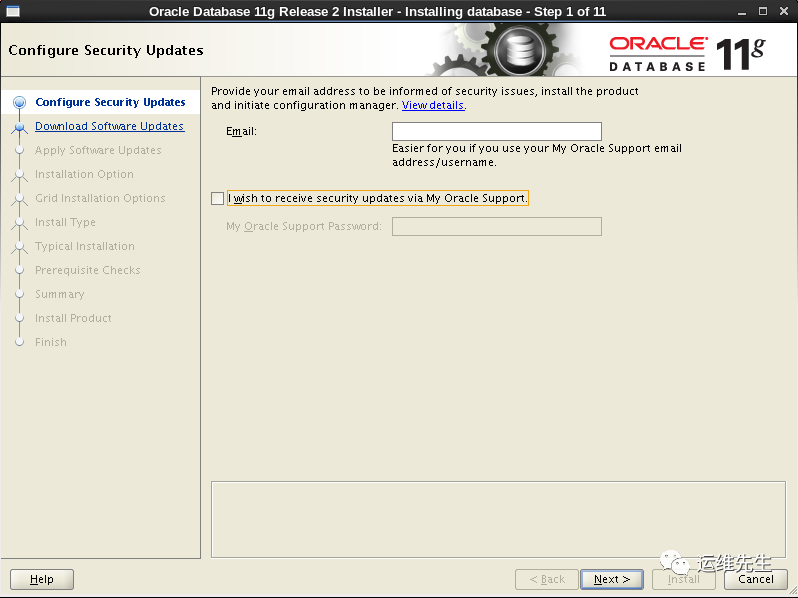
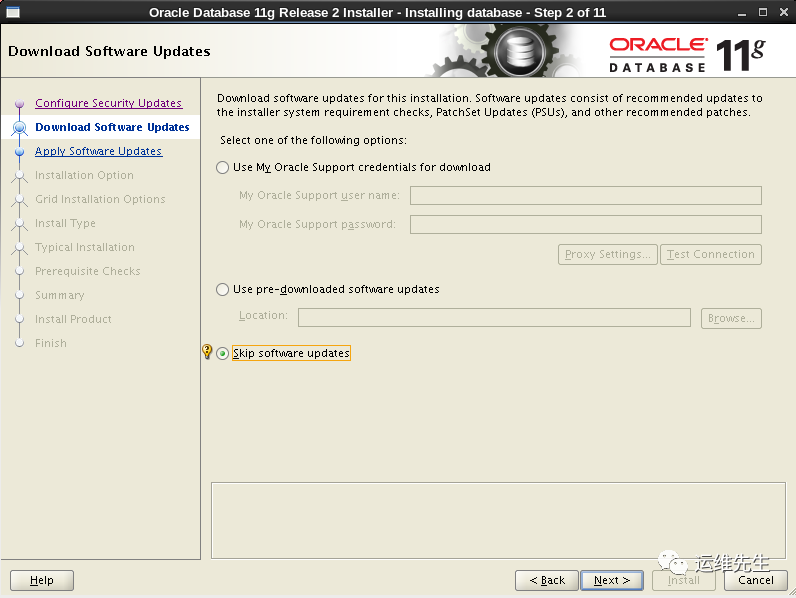
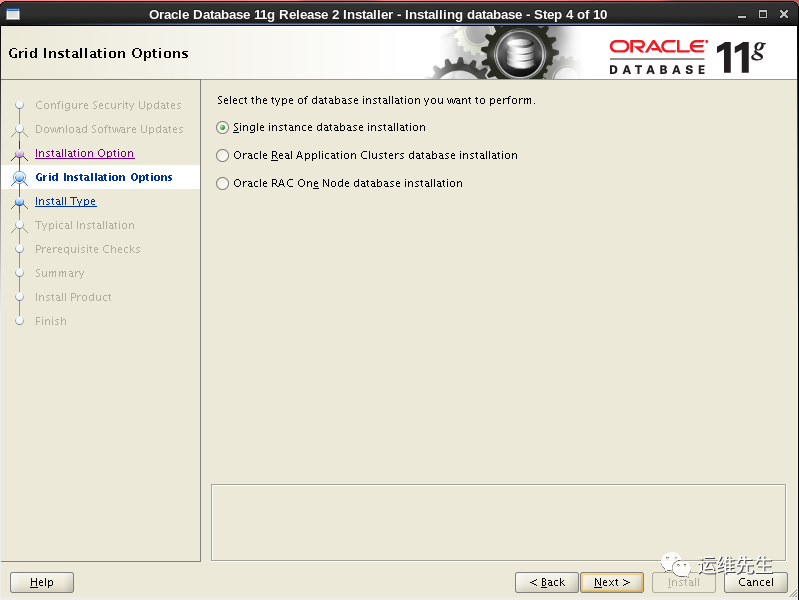
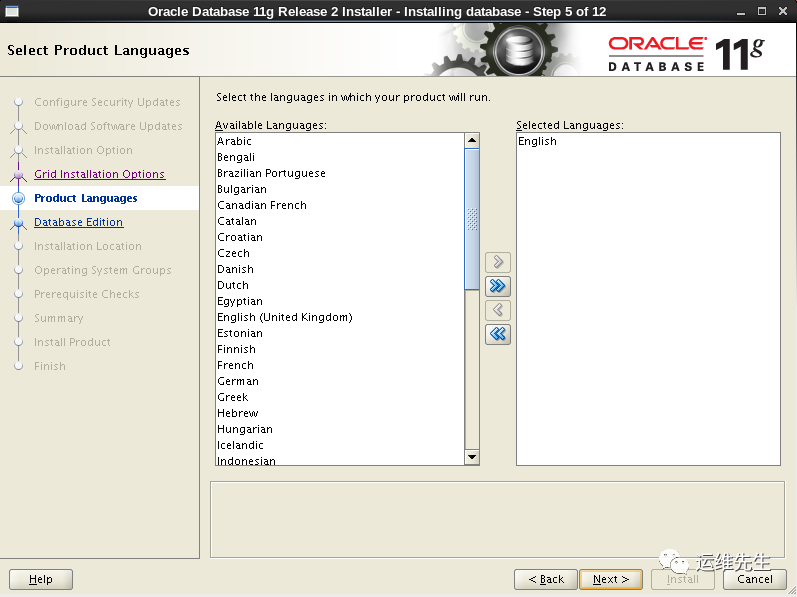
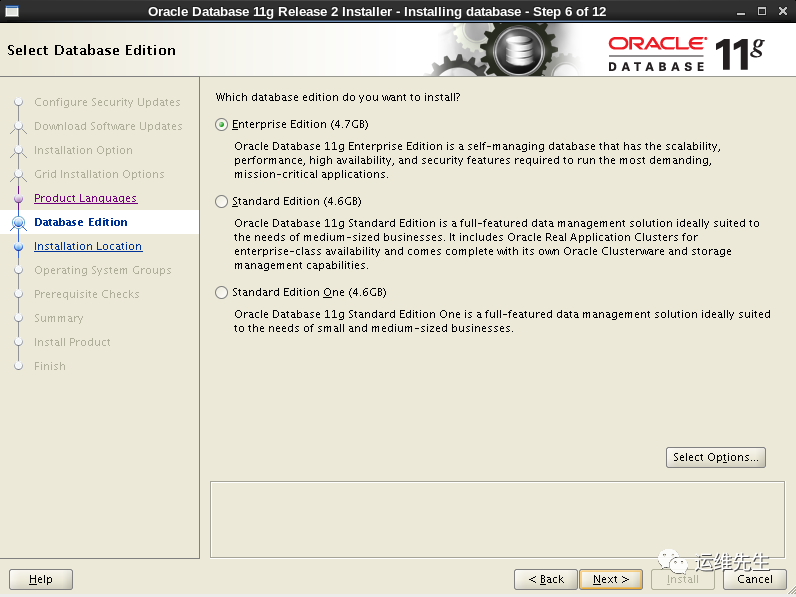
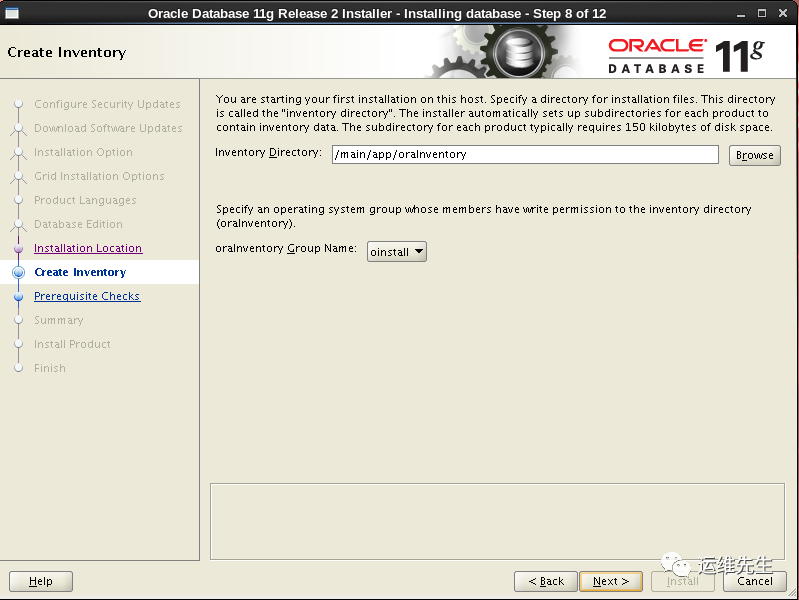
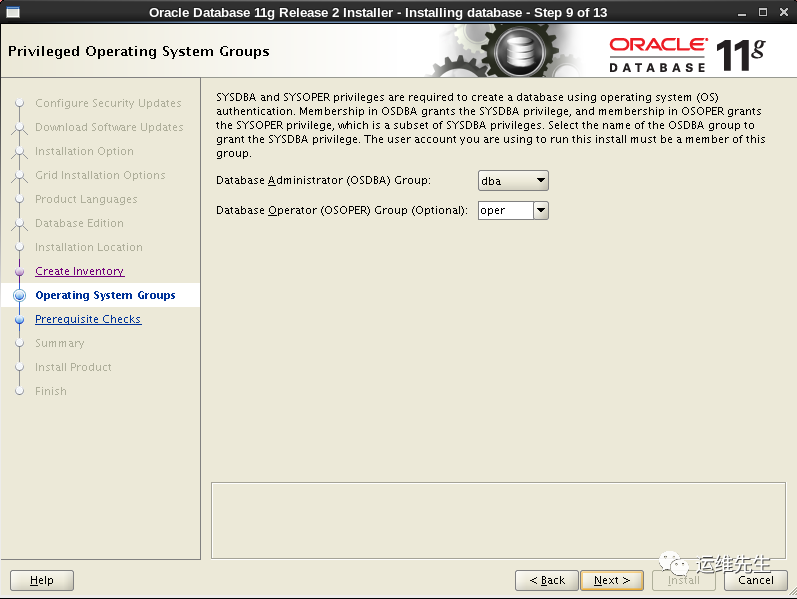
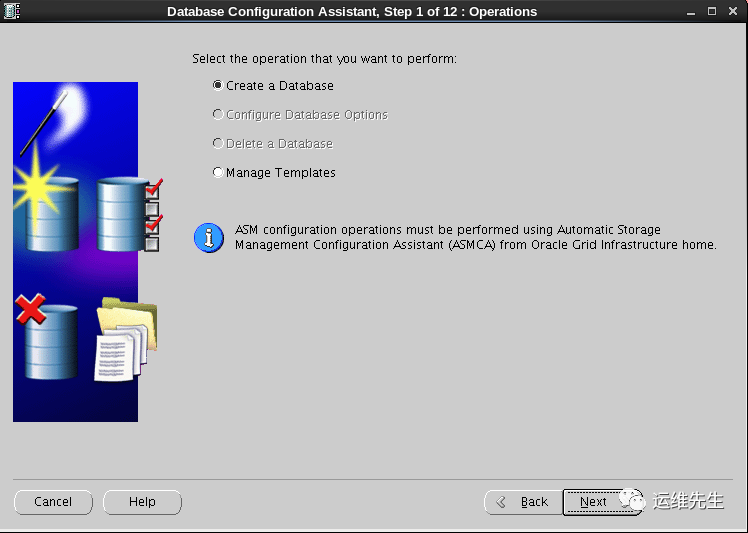
打开oracle的安装界面
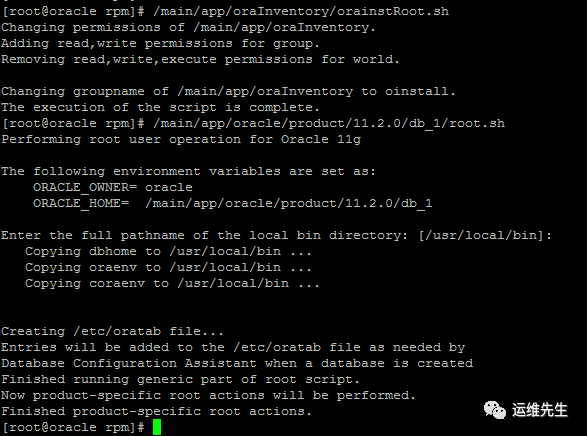
去掉勾选,点next,选择yes:根据提示在root用户下执行脚本命令
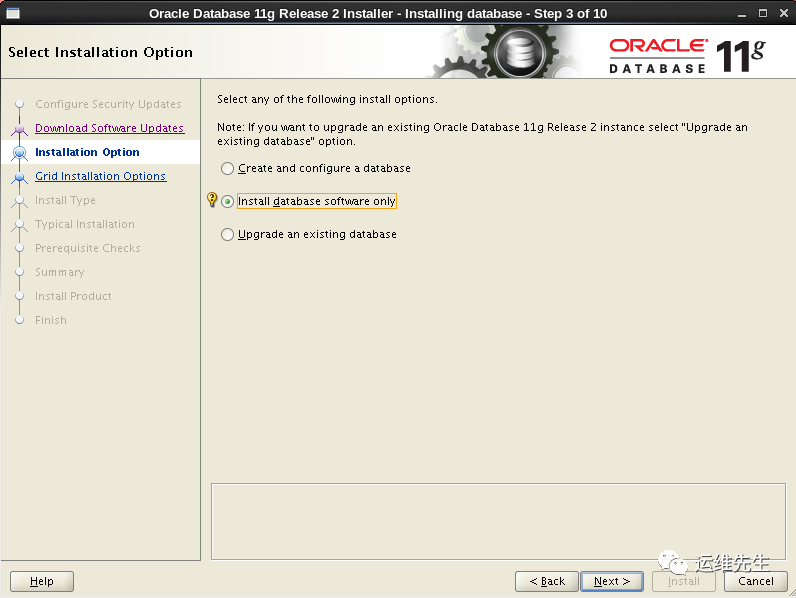

 根据提示在root用户下执行脚本命令
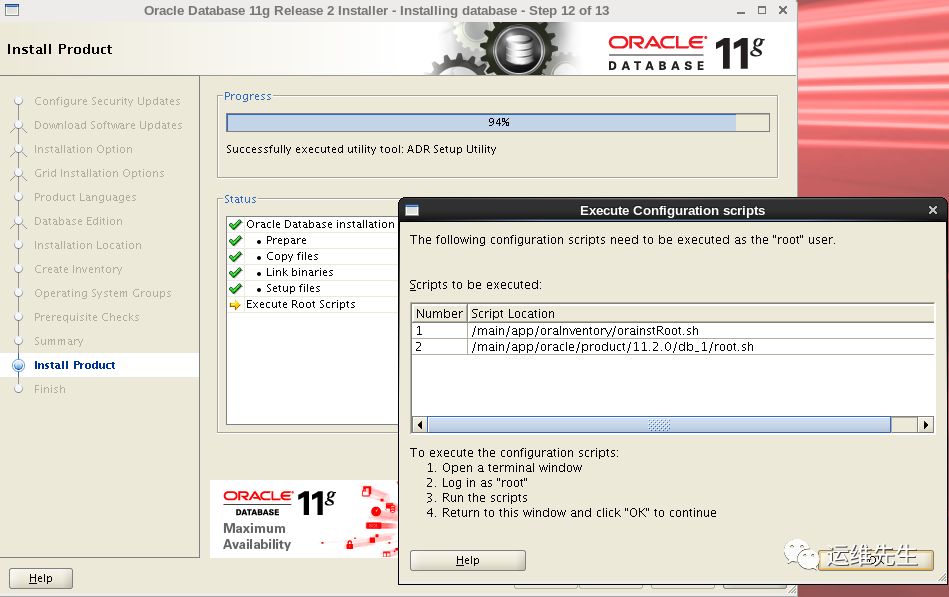
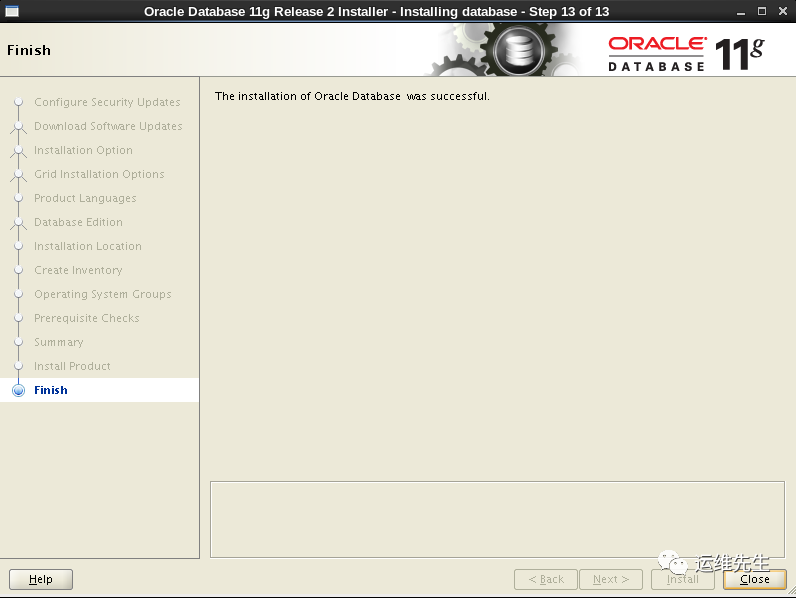
建立监听弹出建立监听界面,一直下一步到结束Finish
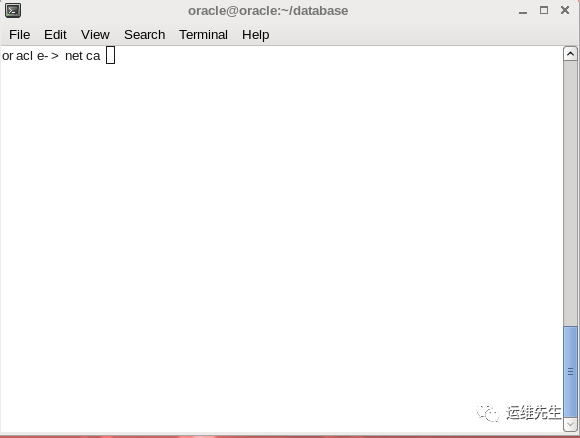 弹出建立监听界面,一直下一步到结束Finish
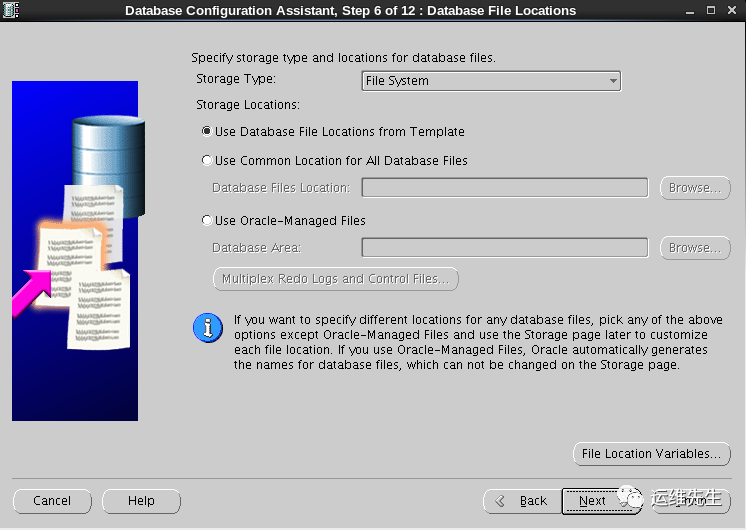
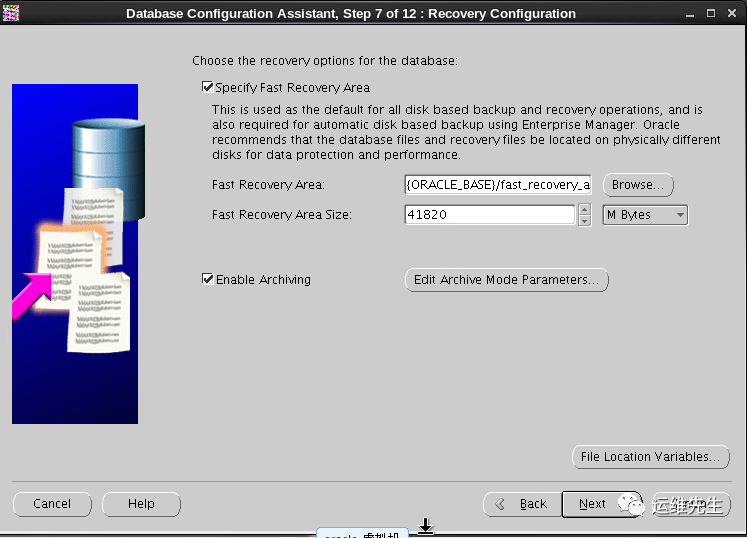
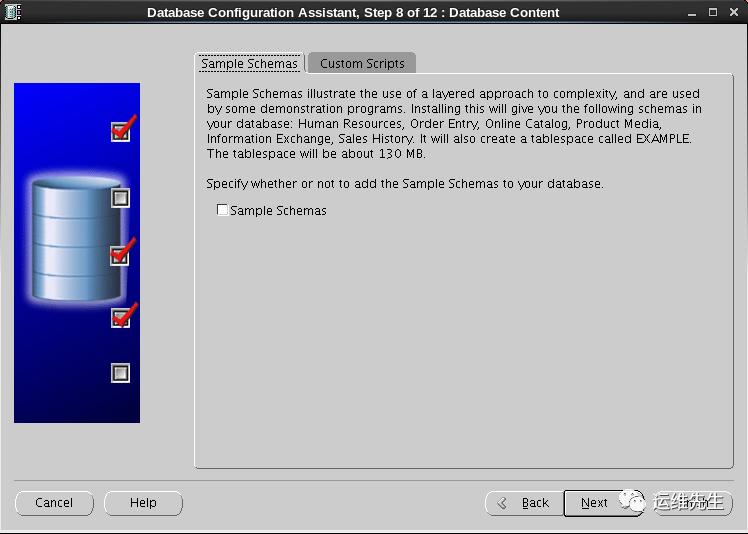
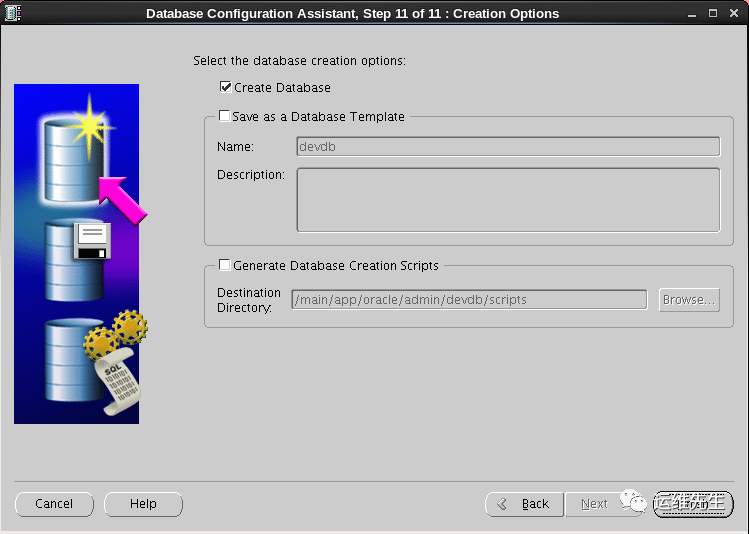
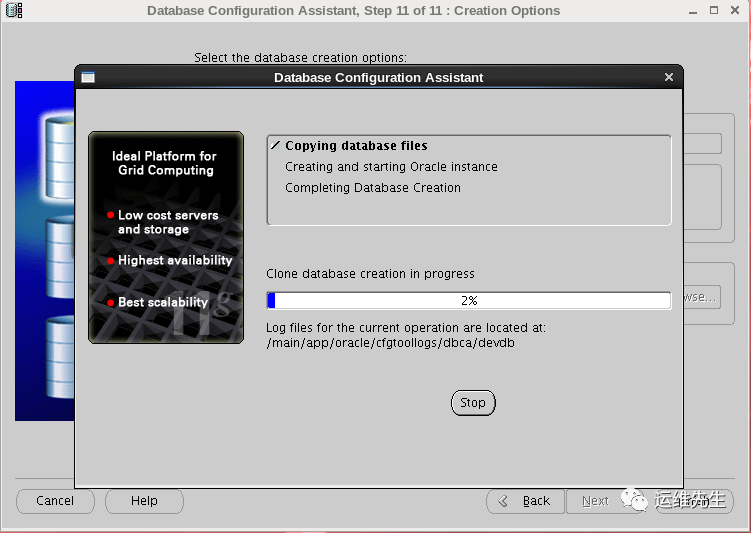
建库此处密码不能设置特殊符号,否则建库会出错
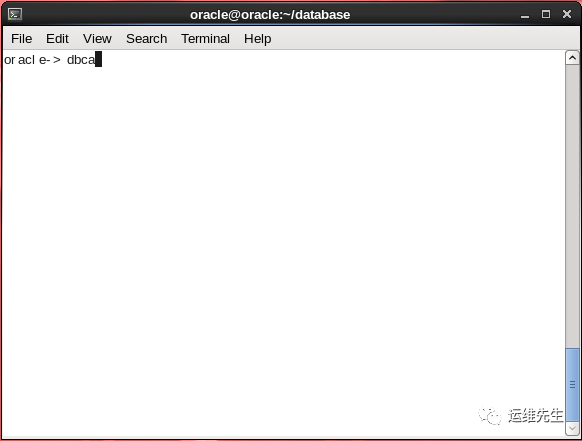
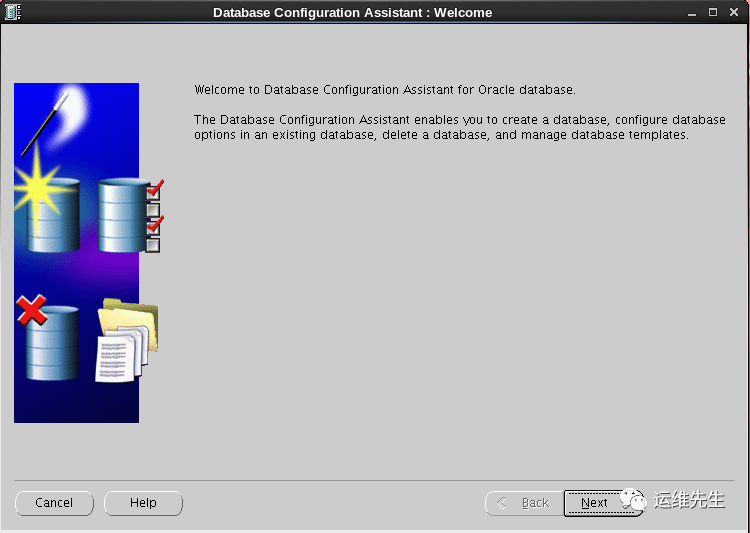
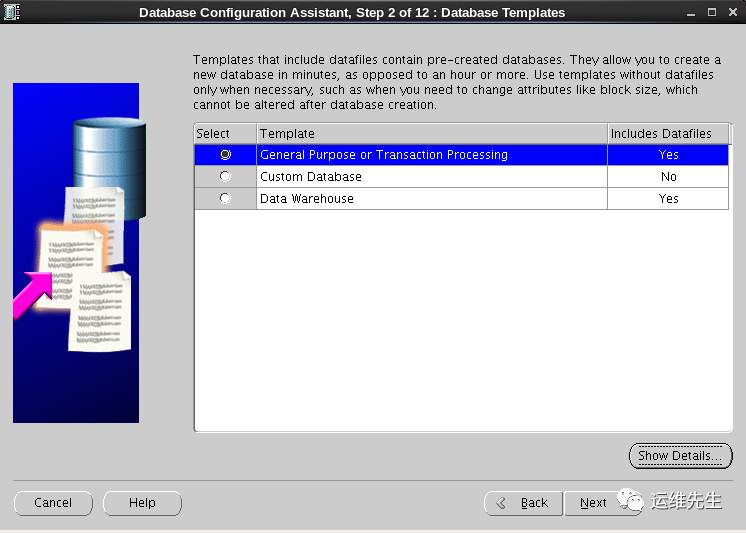

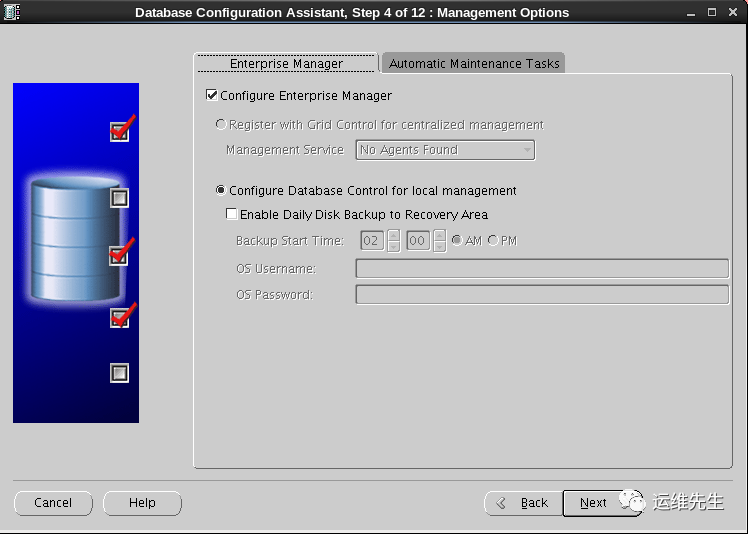 此处密码不能设置特殊符号,否则建库会出错
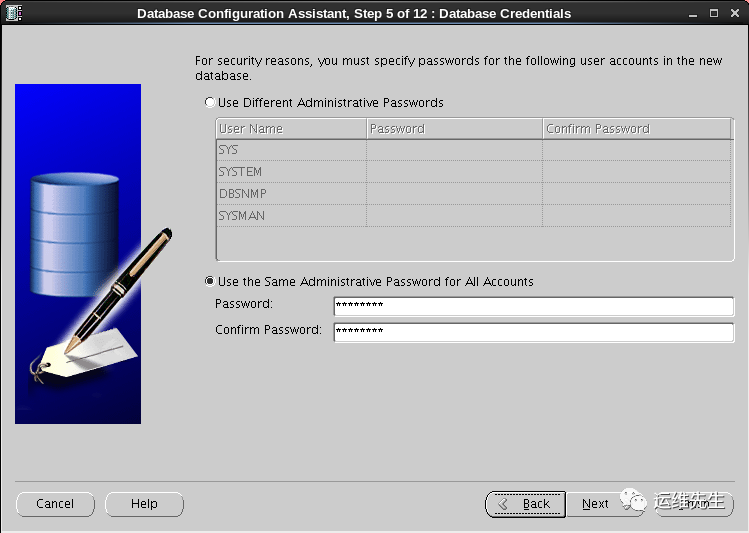


8.设置lsnrctl与db开机自动启动
#修改/etc/oratab文件
#  vi /etc/oratab
找到devdb:/main/app/oracle/product/11.2.0/db_1:N这一行,把N改成Y
devdb:/main/app/oracle/product/11.2.0/db_1:Y

#修改/etc/rc.local
#  vi /etc/rc.local
#添加下面两行
su - oracle -c 'lsnrctl start'
su - oracle -c 'dbstart'

#开放防火墙端口
vi /etc/sysconfig/iptables
在:OUTPUT ACCEPT [0:0]行下输入
-A INPUT -m state --state NEW -m tcp -p tcp --dport 1521 -j ACCEPT
#然后重启iptables
service iptables restart
文章转载自运维先生,如果涉嫌侵权,请发送邮件至:contact@modb.pro进行举报,并提供相关证据,一经查实,墨天轮将立刻删除相关内容。
