


一 环境准备
1.1 操作系统部署
部署操作系统Centos 7,本次选择Centos 7.9
执行yum update -y # 升级所有包同时也升级软件和系统内核
重启服务器
1.2 设置网络和主机名
[root@openstack ~]# cat /etc/hosts
# 127.0.0.1   localhost localhost.localdomain localhost4 localhost4.localdomain4
# ::1         localhost localhost.localdomain localhost6 localhost6.localdomain6

127.0.0.1   localhost
192.168.73.21 openstack.cloud.priv

[root@openstack ~]# hostname -I
192.168.73.21 192.168.122.1

[root@openstack ~]# hostname
openstack.cloud.priv
1.3 关闭防火墙
[root@openstack ~]# systemctl stop firewalld
[root@openstack ~]# systemctl disable firewalld
1.4 修改SELiinux
# permissive:宽容模式:代表 SELinux 运作中,不过仅会有警告讯息并不会实际限制 domain/type 的存取。这种模式可以运来作为 SELinux 的 debug 之用

[root@openstack ~]# sed -i s#'SELINUX=enforcing'#'SELINUX=permissive'#g /etc/selinux/config
setenforce 0
getenforce    #显示为permissive就对了
1.5 安装NTP
yum -y install ntp
systemctl enable ntpd
1.6 配置cloudstack.repo
[root@openstack ~]# cat /etc/yum.repos.d/cloudstack.repo
[cloudstack]
name=cloudstack
baseurl=http://cloudstack.apt-get.eu/centos/$releasever/4.16/
enabled=1
gpgcheck=0
1.7 安装配置MySQL
1.7.1 安装MySQL
本次选择安装Mysql 5.7.39
[root@openstack ~]# wget http://repo.mysql.com/mysql-community-release-el7-5.noarch.rpm
[root@openstack ~]# rpm -ivh mysql-community-release-el7-7.noarch.rpm
[root@openstack ~]# yum install mysql-server -y
1.7.2 配置MySQL
# 编辑 my.cnf
[mysqld]
port=3306
default-time_zone = '+8:00'
datadir=/home/mysql_data
max_connections=500
log-error = /home/logs/mysql/error.log
general_log      = OFF
general_log_file = /home/logs/mysql/general.log
server-id=1
innodb_rollback_on_timeout=1
innodb_lock_wait_timeout=600
log_bin=mysql-bin
binlog_format=ROW
expire_logs_days=7
sql_mode="STRICT_TRANS_TABLES,NO_ZERO_IN_DATE,NO_ZERO_DATE,ERROR_FOR_DIVISION_BY_ZERO,NO_AUTO_CREATE_USER,NO_ENGINE_SUBSTITUTION"
plugin-load=validate_password.so
validate-password=OFF

# 修改MySQL初始密码
mysql -uroot -p
SQL> ALTER USER 'root'@'%' IDENTIFIED BY 'XXXX';
SQL> flush privileges

# 配置 /etc/my.cnf.d/cloudstack.cnf
[root@openstack ~]# cat /etc/my.cnf.d/cloudstack.cnf
[mysqld]

# 重启MySQL
[root@openstack ~#] systemctl start mysql
[root@openstack ~#] systemctl enable mysql
1.7.3 安装MySQL连接器
[root@openstack ~]# yum -y install mysql-connector-python
1.8 安装配置NFS存储
1.8.1 安装NFS
yum -y install nfs-utils rpcbind
1.8.2 配置域名
# 编辑 /etc/idmapd.conf 添加
Domain = cloud.priv
1.8.3 准备NFS目录
[root@openstack ~#] mkdir -p /export/{primary,secondary}
1.8.4 修改NFS服务参数
[root@openstack ~]# cat /etc/sysconfig/nfs |grep -Ev '^$|#'
LOCKD_TCPPORT=32803
LOCKD_UDPPORT=32769
MOUNTD_PORT=892
RQUOTAD_PORT=875
STATD_PORT=662
STATD_OUTGOING_PORT=2020
1.8.5 启动查看NFS服务
[root@openstack ~#] systemctl enable rpcbind
[root@openstack ~#] systemctl enable nfs
[root@openstack ~#] systemctl start rpcbind
[root@openstack ~#] systemctl start nfs
1.8.6 配置exports文件
[root@openstack ~]# cat  /etc/exports
/export/secondary *(rw,async,no_root_squash,no_subtree_check)
/export/primary *(rw,async,no_root_squash,no_subtree_check)
1.8.7 查看共享服务
[root@openstack ~]# showmount -e openstack.cloud.priv
Export list for openstack.cloud.priv:
/export/primary   *
/export/secondary *
1.9 安装Java 11
[root@openstack ~]#  yum install java-11-openjdk -y
[root@openstack ~]# alternatives --config java

There is 1 program that provides 'java'.

  Selection    Command
-----------------------------------------------
*+ 1           java-11-openjdk.x86_64 (/usr/lib/jvm/java-11-openjdk-11.0.16.0.8-1.el7_9.x86_64/bin/java)

Enter to keep the current selection[+], or type selection number:
二 安装CloudStack
2.1 安装管理服务器
[root@openstack ~]# yum -y install cloudstack-management
2.2 设置数据库
该步骤的参数设置这个让我花了一段时间思考
[root@openstack ~]#  cloudstack-setup-databases cloud:cloud@localhost --deploy-as=root:Focus*1234
Mysql user name:cloud                                                           [ OK ]
Mysql user password:******                                                      [ OK ]
Mysql server ip:192.168.73.21                                                   [ OK ]
Mysql server port:3306                                                          [ OK ]
Mysql root user name:root                                                       [ OK ]
Mysql root user password:******                                                 [ OK ]
Checking Cloud database files ...                                               [ OK ]
Checking local machine hostname ...                                             [ OK ]
Checking SELinux setup ...                                                      [ OK ]
Detected local IP address as 192.168.73.21, will use as cluster management server node IP[ OK ]
Preparing /etc/cloudstack/management/db.properties                              [ OK ]
Applying /usr/share/cloudstack-management/setup/create-database.sql             [ OK ]
Applying /usr/share/cloudstack-management/setup/create-schema.sql
[ OK ]
Applying /usr/share/cloudstack-management/setup/create-database-premium.sql     [ OK ]
Applying /usr/share/cloudstack-management/setup/create-schema-premium.sql       [ OK ]
Applying /usr/share/cloudstack-management/setup/server-setup.sql                [ OK ]
Applying /usr/share/cloudstack-management/setup/templates.sql                   [ OK ]
Processing encryption ...                                                       [ OK ]
Finalizing setup ...                                                            [ OK ]

CloudStack has successfully initialized database, you can check your database configuration in /etc/cloudstack/management/db.properties
#可以查看下/etc/cloudstack/management/db.properties内容

[root@openstack ~]# more /etc/cloudstack/management/db.properties
# Licensed to the Apache Software Foundation (ASF) under one
# or more contributor license agreements.  See the NOTICE file
# distributed with this work for additional information
# regarding copyright ownership.  The ASF licenses this file
# to you under the Apache License, Version 2.0 (the
# "License"); you may not use this file except in compliance
# with the License.  You may obtain a copy of the License at
#
#   http://www.apache.org/licenses/LICENSE-2.0
# Unless required by applicable law or agreed to in writing,
# software distributed under the License is distributed on an
# "AS IS" BASIS, WITHOUT WARRANTIES OR CONDITIONS OF ANY
# KIND, either express or implied.  See the License for the
# specific language governing permissions and limitations
# under the License.

# management server clustering parameters, change cluster.node.IP to the machine IP address
# in which the management server is running
cluster.node.IP=192.168.73.21
cluster.servlet.port=9090
region.id=1

# CloudStack database settings
db.cloud.username=cloud
db.cloud.password=ENC(WpUU/pBLSBWJmQe3uY+ptv2VmdF6EDuj)
db.cloud.host=192.168.73.21
db.cloud.driver=jdbc:mysql
db.cloud.port=3306
db.cloud.name=cloud

# CloudStack database tuning parameters
db.cloud.maxActive=250
db.cloud.maxIdle=30
db.cloud.maxWait=10000
db.cloud.validationQuery=SELECT 1
db.cloud.testOnBorrow=true
db.cloud.testWhileIdle=true
db.cloud.timeBetweenEvictionRunsMillis=40000
db.cloud.minEvictableIdleTimeMillis=240000
db.cloud.poolPreparedStatements=false
db.cloud.url.params=prepStmtCacheSize=517&cachePrepStmts=true&sessionVariables=sql_mode='STRICT_TRANS_TABLES,NO_ZERO_IN_DATE,NO_ZERO_DATE,ER
ROR_FOR_DIVISION_BY_ZERO,NO_ENGINE_SUBSTITUTION'&serverTimezone=UTC

# CloudStack database SSL settings
db.cloud.useSSL=false
db.cloud.keyStore=
db.cloud.keyStorePassword=
db.cloud.trustStore=
db.cloud.trustStorePassword=

# Encryption Settings
db.cloud.encryption.type=file
db.cloud.encrypt.secret=ENC(uNzGEF1k2agkBcRsOMBIjZBwHoxjRIlV)

# usage database settings
db.usage.username=cloud
db.usage.password=ENC(j6Ebm7jAFv322R5cEnfk1HOzPL1apamf)
db.usage.host=192.168.73.21
db.usage.driver=jdbc:mysql
db.usage.port=3306
db.usage.name=cloud_usage

# usage database tuning parameters
db.usage.maxActive=100
db.usage.maxIdle=30
db.usage.maxWait=10000
db.usage.url.params=serverTimezone=UTC

# Simulator database settings
db.simulator.username=cloud
db.simulator.password=cloud
db.simulator.host=localhost
db.simulator.driver=jdbc:mysql
db.simulator.port=3306
db.simulator.name=simulator
db.simulator.maxActive=250
db.simulator.maxIdle=30
db.simulator.maxWait=10000
db.simulator.autoReconnect=true


# High Availability And Cluster Properties
db.ha.enabled=false
db.ha.loadBalanceStrategy=com.cloud.utils.db.StaticStrategy
# cloud stack Database
db.cloud.replicas=localhost,localhost
db.cloud.autoReconnect=true
db.cloud.failOverReadOnly=false
db.cloud.reconnectAtTxEnd=true
db.cloud.autoReconnectForPools=true
db.cloud.secondsBeforeRetrySource=3600
db.cloud.queriesBeforeRetrySource=5000
db.cloud.initialTimeout=3600

#usage Database
db.usage.replicas=localhost,localhost
db.usage.autoReconnect=true
db.usage.failOverReadOnly=false
db.usage.reconnectAtTxEnd=true
db.usage.autoReconnectForPools=true
db.usage.secondsBeforeRetrySource=3600
db.usage.queriesBeforeRetrySource=5000
db.usage.initialTimeout=3600
也可以查看下初始化MySQL的数据库信息,可以看到初始化了两个库 Cloud、Cloud_usage
2.3 设置管理服务器
[root@openstack ~]# cloudstack-setup-management
2.4 系统模板设置
[root@openstack ~]# /usr/share/cloudstack-common/scripts/storage/secondary/cloud-install-sys-tmplt -m /export/secondary -u http://download.cloudstack.org/systemvm/4.16/systemvmtemplate-4.16.1-kvm.qcow2.bz2 -h kvm -F
三、KVM安装和设置
3.1 安装KVM
[root@openstack ~]#  yum -y install epel-release
[root@openstack ~]#  yum -y install cloudstack-agent
3.2 KVM配置
配置KVM的两个不同部分:libvirt和QEMU
- kvm负责cpu虚拟化+内存虚拟化,实现了cpu和内存的虚拟化,但kvm不能模拟其他设备
- emu是模拟IO设备(网卡,磁盘),kvm加上qemu之后就能实现真正意义上服务器虚拟化
上面两个东西一般统称为qemu-kvm
3.2.1 QEMU配置
取消注释下面这一行
[root@openstack ~]# cat /etc/libvirt/qemu.conf |grep -Ev '^$|#'
vnc_listen = "0.0.0.0"
3.2.2 Libvirt配置
[root@openstack ~]# cat /etc/libvirt/libvirtd.conf |grep -Ev '^$|#'
listen_tls = 0
listen_tcp = 1
tcp_port = "16509"
auth_tcp = "none"
mdns_adv = 0

--修改/etc/sysconfig/libvirtd
[root@openstack ~]# cat /etc/sysconfig/libvirtd |grep -Ev '^$|#'
LIBVIRTD_ARGS="--listen"

# 重启libvirt

[root@openstack ~]# systemctl restart libvirtd
3.2.2 查看KVM配置
[root@openstack ~]# lsmod | grep kvm
kvm_intel             188793  0
kvm                   637515  1 kvm_intel
irqbypass              13503  1 kvm
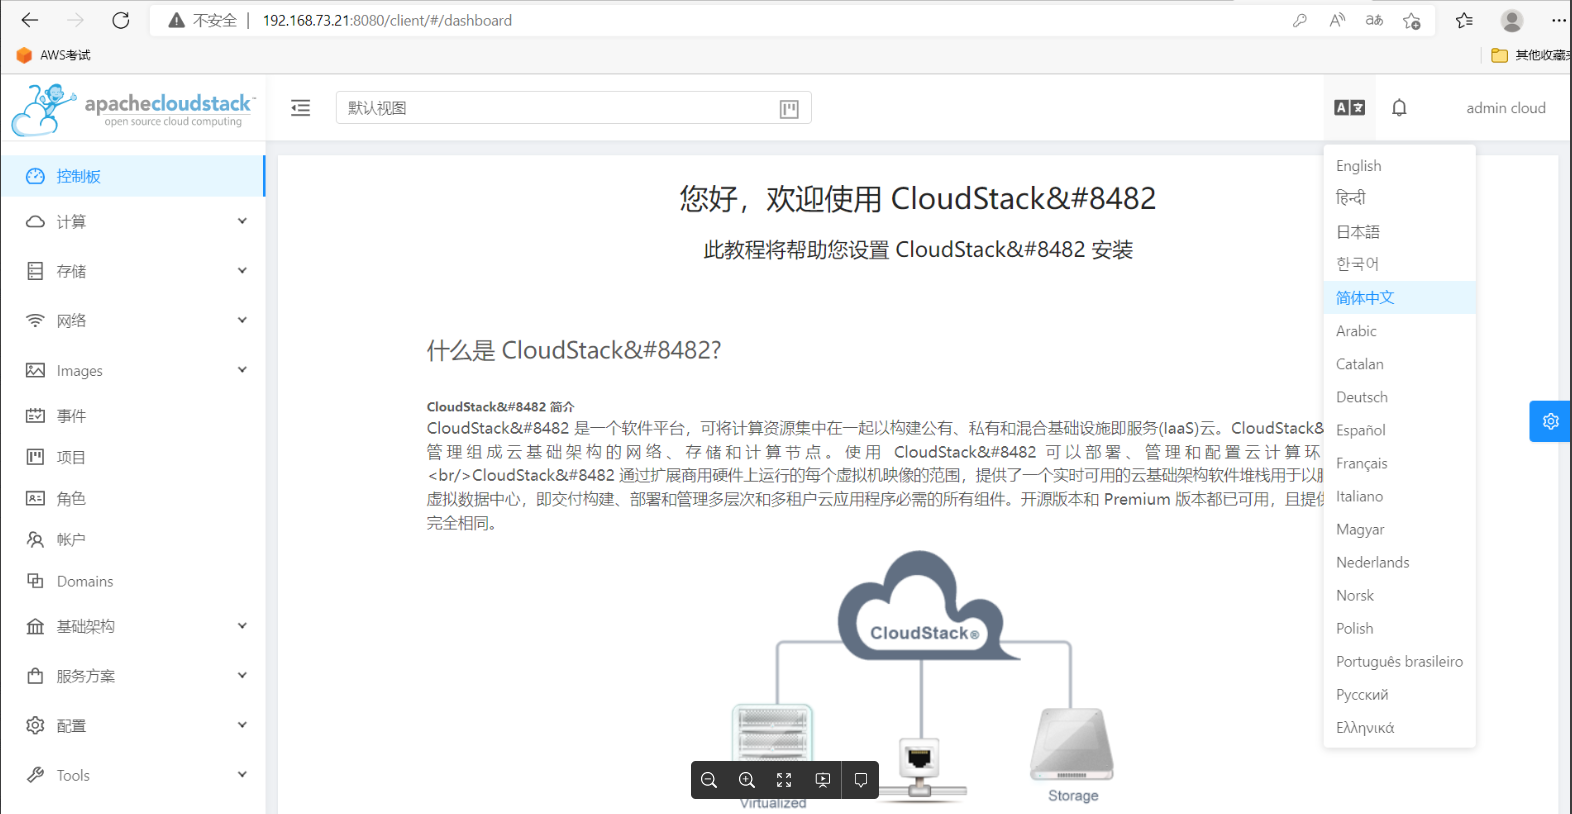
四、登陆UI
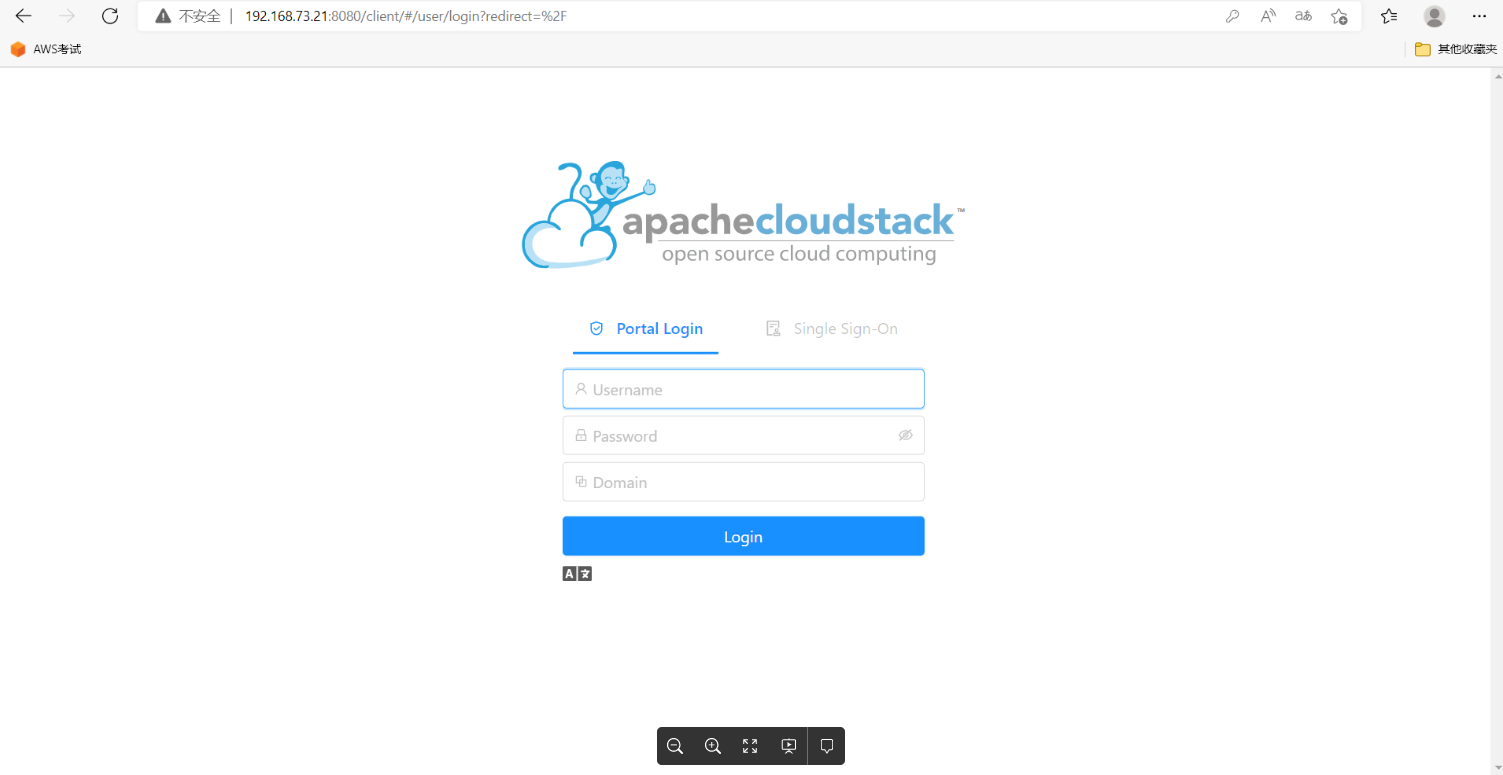
输入用户名和密码:
最后修改时间:2022-11-29 11:32:00
「喜欢这篇文章,您的关注和赞赏是给作者最好的鼓励」
关注作者
【版权声明】本文为墨天轮用户原创内容,转载时必须标注文章的来源(墨天轮),文章链接,文章作者等基本信息,否则作者和墨天轮有权追究责任。如果您发现墨天轮中有涉嫌抄袭或者侵权的内容,欢迎发送邮件至:contact@modb.pro进行举报,并提供相关证据,一经查实,墨天轮将立刻删除相关内容。
