


登陆注册其实是一件很复杂且十分重要的事情,看一下Spring Security在Spring Boot中的使用。
1.1 首先创建新的模块并添加spring-boot-starter-security依赖
<dependencies><dependency><groupId>org.springframework.boot</groupId><artifactId>spring-boot-starter-security</artifactId></dependency><dependency><groupId>org.springframework.boot</groupId><artifactId>spring-boot-starter-web</artifactId></dependency>//此处省略junit等其他自动添加依赖
只要开发者在项目中添加了spring-boot-starter-security依赖,那么整个项目都会被保护起来。
在模块中创建一个controller package并在里面创建一个HelloController。
其功能为:作为登录后的主页
@RestControllerpublic class HelloController {@GetMapping("/hello")public String hello(){return "hello";}}
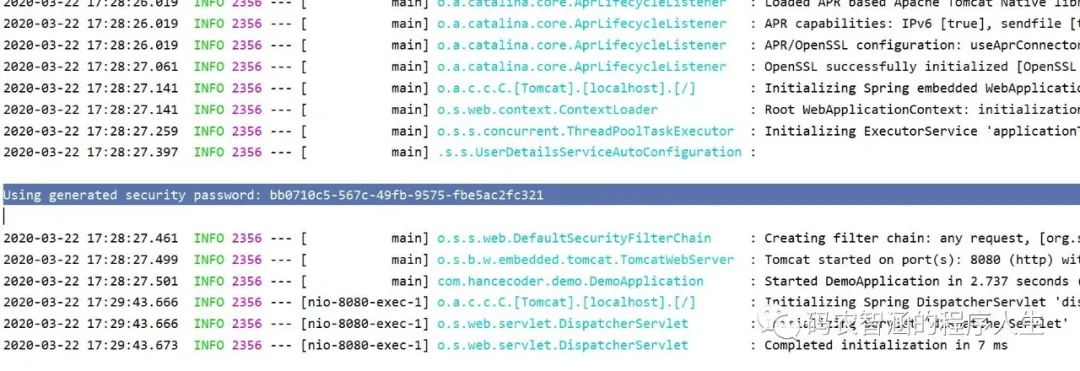
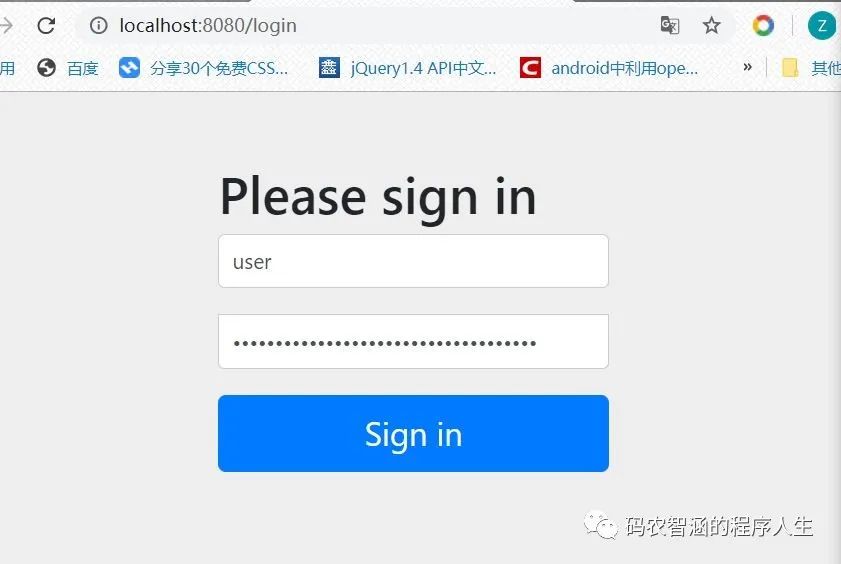
启动项目并测试:默认用户名为 user,默认的登陆密码每次在日志中随机生成。
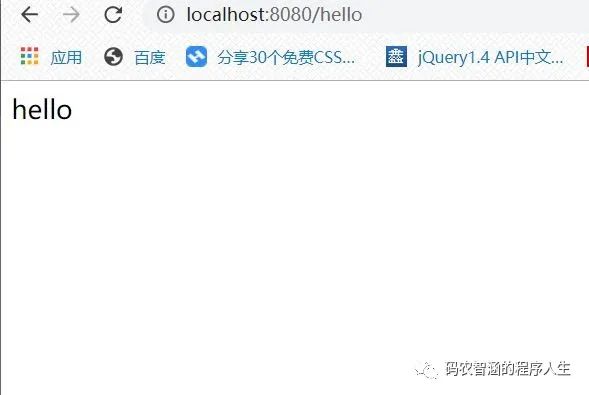
显然,测试成功!
1.2 配置用户名和密码
当然,一个user用户是不够的,如果要添加新的用户,需要在 application.yml文件下进行修改,配置方式如下。
spring:security:user:name: zhihanpassword: 123456roles: admin
重启项目验证成功。
1.3 HttpSecurity
虽然现在可以实现认证功能,但是受保护的资源都是默认的,不能做到灵活的角色管理,那么为了实现,就需要重写WebSecurityConfigurerAdapter中的方法。
@Configuration@EnableWebSecuritypublic class MyWebSecurityConfig extends WebSecurityConfigurerAdapter {@BeanPasswordEncoder passwordEncoder(){return NoOpPasswordEncoder.getInstance();}@Overrideprotected void configure(AuthenticationManagerBuilder auth) throws Exception {auth.inMemoryAuthentication().withUser("root").password("123").roles("ADMIN","DBA").and().withUser("admin").password("123").roles("ADMIN","USER").and().withUser("zhihan").password("123").roles("USER");}@Overrideprotected void configure(HttpSecurity http) throws Exception {http.authorizeRequests().antMatchers("/admin/**").hasRole("ADMIN").antMatchers("/user/**").access("hasAnyRole('ADMIN','USER')").antMatchers("/db/**").access("hasRole('ADMIN') and hasRole('DBA')").anyRequest().authenticated().and().formLogin().loginProcessingUrl("/login").permitAll().and().csrf().disable();}}
| 首先配置三个基于内存验证的用户,root用户具有ADMIN和DBA角色,admin用户具有ADMIN和USER的角色,zhihan用户仅具有用户角色 |
| 第23行调用了authorizeRequests() 方法,用于开启HttpSecurity的配置,24-29行的配置分别表示用户想要各自权限的网址的时候必须要具有相应的权限 |
| 30,31行表示除了前面定义的URL模式之外,用户访问其他的URL都必须登录才能访问 |
| 32-35 表示开启表单登录也就是其默认的登录表单,同时设置了登录接口是 '.../login' permitAll()表示和登录相关的接口都不需要认证直接能访问 |
| csrf().disable() 表示关闭 csrf |
更改HelloController 控制器类 添加如下代码
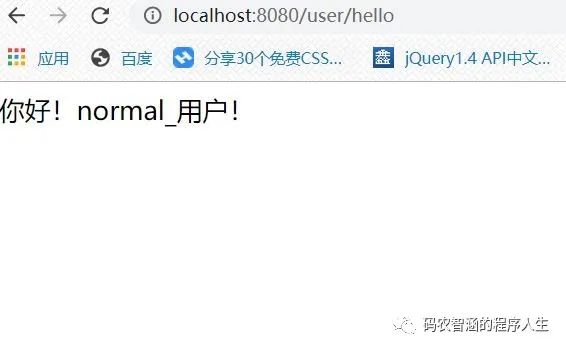
@GetMapping("/admin/hello")public String admin(){return "你好!管理员!";}@GetMapping("/user/hello")public String user(){return "你好!normal_用户!";}@GetMapping("/db/hello")public String dba(){return "你好!数据库管理员!";}
那么我利用 username:zhihan pwd:123 进行登录

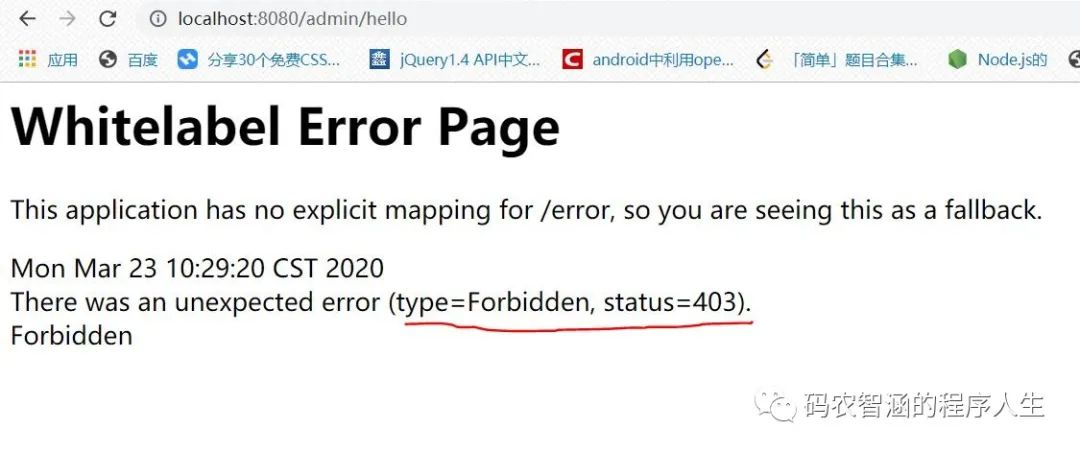
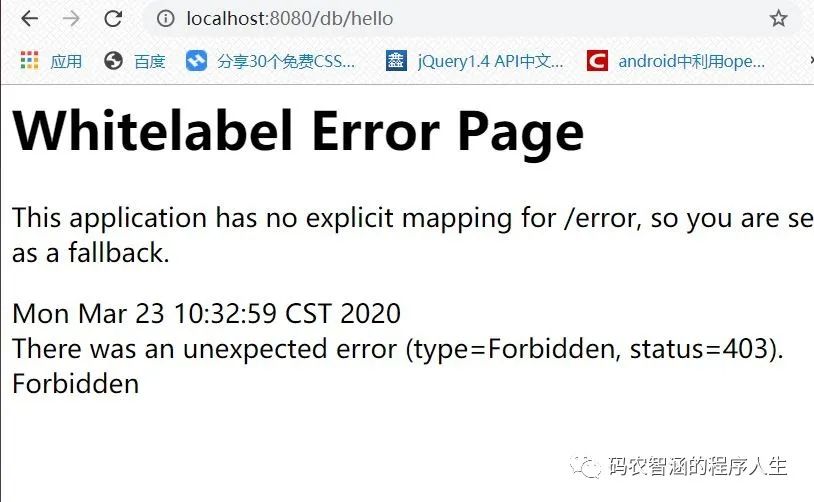
显然,dba和admin 页面显示403错误---并提示权限不足
1.4 登录表单详细配置(前后端分离准备)
继续对 MyWebSecurityConfig进行完善
//新添加的代码块.loginPage("/login_page").usernameParameter("name").passwordParameter("passwd").successHandler(new AuthenticationSuccessHandler() {@Overridepublic void onAuthenticationSuccess(HttpServletRequest req, HttpServletResponse resp, Authentication auth) throws IOException, ServletException {Object principal=auth.getPrincipal();resp.setContentType("application/json;charset=utf-8");PrintWriter out=resp.getWriter();resp.setStatus(200);Map<String,Object> map=new HashMap<>();map.put("status",200);map.put("msg",principal);ObjectMapper om=new ObjectMapper();out.write(om.writeValueAsString(map));out.flush();out.close();}}).failureHandler(new AuthenticationFailureHandler() {@Overridepublic void onAuthenticationFailure(HttpServletRequest req, HttpServletResponse resp, AuthenticationException e) throws IOException, ServletException {resp.setContentType("application/json;charset=utf-8");PrintWriter out=resp.getWriter();resp.setStatus(401);Map<String,Object> map=new HashMap<>();map.put("status",401);if (e instanceof LockedException){map.put("msg","用户被锁定无法登录");}else if (e instanceof BadCredentialsException){map.put("msg","用户密码或者账号输入错误登陆失败!");}else if(e instanceof AccountExpiredException){map.put("msg","用户过期,登陆失败");}else if (e instanceof CredentialsExpiredException){map.put("msg","密码过期,登录失败!");}else {map.put("msg","登陆失败!");}ObjectMapper om=new ObjectMapper();out.write(om.writeValueAsString(map));out.flush();out.close();}})
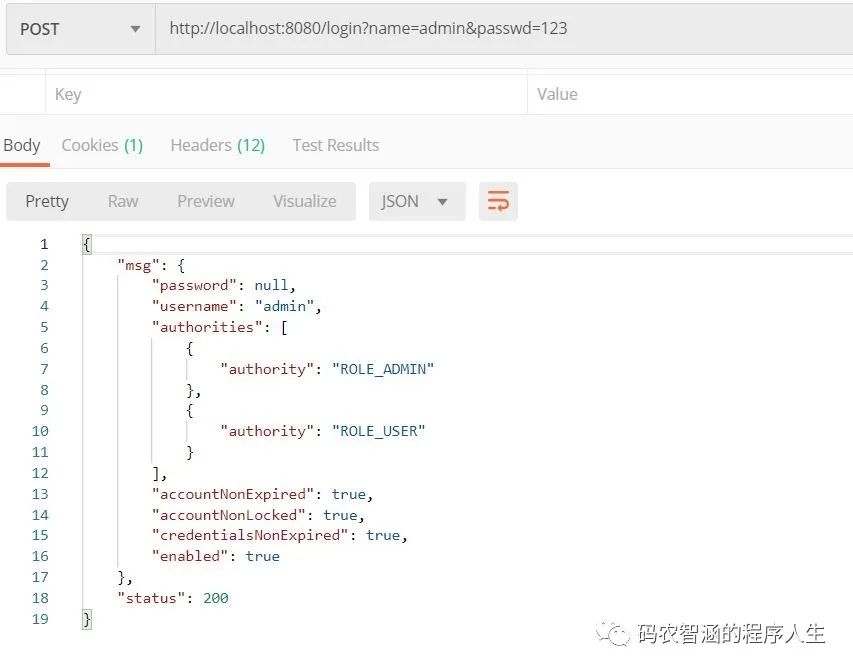
| 10-22行:定义了登录成功的处理逻辑,用户登录成功后可返回一段JSON数据 |
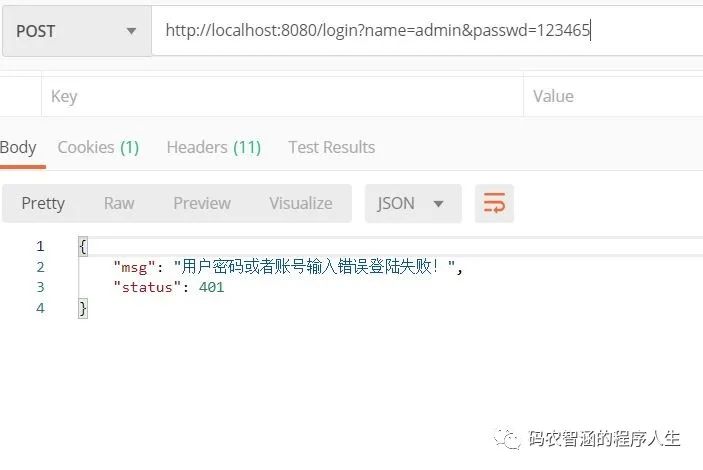
| 23-46行:定义了登陆失败的处理逻辑,通过AuthenticationException这个异常参数,可以获取一些登录失败的原因,并进行人话翻译显示给用户看,进而给了用户更加清晰的提示 |
配置完成后,使用 POSTMAN 进行登录测试。
1.6 注销配置
继续完善 MyWebSecurityConfig 配置 添加如下代码
.and().logout().logoutUrl("/logout").clearAuthentication(true).invalidateHttpSession(true).addLogoutHandler(new LogoutHandler() {@Overridepublic void logout(HttpServletRequest req, HttpServletResponse resp, Authentication auth) {}}).logoutSuccessHandler(new LogoutSuccessHandler() {@Overridepublic void onLogoutSuccess(HttpServletRequest req, HttpServletResponse resp, Authentication auth) throws IOException, ServletException {resp.sendRedirect("/login_page");}})
| 2行:开启注销登录配置 |
| 3行:配置注销登录请求URL为 '.../logout' 默认也是 |
| 4行:清楚身份认证信息 |
| 5行:使Session失效 |
| 6行:配置LogoutHandler,可以在里面完成例如Cookie清除,记住我,是否确认注销等 服务 |
| 12行:可在里面完成一些 注销后的一些逻辑代码的编写,例如像上文一样返回一段JSON提示等操作。 |
文章转载自码农智涵的程序人生,如果涉嫌侵权,请发送邮件至:contact@modb.pro进行举报,并提供相关证据,一经查实,墨天轮将立刻删除相关内容。
