


【王健原创作品,转发请注明出处。】
如何-优化查询速度,提高查询准确度:
独立网段专用查询带宽。
Docker-ES容器内集群。
关键字索引。
IK或Standard分词处理。
1、下载ES 7.12.0
# docker pull elasticsearch:7.12.0
2、启动
# docker run -d --name es -p 9200:9200 -p 9300:9300 -e "discovery.type=single-node" elasticsearch:7.12.0
启动时查看日志,出现报错信息:
Docker logs es
修改系统内存设置:
vim etc/sysctl.conf
添加以下行:
vm.max_map_count=262144
生效:
sysctl -p
访问9200端口:
[root@server101 ~]# curl http://localhost:9200
{
"name" : "O9gi6CB",
"cluster_name" : "docker-cluster",
"cluster_uuid" : "6qQU_6tmR_C0Vrj0g--CBg",
"version" : {
"number" : "7.12.0",
"build_flavor" : "default",
"build_type" : "docker",
"build_hash" : "c9a8c60",
"build_date" : "2021-03-18T06:33:32.588487Z",
"build_snapshot" : false,
"lucene_version" : "7.7.3",
"minimum_wire_compatibility_version" : "5.6.0",
"minimum_index_compatibility_version" : "5.0.0"
},
"tagline" : "You Know, for Search"
}
3、目录挂载
关闭之前运行的容器,重新启动容器,通过-v创建三个卷标的同时,挂载三个目录:
# docker run -d --name es -p 9200:9200 -p 9300:9300 \
-v es_data:/usr/share/elasticsearch/data \
-v es_conf:/usr/share/elasticsearch/config \
-v es_plugins:/usr/share/elasticsearch/plugins \
-e "discovery.type=single-node" elasticsearch:7.12.0
4、安装IK插件
在github或gitee上查找elastaicsearch-ik插件,并对应es版本,下载release版本。
将zip上传到es_plugins卷目录下,并解压到ik目录下。最后的目录结构如下:
[root@server101 _data]# pwd
/var/lib/docker/volumes/es_plugins/_data
[root@server101 _data]# tree .
.
└── ik
├── commons-codec-1.9.jar
├── commons-logging-1.2.jar
├── config
│ ├── extra_main.dic
│ ├── extra_single_word.dic
│ ├── extra_single_word_full.dic
│ ├── extra_single_word_low_freq.dic
│ ├── extra_stopword.dic
│ ├── IKAnalyzer.cfg.xml
│ ├── main.dic
│ ├── preposition.dic
│ ├── quantifier.dic
│ ├── stopword.dic
│ ├── suffix.dic
│ └── surname.dic
├── elasticsearch-analysis-ik-7.12.0.jar
├── httpclient-4.5.2.jar
├── httpcore-4.4.4.jar
├── plugin-descriptor.properties
└── plugin-security.policy
然后再重新启动es容器,查看启动日志:
] [2d2d09c20577] loaded plugin [analysis-ik]
...
] [2d2d09c20577] starting ...
..
] [2d2d09c20577] started
..
启动后,再次查看9200端口信息:
[root@server101 _data]# curl http://localhost:9200
{
"name" : "2d2d09c20577",
"cluster_name" : "docker-cluster",
"cluster_uuid" : "imDS0W0cQOa07YIrIRuUGA",
"version" : {
"number" : "7.12.0",
"build_flavor" : "default",
"build_type" : "docker",
"build_hash" : "78722783c38caa25a70982b5b042074cde5d3b3a",
"build_date" : "2021-03-18T06:17:15.410153305Z",
"build_snapshot" : false,
"lucene_version" : "8.8.0",
"minimum_wire_compatibility_version" : "6.8.0",
"minimum_index_compatibility_version" : "6.0.0-beta1"
},
"tagline" : "You Know, for Search"
}
到此es就算是安装成功了。
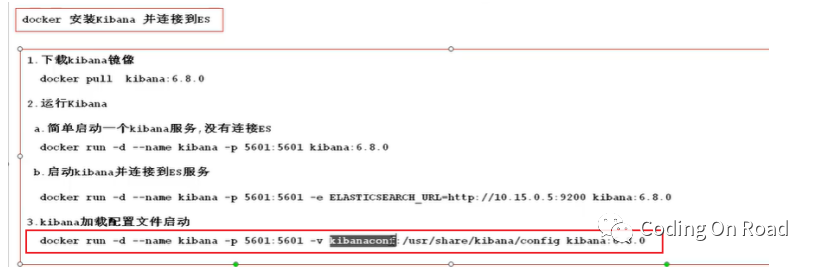
9、安装Kibana并连接到es
下载镜像
docker pull kibana:7.12.0
启动
启动,注意通过-e参数指定的连接的es的地址:
# docker run --name kibana -d -p 5601:5601 -e ELASTICSEARCH_HOSTS=http://172.17.0.2:9200 kibana:7.12.0
然后在地址中访问:
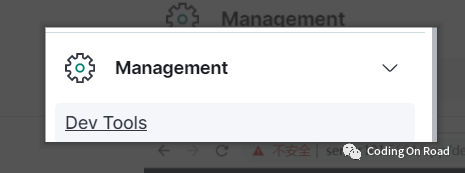
后面就是使用kibana来操作es了。
查询测试
测试:
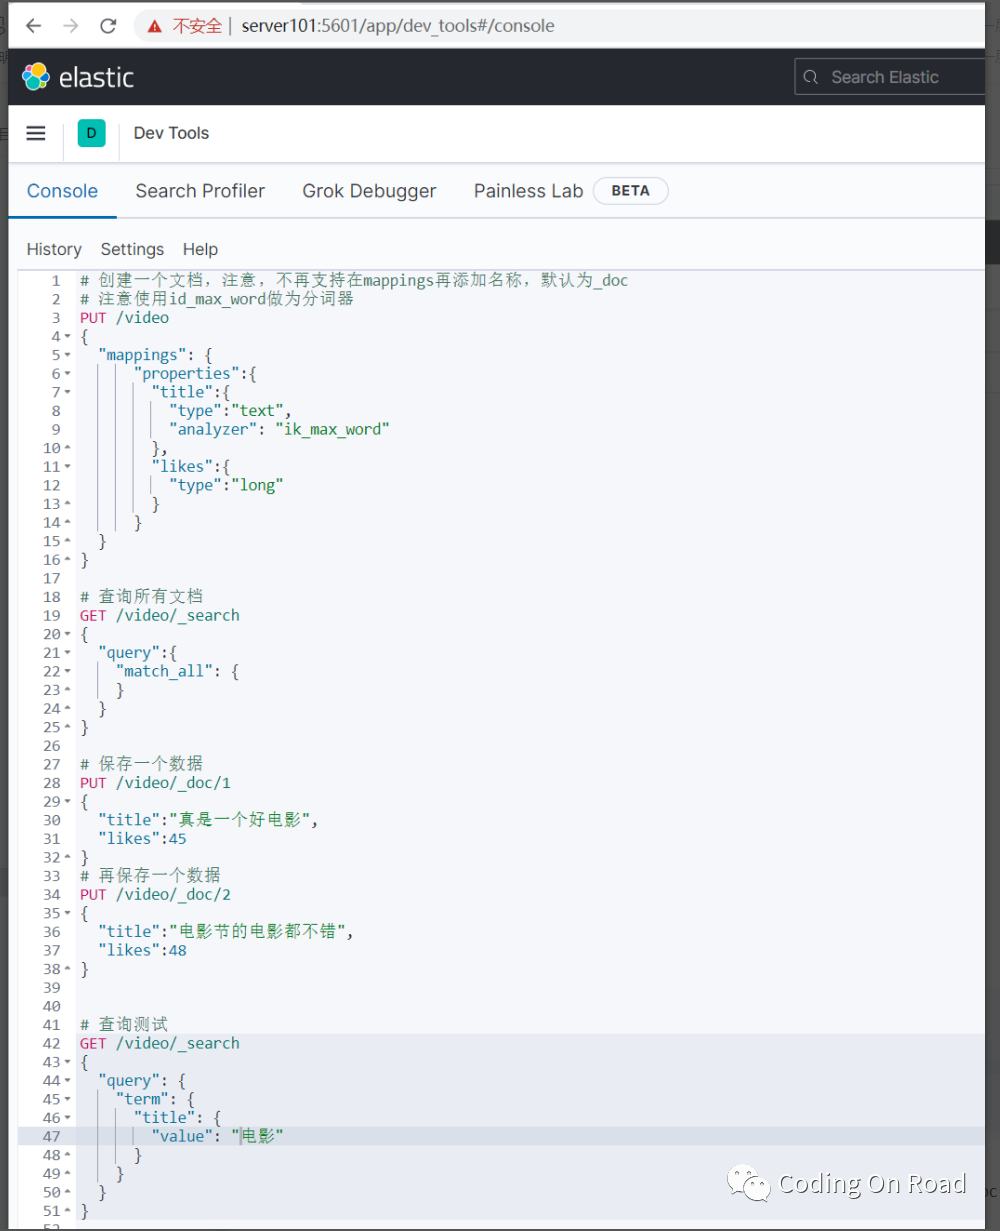
# 创建一个文档,注意,不再支持在mappings再添加名称,默认为_doc
# 注意使用id_max_word做为分词器
PUT video
{
"mappings": {
"properties":{
"title":{
"type":"text",
"analyzer": "ik_max_word"
},
"likes":{
"type":"long"
}
}
}
}
# 查询所有文档
GET video/_search
{
"query":{
"match_all": {
}
}
}
# 保存一个数据
PUT video/_doc/1
{
"title":"真是一个好电影",
"likes":45
}
# 再保存一个数据
PUT video/_doc/2
{
"title":"电影节的电影都不错",
"likes":48
}
# 查询测试
GET /video/_search
{
"query": {
"term": {
"title": {
"value": "电影"
}
}
}
}
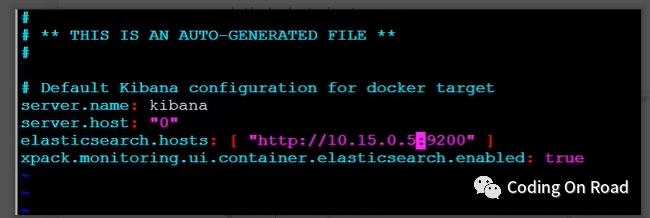
修改kibana的配置文件:
先将kibana的配置文件目录挂载出来,然后再修改配置文件,然后再重新启动kibana即可。
更多kibana操作示例:
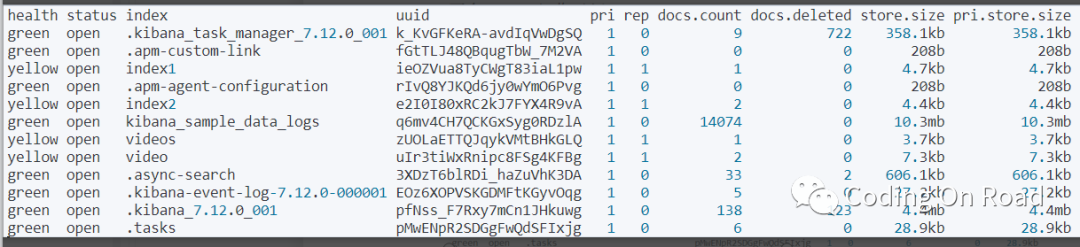
查询有多少索引:
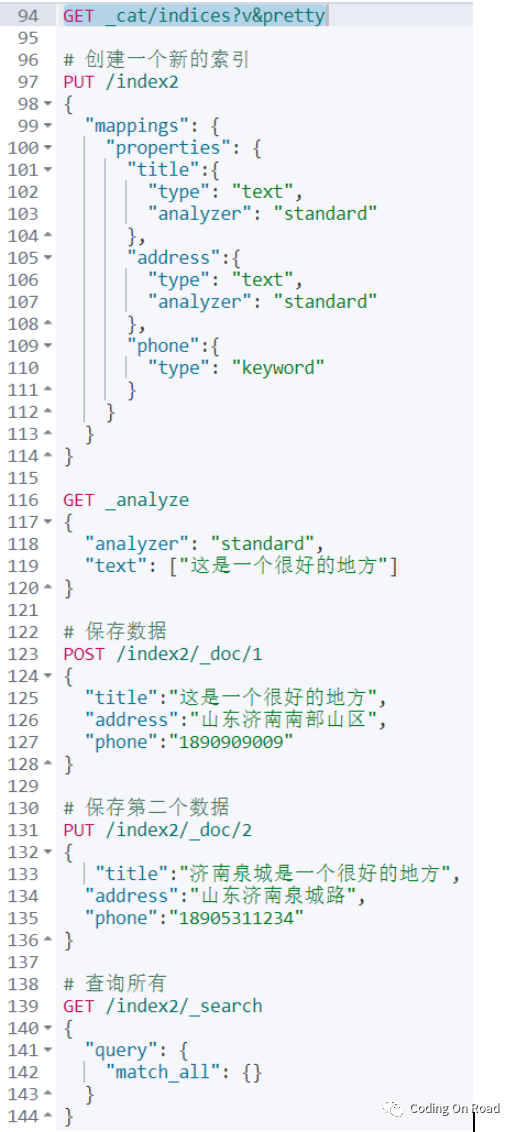
# 查看所有索引列表
GET _cat/indices?v&pretty
# 创建一个新的索引
PUT /index2
{
"mappings": {
"properties": {
"title":{
"type": "text",
"analyzer": "standard"
},
"address":{
"type": "text",
"analyzer": "standard"
},
"phone":{
"type": "keyword"
}
}
}
}
GET _analyze
{
"analyzer": "standard",
"text": ["这是一个很好的地方"]
}
# 保存数据
POST /index2/_doc/1
{
"title":"这是一个很好的地方",
"address":"山东济南南部山区",
"phone":"1890909009"
}
# 保存第二个数据
PUT /index2/_doc/2
{
"title":"济南泉城是一个很好的地方",
"address":"山东济南泉城路",
"phone":"18905311234"
}
# 查询所有
GET /index2/_search
{
"query": {
"match_all": {}
}
}
# 查询,term一般根据keyworld,好一般不分词
GET /index2/_search
{
"query": {
"term": {
"phone": {
"value": "18905311234"
}
}
}
}
# 以下查询如果输入“济南”,将查询不出数据,因为term是不分词
GET /index2/_search
{
"query": {
"term": {
"title": {
"value": "济"
}
}
}
}
# terms:查询某个字段里含有多个关键词的文档
GET /index2/_search
{
"query": {
"terms": {
"title": [
"济",
"南",
"好"
]
}
}
}
# match query 知道分词器的存在,会对field进行分词操作,然后再查询
GET /index2/_search
{
"query": {
"match": {
"title": "济南好地方"
}
}
}
# multi_match:可以指定多个字段
GET /index2/_search
{
"query": {
"multi_match": {
"query": "山东南部",
"fields": ["title","address"]
}
}
}
JavaAPI操作
创建maven项目,并添加依赖:
<dependency>
<groupId>org.elasticsearch.client</groupId>
<artifactId>elasticsearch-rest-high-level-client</artifactId>
<version>7.12.0</version></dependency>
查询所有:
@Test
public void test1() throws Exception{
RestHighLevelClient client =
new RestHighLevelClient(RestClient.builder(new HttpHost("server101",9200,"http")));
SearchRequest search = new SearchRequest("index2");
final SearchResponse search1 = client.search(search, RequestOptions.DEFAULT);
for (SearchHit hit : search1.getHits()) { System.err.println("===========");
final String sourceAsString = hit.getSourceAsString();
System.err.println(sourceAsString);
}}
输出结果:
===========
{"title":"这是一个很好的地方","address":"山东济南南部山区","phone":"1890909009"}
===========
{"title":"济南泉城是一个很好的地方","address":"山东济南泉城路","phone":"18905311234"}
查询一个索引中有多少文档:
@Testpublic void test2() throws Exception{
RestHighLevelClient client =
new RestHighLevelClient(RestClient.builder(new HttpHost("server101",9200,"http")));
CountRequest count = new CountRequest("index2");
final CountResponse count1 = client.count(count, RequestOptions.DEFAULT);
System.err.println(count1);
//返回的数据:{count=2, _shards : {total=1, successful=1, skipped=0, failed=0}}}
其他更多,不再赘述。
