问题
上回说到的问题,Elasticsearch划分开发模式和生产两种模式,是出于什么考虑呢?
对于开发模式,我想是比较好理解的,任何一项新技术的推广,quick start越简单越好,学习的门槛越低越好,这样可以让社区更能够专注于技术研究的本身,只有更多的人研究了,技术才能够得以发展。开发模式可以最低成本地运行Elasticsearch,感受Elasticsearch的特性。对于生产模式,正如Elasticsearch一直引以为傲的这般。
快!实在是快!为什么Elasticsearch可以这么快,不仅仅有巧妙的数据结构设计,更有内存、线程、存储等各种硬件支持,因此,生产模式会对这些进行验证,从而保证Elasticsearch的高性能。而这对于学习使用的开发模式则不需要。
生产模式下单机配置
关于Elasticsearch的quickstart安装,已经在上节Elasticsearchquickstart安装介绍过,接下来我们先把Elasticsearch从开发模式切换到生产模式。
配置修改
elasticsearch解压缩目录下的config/elasticsearch.yml
配置文件中,默认启动是开发模式,当network.host: 192.168.0.1
配置生效的时候,则Elasticsearch启动为生产模式,并且会进行相关的环境预检。
# 集群名称,es通过这个配置自动构建成集群cluster.name: es-learn-01# 节点名称node.name: node-1
# 启动Elasticsearch./bin/elasticsearch
此时可以看到,Elasticsearch进行了相关环境的检验。文件描述符,线程数,虚拟内存的一些限制。

服务器环境相关配置
针对预检的一些错误信息,我们修改服务器的一些配置。
①提高文件描述符(root账户)
vi /etc/security/limits.conf# 添加以下内容* soft nofile 65536* hard nofile 65536* soft nproc 32000* hard nproc 32000* hard memlock unlimited* soft memlock unlimitedvi /etc/systemd/system.conf ,分别修改以下内容。DefaultLimitNOFILE=65536DefaultLimitNPROC=32000DefaultLimitMEMLOCK=infinityulimit -n 65535(需使用root账号)
②提高线程数
ulimit -u 4096
③提升虚拟内存
vi /etc/sysctl.confvm.max_map_count=262144# 验证是否生效grep vm.max_map_count /etc/sysctl.conf
更改完配置之后,重启机器或者使用使用sysctl -p
使系统配置生效,bin/elasticsearch重启服务
配置安全策略
Elasticsearch8在安装的时候执行bin/elasticsearch
的时候,在配置文件夹下会默认生成证书和密钥。

http_ca.crt 签署集群下的HTTP访问证书
http.p12 包含此节点的 HTTP 层的密钥和证书的密钥库。
transport.p12 包含集群中所有节点的传输层的密钥和证书的密钥库
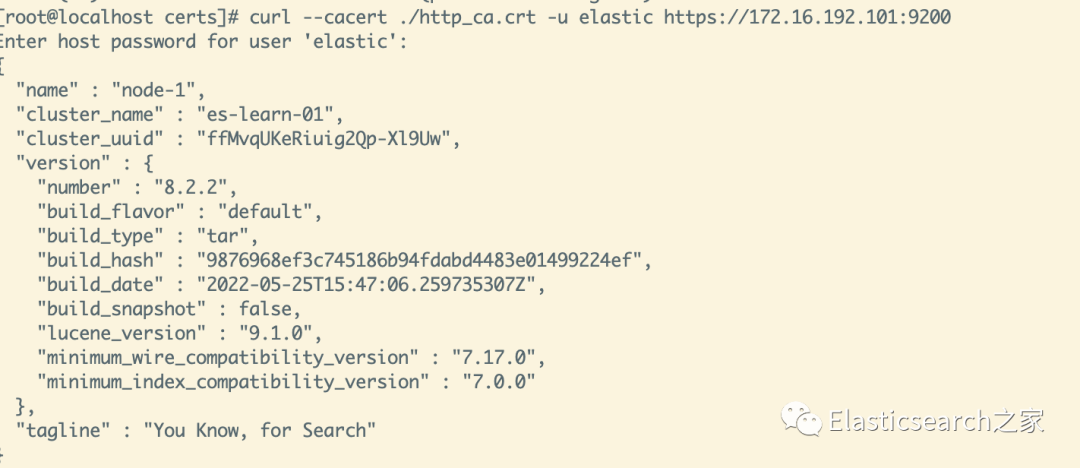
验证一下
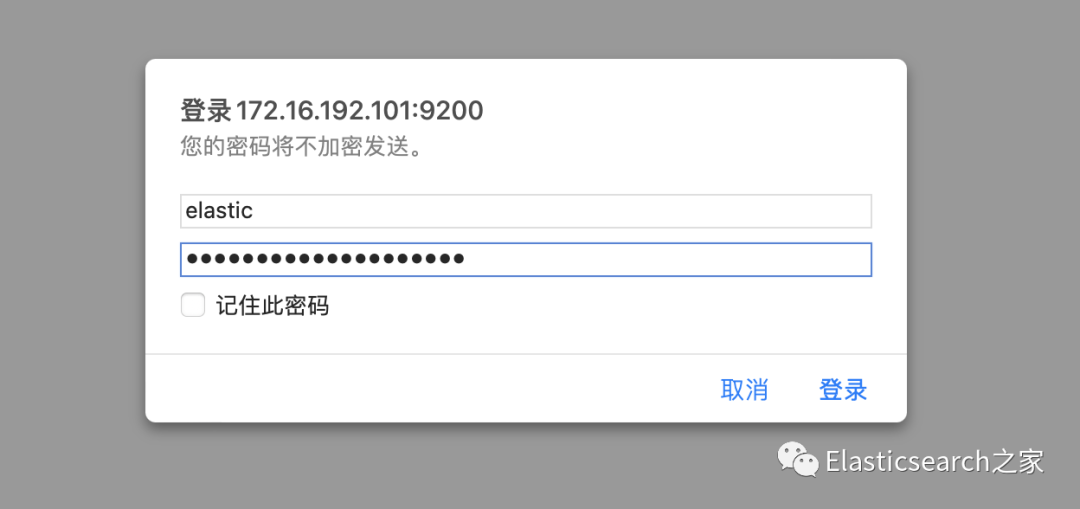
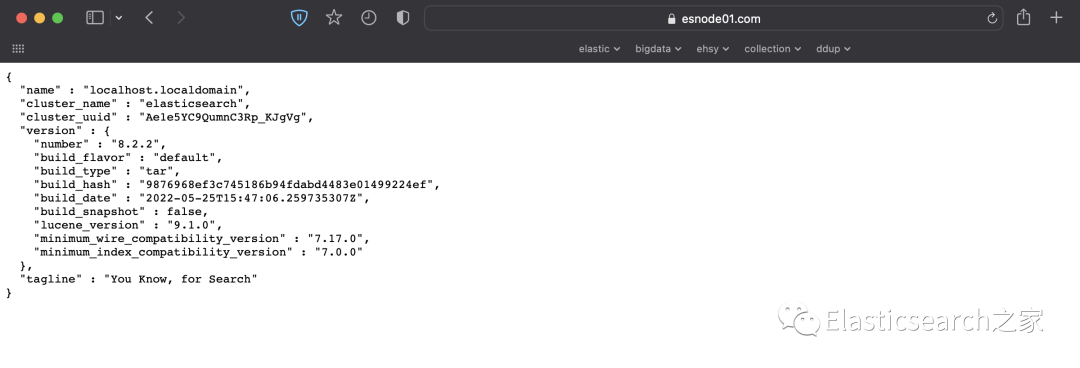
之前通过浏览器直接进行访问9200端口,会被拒绝,只有携带着证书,访问才可以通过。通过下面命令验证Elasticsearch是否启用。localhost替换成network.host配置的IP地址
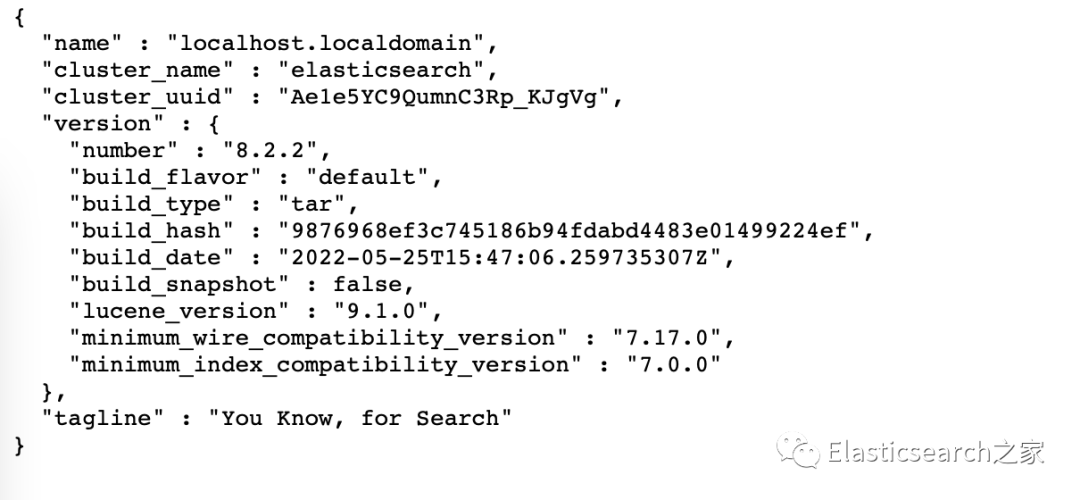
curl --cacert $ES_HOME/config/certs/http_ca.crt -u elastic https://localhost:9200
如果想使用浏览器直接访问,可以把
xpack.security.http.ssl.enabled: false
配置HTTPS访问
修改默认生成的http.p12
./bin/elasticsearch-certutil http# Generate a CSR? [y/N]N# Use an existing CA? [y/N]N# Do you wish to change any of these options? [y/N]y# CA Name [CN=Elasticsearch HTTP CA] www.esnode01.com# CA password: [<ENTER> for none]# Provide a password for the "http.p12" file: [<ENTER> for none]
解压elasticsearch-ssl-http.zip,在elasticsearch文件夹下有http.p12,用来替换conf/certs/http.p12
再次打开ssl
配置
xpack.security.http.ssl:enabled: truekeystore.path: certs/http.p12
更换keystone秘钥
./bin/elasticsearch-keystore add "xpack.security.http.ssl.keystore.secure_password"
重启elasticsearch
长按扫码,卷起来吧