


本系列总的专栏:一步一步学习OceanBase系列
上一篇文章已记录了 oms1.4.3版本的安装部署
本篇介绍oms的升级,从1.4.3版本升级到2.1.0最新版,OMS版本的升级其实就是卸载旧版本,重新安装新版本的过程。
由于当前 antman1.3.6 版本对 oms2.1版本还没有完美支持,安装oms2.1最后启动oms容器时会报错,需要手动添加ocp版本配置(后续 antman 版本应该会自动添加)。
以下是OMS升级实操:
1、卸载OMS 1.4.3旧版本
登录ocp主机,到antman脚本所在目录下,执行install.sh脚本,卸载旧版本OMS1.4.3。
# cd /root/t-oceanbase-antman/
# ./install.sh -c 9
run install.sh with DEBUG=FALSE, INSTALL_STEPS= CLEAR_STEPS=9 CONFIG_FILE=/root/t-oceanbase-antman/obcluster.conf
[2021-02-26 11:04:36.223694] INFO [start antman API service]
LB_MODE=none
[2021-02-26 11:04:36.606304] INFO [clear_step9: uninstalling oms and remove docker, logfile: /root/t-oceanbase-antman/logs/uninstall_oms.log]
[2021-02-26 11:04:37.572169] INFO [remove oms docker on host:10.10.10.145]
[2021-02-26 11:04:37.758662] INFO [docker rm -f a97982661aa1]
the input device is not a TTY
a97982661aa1
[2021-02-26 11:04:41.661226] INFO [remove oms docker on host:10.10.10.145 done]
[2021-02-26 11:04:42.103669] INFO [uninstall.sh oms  finished and acs-reg.alipay.com/oceanbase/oms-all-in-one:feature_1.4.3 removed on 10.10.10.145]
[2021-02-26 11:04:42.107285] INFO [oms docker on 10.10.10.145 is removed]
[2021-02-26 11:04:42.117990] INFO [clear_step9: uninstallation of oms done]
#

登录到oms主机,查看oms容器是否已卸载。
# docker ps
CONTAINER ID        IMAGE               COMMAND             CREATED             STATUS              PORTS               NAMES
# docker ps -a
CONTAINER ID        IMAGE               COMMAND             CREATED             STATUS              PORTS               NAMES
#
# docker images
REPOSITORY                                    TAG                 IMAGE ID            CREATED             SIZE
acs-reg.alipay.com/oceanbase/oms-all-in-one   feature_1.4.3       2fb7e7908d78        2 months ago        7.86GB
#
2、安装OMS 2.1.0新版本
登录ocp主机,到antman脚本所在目录下,修改obcluster.conf配置文件,执行install.sh脚本第9步,安装新版本OMS2.1.0。
2.1、将oms2.1.0版本安装包,上传到ocp服务器antman脚本所在目录
# cd /root/t-oceanbase-antman/
# ls -l oms*2.1*
-rw-r--r-- 1 root root 4377023165 Feb 26 11:54 oms.feature_2.1.0.202102081119.tar.gz
#
2.2、修改obcluster.conf配置文件
# cat obcluster.conf |grep -i oms
############  如果准备部署OMS,请填写OMS基本配置 / Edit Configuration Of OMS When Deploying OMS  ############
OMS_IP=10.10.10.145
oms_docker_image_package=oms.feature_2.1.0.202102081119.tar.gz
oms_image_REPO=acs-reg.alipay.com/oceanbase/oms-all-in-one
oms_image_TAG=feature_2.1.0
############  OMS 高级配置,基本不用修改 / OMS ADVANCED SETTINGS  ############
OMS_PORT=8088
OMS_METADB_USER=root
OMS_METADB_TENANT=oms_tenant
OMS_METADB_DBNAME=oms_meta
oms_container_name=oms
oms_docker_cpus=12
oms_docker_memory=24G
[root@ocp201 t-oceanbase-antman]#
2.3、开始安装oms2.1.0
# ./install.sh -i 9
run install.sh with DEBUG=FALSE, INSTALL_STEPS=9 CLEAR_STEPS= CONFIG_FILE=/root/t-oceanbase-antman/obcluster.conf
[2021-02-26 11:54:13.838041] INFO [start antman API service]
LB_MODE=none
Fri Feb 26 11:54:14 CST 2021
[2021-02-26 11:54:14.582640] INFO [step9: check whether OMS port 8088 is in use or not on 10.10.10.145]
[2021-02-26 11:54:14.746327] INFO [step9: OMS port 8088 is idle on 10.10.10.145]
[2021-02-26 11:54:16.298411] INFO [step9: installing oms, logfile: /root/t-oceanbase-antman/logs/install_oms.log]
[2021-02-26 11:54:16.307501] INFO [installing oms on 10.10.10.145, pid=24153 log: /root/t-oceanbase-antman/logs/install_oms_10.10.10.145.log]
[2021-02-26 11:54:43.641112] INFO [create OMS meta tenant]
[2021-02-26 11:54:48.670074] INFO [replace params in /root/t-oceanbase-antman/config/oms_conf.yaml]
[2021-02-26 11:54:49.517625] INFO [start container: docker run -d -it     --name oms     --net=host     --cpu-period 100000     --cpu-quota 1200000     --memory=24G     -v /etc/oms_conf.yaml:/home/admin/conf/co
nfig.yaml     --restart on-failure:5     --privileged=true     acs-reg.alipay.com/oceanbase/oms-all-in-one:feature_2.1.0]6f17a33615eb15f2cf4a312314ad9a9aab0bab519bcdbb8b0ed6b2fa17cf2350
[2021-02-26 11:54:56.166328] INFO [docker init: docker exec oms /bin/bash -c "bash /root/docker_init.sh"]
start check config file

………………
………………
[2021-02-26 12:11:06.714629] ERROR [OMS container has failed process, please check with supervisorctl command !]
[2021-02-26 12:11:06.723681] WARN [error ERROR exists in /root/t-oceanbase-antman/logs/install_oms_10.10.10.145.log]
[2021-02-26 12:11:06.727745] ERROR [ANTMAN-311: error occurs in /root/t-oceanbase-antman/logs/install_oms_10.10.10.145.log]
[2021-02-26 12:11:06.739915] ERROR [ANTMAN-314: ERROR occurred in install_oms, install.sh exit]
#
以上可以看到安装oms2.1.0最后报错。
原因是:由于当前 antman1.3.6 版本对 oms2.1版本还没有完美支持,安装oms2.1最后启动oms容器时会报错,需要手动添加ocp版本的配置(后续 antman 版本应该会自动添加)。
解决方法步骤:
1、登录oms主机,进入oms 容器,修改oms容器启动参数,oms 容器启动的配置文件在 /home/admin/conf/config.yaml 里,添加 ocp 版本(ocp_version: ‘2.5’),如:
[root@obnfs201 t-oceanbase-antman]# docker ps
CONTAINER ID        IMAGE                                                       COMMAND                  CREATED             STATUS              PORTS               NAMES
6f17a33615eb        acs-reg.alipay.com/oceanbase/oms-all-in-one:feature_2.1.0   "/bin/sh -c '/usr/bi…"   About an hour ago   Up About an hour                        oms
[root@obnfs201 t-oceanbase-antman]#
[root@obnfs201 t-oceanbase-antman]# docker exec -it oms bash

[root@obnfs201 /root]
#vi /home/admin/conf/config.yaml
......
# ocp metadb
ocp_api_domain: http://10.10.10.33:8080
ocp_meta_host: 10.10.10.33
ocp_meta_port: 2883
ocp_meta_user: root@ocp_meta#obcluster
ocp_meta_password: 'jgp1d}oHow'
ocp_db: ocp
ocp_version: '2.5'
......

[root@obnfs201 /root]
#exit
exit
[root@obnfs201 t-oceanbase-antman]#
2、登录oms主机,重启 oms 容器,然后进入容器重新运行初始化脚本 /root/docker_init.sh。
# #重启 oms 容器
[root@obnfs201 t-oceanbase-antman]# docker restart oms

# #查看 oms 容器并进入
[root@obnfs201 t-oceanbase-antman]# docker ps
CONTAINER ID        IMAGE                                                       COMMAND                  CREATED             STATUS              PORTS               NAMES
6f17a33615eb        acs-reg.alipay.com/oceanbase/oms-all-in-one:feature_2.1.0   "/bin/sh -c '/usr/bi…"   About an hour ago   Up 19 seconds                           oms
[root@obnfs201 t-oceanbase-antman]# docker exec -it oms bash

[root@obnfs201 /root]
#

# #运行初始化脚本
[root@obnfs201 /root]
#sh /root/docker_init.sh
......
......
到此OMS 2.1.0版本安装已完成。
3、验证OMS升级是否成功
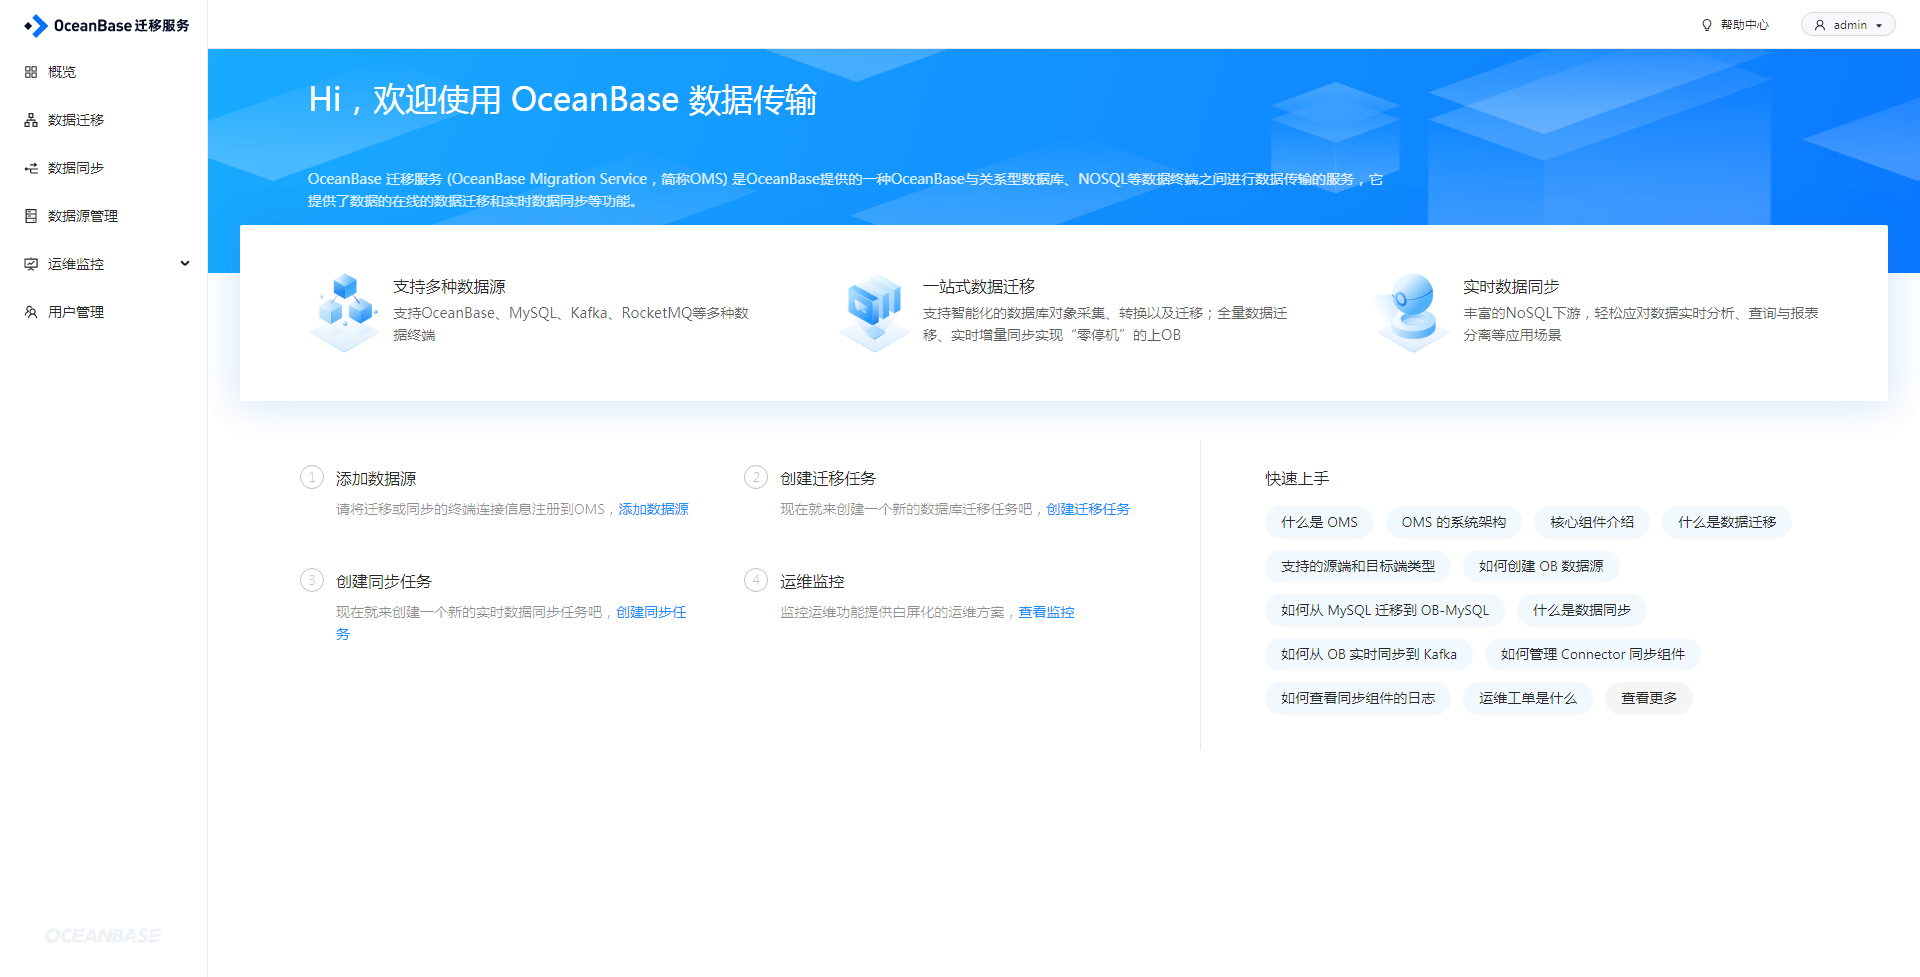
打开浏览器,访问OMS应用地址: http://xxx.xxx.xxx.xxx:8080/ ,能出现OMS2.1版本登录界面,并能使用admin用户登录,说明OMS2.1安装就成功了。

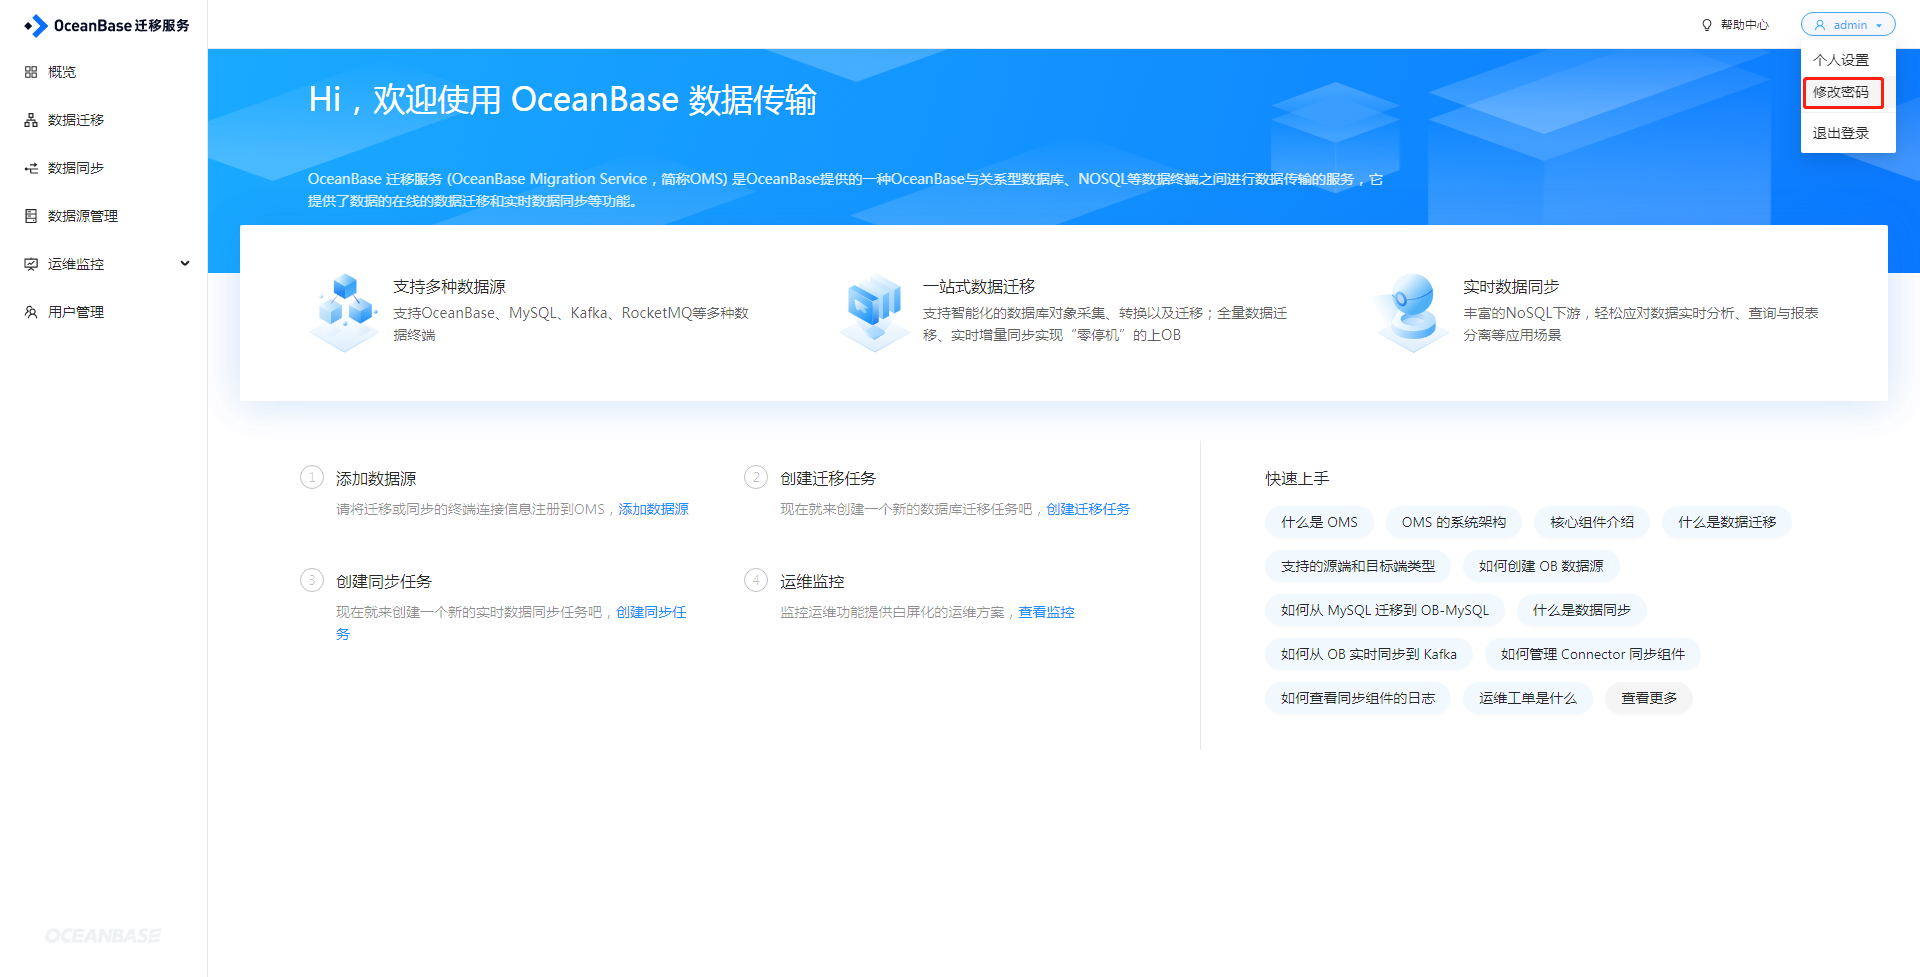
登录OMS2.1后,可修改admin用户密码:
一步一步学习OceanBase系列
